After flooding, you need to act fast, but only after checking for structural damage and hazards. Shut off power and water, then start removing standing water with the right tools. As you pull out salvageable items and damaged materials, drying and hidden moisture checks become critical. The next water extraction steps can limit mold, reduce loss, and protect your home, but the order matters more than most people think.
Key Takeaways
- Assess structural damage, electrical hazards, and contaminated water before entering flooded areas.
- Shut off power and the main water supply if it is safe to do so.
- Remove standing water quickly with pumps, wet vacs, or absorbent tools.
- Start drying immediately using fans, dehumidifiers, and open windows to prevent mold.
- Document damage, monitor hidden moisture, and call professionals for large or contaminated floods.
Check Damage and Safety First
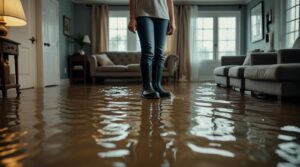
Before you start extracting water, inspect the area for structural damage, electrical hazards, and contaminated water. You’re protecting your team and your space when you slow down and verify conditions first.
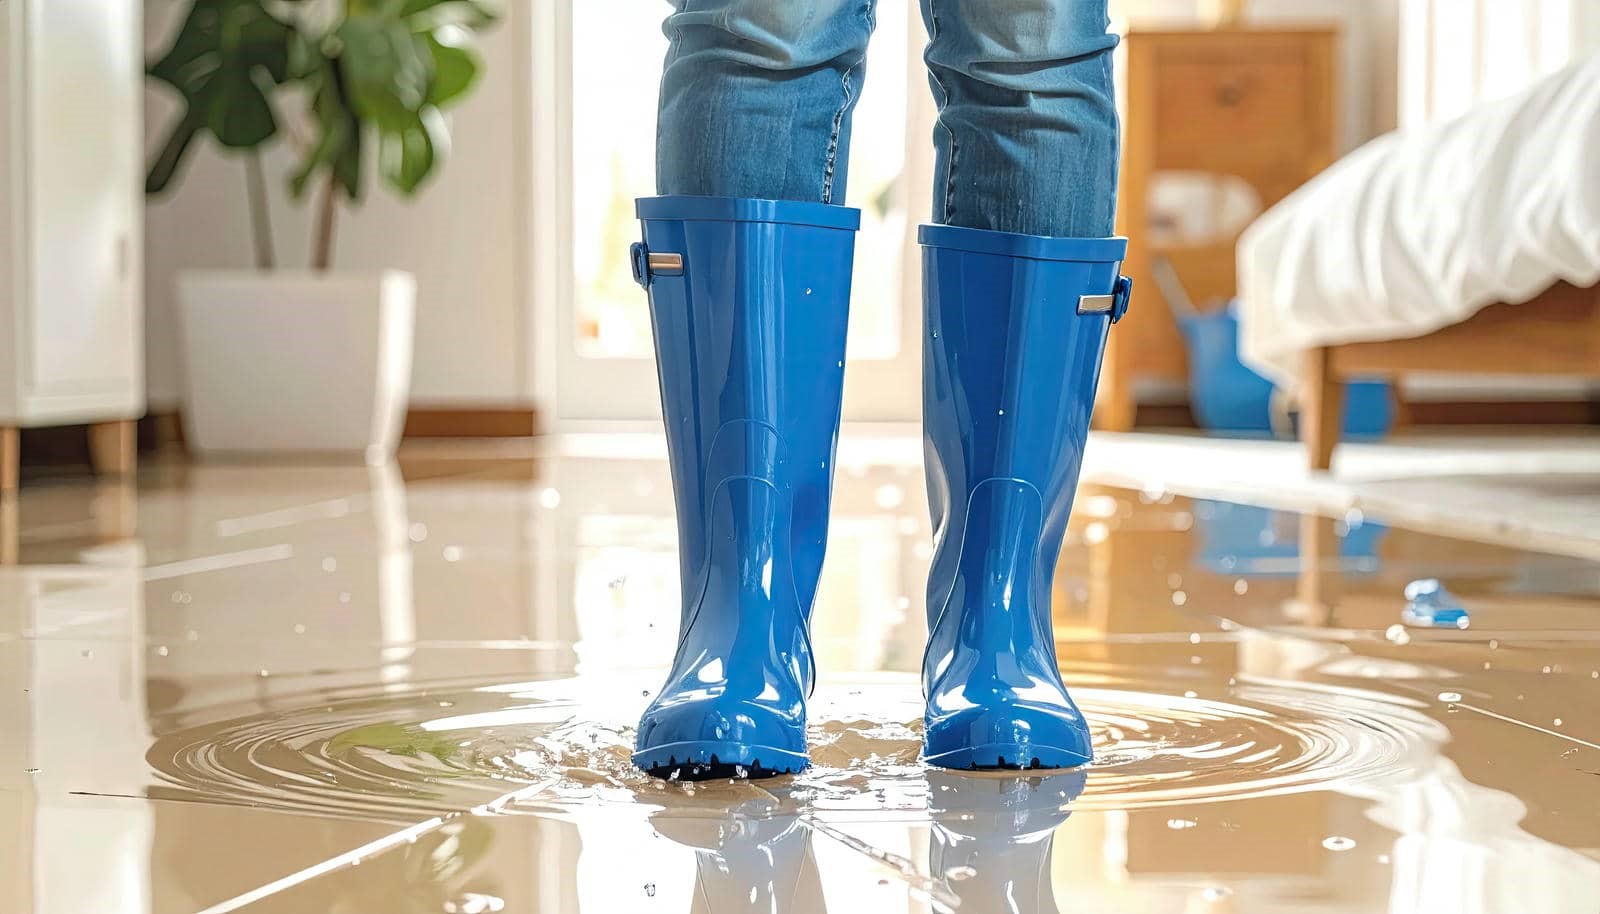
Use safety protocols that fit the site: wear boots, gloves, and eye protection; mark unstable floors; and keep others out until you complete a careful damage assessment.
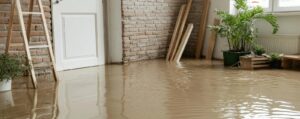
Look for sagging ceilings, cracked walls, and shifting debris that could collapse during cleanup. If you see sewage, chemical runoff, or standing water near outlets, treat the area as high risk.
Document hazards with photos and notes so your crew stays aligned and you can plan the next steps with confidence. This check helps your group work efficiently, safely, and with shared purpose.
Shut Off Power and Stop the Water
Cut the power at the main breaker if it’s safe to reach, and don’t enter any area where water may have contacted live electrical systems.
If you smell gas or see sparking, follow emergency procedures and leave the building immediately.
Shut off the main water valve to stop new flow, then isolate appliance valves if you can do so without standing in water.
Wear safety equipment such as insulated boots, gloves, and a flashlight with dry batteries.
Keep your team informed, and assign one person to verify each shutoff so no one works alone.
Label closed valves and breakers for quick reference.
If you can’t reach a control safely, wait for licensed responders.
Acting together protects your space, reduces further damage, and keeps everyone in the recovery crew safe.
Start Water Removal Immediately
Once you’ve stopped the water source, remove standing water right away to limit structural damage and contamination.
Use pumps, wet vacs, or absorbent tools to clear water from floors, corners, and low areas as fast as possible.
Then start drying immediately with airflow and dehumidification to slow mold growth and material deterioration.
Stop the Water Source
If you can do so safely, shut off the source of incoming water at once—close the main valve, stop the appliance, or turn off the supply line—and then start water removal immediately.
You protect the structure when you eliminate the water source first, because every minute adds load to floors, walls, and finishes. If you’re unsure which valve controls the line, label it now for faster flood prevention later.
In your team, assign one person to monitor the shutoff while others prepare extraction gear. Never force corroded fittings or enter an unsafe area to reach controls.
If water keeps flowing after shutdown, call a qualified plumber or utility service right away. Acting fast helps your crew work together, limit damage, and regain control of the space.
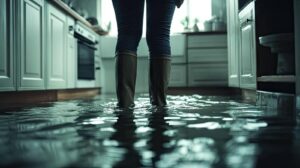
Clear Standing Water
Begin water removal as soon as the source is controlled, starting with the deepest standing water in the affected area. You’ll lower standing water risks by moving fast and working in sections so your team can keep control of the space.
Use water extraction tools suited to the volume: pumps for heavy depths, wet vacs for shallow pools, and squeegees to guide water toward drains or collection points. Keep hoses clear, empty tanks often, and check low spots behind furniture, under cabinets, and along edges.
Wear protective gear and watch for slip, shock, and contamination hazards. If you’re working with others, assign one person to monitor progress and another to manage equipment.
Fast, organized removal helps your crew stay safe and effective.
Begin Drying Fast
Start drying immediately after water removal, because every minute of delay raises the risk of structural damage, mold growth, and material failure.
You need to open windows, run fans, and place dehumidifiers right away. Remove wet rugs, cushions, and loose materials so air can reach hidden surfaces.
Use quick drying techniques such as lifting furniture on blocks, separating soaked items, and wiping hard surfaces with clean towels.
Check wall cavities, baseboards, and subfloors for trapped moisture. Keep effective air circulation moving across the whole area, not just one room.
If you’re working with neighbors or a cleanup crew, coordinate tasks so everyone dries the space faster and more safely.
Document moisture levels daily until materials read normal.
Remove Salvageable Items and Damaged Materials
Move salvageable items out first so you can limit further water exposure and document what can be saved.
Remove unsalvageable materials quickly, including soaked drywall, insulation, and warped furnishings, to reduce contamination and slow mold growth.
Keep wet items separate from dry ones so you can dry, clean, and inventory them without cross-contamination.
Prioritize Salvageable Belongings
Pull salvageable items out of the wet area as soon as it’s safe, and separate them from materials that can’t be recovered. Use item prioritization to protect what matters most: identification papers, medications, electronics, photos, and comfort items tied to your home.
Group belongings by material, then apply salvage techniques suited to each one so you don’t cause extra damage. Keep textiles, wood, and paper in distinct stacks, and handle each piece with clean hands or gloves.
Move recovered items to a dry, ventilated space with good airflow. Label containers so you can track what you’ve saved and what still needs attention.
Quick, organized action helps you preserve the objects that support your routine, identity, and sense of belonging after flooding.
Remove Unsalvageable Materials
Discard unsalvageable materials as soon as you can safely access the area, and separate them from items you plan to keep. Remove saturated drywall, insulation, carpet, and any porous materials that stayed submerged long enough to lose structural integrity.
Cut back damaged sections beyond the visible water line so you don’t leave hidden contamination behind. Place debris in heavy-duty bags or lined bins for prompt material disposal, and keep the path clear for safe removal.
If your team uses PPE, follow it consistently so everyone stays protected and coordinated. Quick removal supports mold prevention by eliminating the organic matter mold needs to grow.
Work methodically, stay alert for sharp debris, and keep your cleanup crew aligned on what’s gone and what’s still salvageable.
Separate Wet From Dry
Once you’ve cleared the unsalvageable material, sort the remaining contents into two zones: wet items that need cleaning or drying and dry items that can stay protected.
Move dry belongings to a clean, elevated area and cover them with plastic to keep them safe.
Group wet materials by type—porous, nonporous, and electronics—so you can match the right drying techniques and avoid cross-contamination.
Label each stack, then photograph items before handling them further.
Use fans, dehumidifiers, and airflow paths to speed drying, but don’t stack damp pieces tightly.
Keep salvageable items separated from damaged materials, and wear gloves when you handle anything contaminated.
You’ll work faster and feel more in control when your team follows the same sorting system from the start.
Dry Walls, Floors, and Framing
After standing water is removed, you need to dry walls, floors, and framing quickly to limit swelling, warping, and microbial growth.
Pull baseboards, inspect wall materials, and open hidden cavities so trapped moisture can escape. Check moisture barriers, subfloors, and studs for saturation, then remove soaked insulation and damaged trim.
Clean mud and debris from framing members, because residue holds water and slows recovery. Use a moisture meter to verify drying progress and document readings for insurance or repair teams.
- You protect your home’s structure.
- You keep your crew on the same page.
- You reduce the chance of hidden decay.
- You move closer to a safe, livable space.
Use Dehumidifiers and Air Movers
Place dehumidifiers in the most moisture-heavy zones, with clear airflow around each unit so they can pull water vapor efficiently from the space.
Position air movers to push air across wet surfaces, corners, and baseboards, not directly at one spot, so you speed evaporation without trapping damp air.
Check drying progress with a moisture meter and adjust equipment placement as readings drop and conditions change.
Dehumidifier Placement Strategy
Position dehumidifiers in the driest, most central areas that still allow good airflow across the wet surfaces, then pair them with air movers to keep moisture moving off walls, floors, and contents.
Choose dehumidifier types based on room size and saturation, then set ideal settings to hold steady humidity removal without overcooling the space. Keep doors closed so your equipment works as one recovery team.
- You’ll feel progress as dampness drops.
- You’ll protect shared spaces from hidden mold.
- You’ll help belongings dry with less stress.
- You’ll stay in control, even after flood loss.
Check the tank, drain line, and hygrometer daily. If readings stall, adjust placement slightly and verify seals around the room.
Air Mover Positioning
With the dehumidifiers set, aim your air movers so they create a steady, low-angle sweep across wet surfaces and push moisture toward the dry air intake path.
Position each unit to overlap coverage without blasting debris or creating dead zones. Choose among air mover types—axial for broad reach, centrifugal for focused channels—based on room layout and material density.
Keep cords clear, maintain straight runs, and angle discharge along baseboards, carpet edges, and wall bottoms for maximum airflow.
You’ll get better results when your team works in a consistent pattern, since shared setup habits help everyone stay aligned.
Set units on stable ground, elevate if needed, and avoid pointing directly at standing water.
Small adjustments can improve drying efficiency across the whole space.
Drying Progress Monitoring
Track drying progress by checking moisture levels at the same times each day and comparing them against your target readings. Use moisture measurement tools on walls, flooring, and baseboards to verify that dehumidifiers and air movers are working. Log each reading, then adjust drying techniques when numbers stall. Keep equipment running until surfaces stabilize within safe ranges.
- You’ll know you’re moving forward, not guessing.
- You’ll catch hidden wet spots before mold does.
- You’ll save time by correcting problems early.
- You’ll protect your team’s effort and confidence.
If one room dries slower, increase airflow, lower humidity, and recheck after a few hours. Stay consistent, and you’ll build a clear picture of recovery. Each reading helps your crew stay aligned and in control.
Find Hidden Moisture and Mold Growth
Even after visible water is removed, you still need to find moisture trapped behind walls, under flooring, and inside insulation. Use moisture detection tools like a pin meter, infrared camera, and hygrometer to map damp zones.
Check baseboards, wall cavities, subfloors, and HVAC returns where water can linger. If readings stay elevated, keep drying equipment running and open access points so air can move through hidden spaces.
Look for discoloration, swelling, peeling paint, and musty odors; these often signal early mold growth. For mold prevention, remove wet porous materials you can’t fully dry and maintain airflow until readings normalize.
You’re not doing this alone—systematic checks help your team protect the structure, reduce surprises, and finish the job with confidence.
Disinfect Surfaces After Water Removal
Once the water is out and surfaces are dry enough to work on, disinfect all hard, nonporous areas that were exposed to floodwater.
Use a bleach solution or an EPA-registered disinfectant, and follow the label exactly. Wear gloves, keep the area ventilated, and scrub first so disinfecting surfaces works better.
Let the product stay wet for the full contact time before wiping. Use clean cleaning techniques: fresh cloths, separate buckets, and no cross-contamination between rooms.
- You protect your home’s safe spaces.
- You reduce lingering odors and germs.
- You help your crew move forward together.
- You regain control one surface at a time.
Document Damage for Insurance Claims
Before you remove or discard damaged items, document everything for your insurance claim. Take wide shots of each room, then close-ups of water lines, warped materials, stains, and serial numbers. Use your phone’s timestamp and keep the original files.
Write a quick inventory with item names, locations, estimated age, and visible damage. Save receipts, repair quotes, and emergency purchase records in one folder for strong document organization.
Back up photos and notes to cloud storage and a drive. If possible, add short captions so you can match each image to the damaged item fast.
This record helps you move through the insurance claim process with less friction and fewer disputes. Stay methodical, and you’ll support your household’s recovery with clear proof.
Call Water Removal Pros When Needed
If the water covers a large area, reaches walls or insulation, or keeps returning, call water removal pros right away. You’ll get a professional assessment that confirms hidden damage, moisture migration, and contamination risks.
Their water removal techniques use high-capacity pumps, truck mounts, and calibrated air movers to reduce drying time and protect structural materials.
- You’ll feel relief when trained crews take control.
- You’ll avoid guessing about unsafe wet zones.
- You’ll protect your family’s health and comfort.
- You’ll join neighbors who’ve recovered faster.
If you can’t verify dry framing, baseboards, or subfloors, don’t wait. Pros can measure moisture, isolate affected rooms, and recommend repairs.
That support helps you stay confident, connected, and ready to move forward.
Frequently Asked Questions
What Tools Work Best for Extracting Flood Water Quickly?
Sump pumps, wet vacuums, and water hoses work fastest for extracting flood water. You’ll speed drying with portable fans, dehumidifiers, and extraction mats. Use them together, and you’ll clear water quickly while keeping your crew effective.
How Long Does Professional Water Extraction Usually Take?
Usually, you’ll see professional water extraction take 4–24 hours; for example, a basement flood may need longer. Technicians use extraction equipment and water removal techniques, and you’ll feel supported while they stabilize conditions quickly.
Can Furniture Be Saved After Floodwater Exposure?
Yes, you can often save furniture after floodwater exposure with prompt furniture restoration. You’ll need to clean, disinfect, and dry it fast; porous pieces may suffer severe flood damage, while solid wood often recovers better.
What Signs Show Hidden Moisture Behind Walls?
You’ll notice hidden moisture behind walls when paint bubbles, trim warps, or odors linger; these signs often coincide. Use moisture detection during wall inspection, and you’ll spot cool, damp sections before damage spreads.
Will Insurance Cover Emergency Water Extraction Services?
Yes, your insurance may cover emergency water extraction services if your insurance policies include water damage and your coverage limits apply. You’ll need to document losses, act fast, and confirm deductible requirements with your insurer.
Summary
You’ve taken the right steps to stabilize the site, remove standing water, and dry materials before mold can spread like wildfire. Keep checking hidden cavities, disinfect all wet surfaces, and document every loss for your claim. If structural damage, contaminated water, or persistent moisture remains, call water removal pros immediately. Fast action, careful inspection, and thorough drying protect your property and reduce long-term repair costs.