Structural Drying After Damage requires more than simply drying visible surfaces, as hidden moisture can continue damaging your property long after the water is gone. A proper drying process begins with a detailed inspection, moisture containment, and standing water removal before strategically placing air movers and dehumidifiers. Professionals monitor moisture levels within walls, flooring, and subfloors to identify hidden saturation and ensure materials are drying properly. Following the correct sequence helps prevent mold growth, protect structural materials, and avoid costly repairs caused by incomplete drying.
Key Takeaways
- Assess damage first, document moisture readings, and identify materials that can be safely dried versus removed.
- Stop the water source and isolate wet areas to prevent moisture migration into adjacent spaces.
- Remove standing water quickly using extraction tools, then place air movers and dehumidifiers for efficient drying.
- Monitor moisture, temperature, and humidity regularly, adjusting equipment to eliminate hidden dampness and slow-drying zones.
- Verify complete drying of walls, subfloors, and cavities, then restore materials and prevent mold with humidity control.
Check the Damage Before Drying
Before you start drying, inspect the damage carefully so you know what you’re dealing with and can avoid making it worse.
You’ll need a structured damage assessment that identifies affected materials, visible staining, swelling, buckling, and any signs of trapped moisture inside walls, floors, or insulation.
Document the scope with photos and notes, then compare readings from a moisture meter across unaffected and affected areas. This baseline helps you choose the right equipment and set a realistic drying timeline.
You’re not just checking surfaces; you’re confirming what can be dried safely and what may need removal.
When you assess thoroughly, you protect the structure, support your team’s decisions, and stay aligned with the rest of the restoration process.
Stop Moisture Spread and Secure the Area
You should isolate wet zones immediately to stop moisture from migrating into adjacent materials and hidden cavities.
Shut off the water source at the supply valve or main line, then verify that no active flow is feeding the affected area.
Protect unaffected areas with barriers, floor coverings, and controlled access so drying efforts stay contained and damage doesn’t expand.
Isolate Wet Zones
Isolating wet zones is one of the first controls in structural drying because it limits moisture migration and protects unaffected materials from secondary damage.
You begin with wet zone identification, mapping all affected surfaces, cavities, and finishes so you know exactly where containment belongs. Then you separate the space with plastic barriers, floor protection, and sealed openings to keep airborne humidity from spreading.
You also track the moisture source so you can target the source area without disturbing dry materials nearby. Mark the perimeter clearly, restrict traffic, and keep equipment staged inside the contained area.
When you work this way, you help your crew stay coordinated, reduce cross-contamination, and create a safer, more efficient drying environment that supports faster recovery.
Shut Off Water
Shut off the water supply immediately to stop active leakage and limit further saturation of framing, finishes, and insulation.
You should locate the main water supply valve or the nearest emergency shutoff and close it fully without delay. If the loss involves a fixture or appliance, verify that its branch valve is closed as well.
Confirm the flow has stopped by checking fixtures, supply lines, and visible wet points, but don’t reopen anything until you’ve identified the source.
This quick action helps you control damage, preserve structural materials, and keep the job site stable for the rest of the drying process.
When you act decisively, you support your crew, protect the property, and create the conditions needed for effective restoration.
Protect Unaffected Areas
Once you’ve stopped the source, protect dry or lightly affected areas by isolating the loss zone with containment barriers, floor protection, and controlled access. You’ll preserve surrounding finishes and keep humidity from migrating through the building.
Install protective barriers at doorways, vents, and openings to support effective area containment, then tape seams tight to limit airflow. Place clean walk-off mats and corner guards where traffic could track moisture or debris.
You should also label entry points, post access rules, and assign one trained person to monitor the perimeter. If you’re working with a team, keep tools, fans, and wet materials inside the contained space.
This disciplined setup reduces secondary damage, speeds structural drying, and helps everyone stay aligned.
Remove Standing Water From Floors and Walls
Start by extracting standing water from floors and wall cavities as quickly as possible, since prolonged saturation drives deeper moisture migration and increases the risk of structural deterioration and microbial growth.
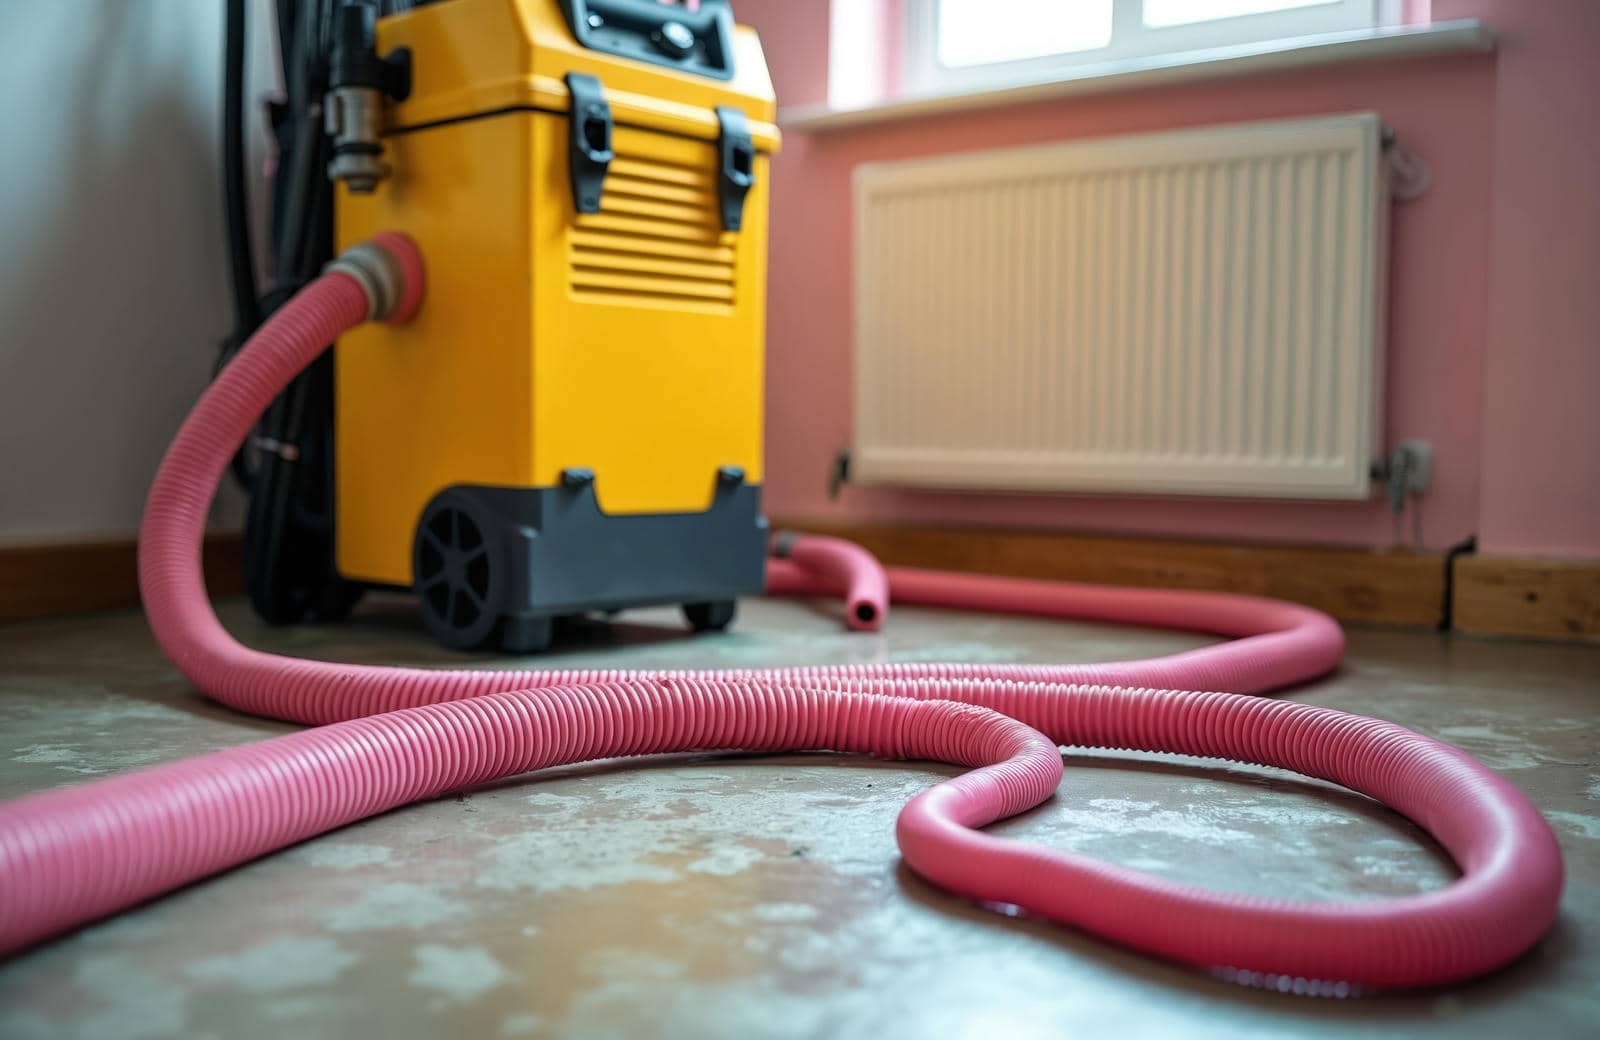
You should use targeted water extraction techniques, such as weighted wands, suction tools, and controlled vacuum passes, to remove liquid from carpet, pad, subfloor, and porous finishes.
For hard surfaces, apply floor drying methods that clear residual moisture from seams, baseplates, and connections without spreading contamination.
Inspect wall assemblies for trapped water at toe kicks, trim lines, and lower cavities, then extract until readings stabilize.
When you work methodically, you protect the structure and join a recovery process that keeps everyone focused, efficient, and confident in the next drying step.
Use Air Movers and Dehumidifiers Correctly
You should position air movers to create a sweeping airflow across wet surfaces, directing moisture toward open pathways rather than trapping it in corners or against walls.
Set dehumidifiers where they can pull humid air efficiently from the affected zone, and keep their intake and exhaust areas unobstructed so they maintain rated performance.
Balance airflow and dehumidification together, since too much movement without enough moisture removal can spread humidity while too little airflow can slow evaporation.
Airflow Placement
Proper airflow placement drives the drying rate, so position air movers to sweep across wet surfaces at low angles and direct that air toward the dehumidifier intake path without creating dead zones or short-cycling.
You’ll improve airflow dynamics when you stagger units along walls, under cabinets, and beside openings so each stream overlaps the next. Keep discharge aimed to move moisture off materials, not just across the room, and verify that return air can circulate freely.
This setup helps your team maintain drying efficiency and keeps everyone working from the same plan. Check corners, cavities, and behind contents for stagnant pockets, then adjust placement until the air feels uniform.
When you coordinate every device, you’re not guessing—you’re drying with control, confidence, and real technical precision.
Dehumidifier Balance
When you balance air movers with dehumidifiers correctly, the room dries faster because each machine supports the other’s function instead of competing for the same moisture load.
You should match air movement to surface evaporation and size dehumidifier capacity to the affected area, so you’re not recirculating humid air.
Different dehumidifier types, such as refrigerant and desiccant units, perform best under different temperature and humidity conditions.
Set ideal settings based on psychrometric readings, not guesswork, and check that discharge air stays clear of the intake path.
This coordinated setup helps you protect materials, shorten dry time, and stay aligned with your crew’s restoration plan.
When everyone works from the same drying strategy, you create safer results and stronger confidence in the process.
Track Drying With Moisture Meters
Moisture meters give you objective data to verify drying progress after water damage, helping you distinguish surface dryness from moisture trapped deeper in materials.
You can document readings at the same locations each day, compare them with baseline values, and confirm when your drying equipment is actually reducing moisture content.
Use pin or pinless meters as appropriate for the material, and record moisture measurement results alongside temperature and relative humidity for a full drying log.
This method keeps your team aligned, reduces guesswork, and supports faster decisions on when to reposition equipment or continue treatment.
When you track trends consistently, you protect occupants, limit secondary damage, and stay confident that the structure is drying to acceptable levels.
Dry Moisture in Walls and Subfloors
Once your moisture readings show progress, focus on the wall cavities and subfloors that often hold water long after surfaces feel dry.
You’ll need targeted moisture measurement to confirm hidden areas are actually drying, not just warming up. Remove baseboards, open selected access points, and use a careful wall inspection to check insulation, framing, and fasteners for trapped dampness.
In subfloors, test through finish flooring, seams, and penetrations so you can map wet pockets accurately.
Then increase airflow with directed ventilation and controlled heat, and keep dehumidification steady to pull moisture out of dense materials.
Work methodically with your team, verify each zone, and don’t assume one dry reading means the assembly is finished.
Prevent Mold After Drying
Even after materials read dry, you still need to prevent mold growth by verifying that no hidden moisture, organic debris, or stagnant air remains in the assembly.
During your post drying inspection, check baseplates, cavities, insulation, and fasteners with calibrated meters and a thermal camera. You should remove damp dust, disinfect contaminated surfaces, and keep airflow balanced so humidity doesn’t rebound.
Seal leaks, restore insulation, and maintain indoor conditions below 60% relative humidity. These mold prevention tips help you protect framing, drywall, and flooring while supporting a clean, healthy space your team can trust.
If odor, staining, or elevated readings persist, reopen affected sections and dry them again before closing walls. Your diligence now reduces callbacks, health risks, and future remediation costs.
Frequently Asked Questions
How Long Does Structural Drying Usually Take?
Structural drying usually takes three to five days, but you’ll see longer timelines when drying factors like material type, saturation, and airflow slow moisture removal. You can expect faster results with prompt, professional monitoring.
Can I Stay in My Home During the Drying Process?
Usually, you can stay, if your home safety checks pass—because nothing says comfort like fans roaring and moisture meters singing. You’ll need clear airflow, stable power, and professional monitoring throughout the drying process.
What Equipment Is Needed for Large-Scale Water Damage?
You’ll need truck-mounted water extraction units, submersible pumps, air movers, dehumidifiers, and moisture detection meters. You’ll also want containment, HEPA filtration, and thermal imaging to track hidden saturation, speed drying, and protect your team.
When Should I Call a Professional Drying Specialist?
You should call a professional drying specialist immediately after flooding, leaks, or hidden dampness, because they’ll provide emergency response and moisture assessment, protect your property, and help you join a knowledgeable recovery team fast.
Will My Insurance Cover Structural Drying Costs?
Maybe—your insurance policy may cover structural drying if the damage is sudden and accidental. You’ll need to verify coverage limits, exclusions, and deductibles with your adjuster so you can protect your claim.
Final Thoughts
You can cut drying time and reduce secondary damage when you act fast and monitor every surface. One useful statistic: mold can begin growing in as little as 24 to 48 hours after water exposure, so delay is costly. By checking damage, stopping the spread, removing standing water, using air movers and dehumidifiers, tracking moisture, drying hidden materials, and preventing mold, you’ll restore the structure more safely and efficiently.