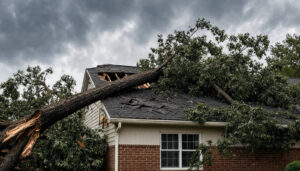
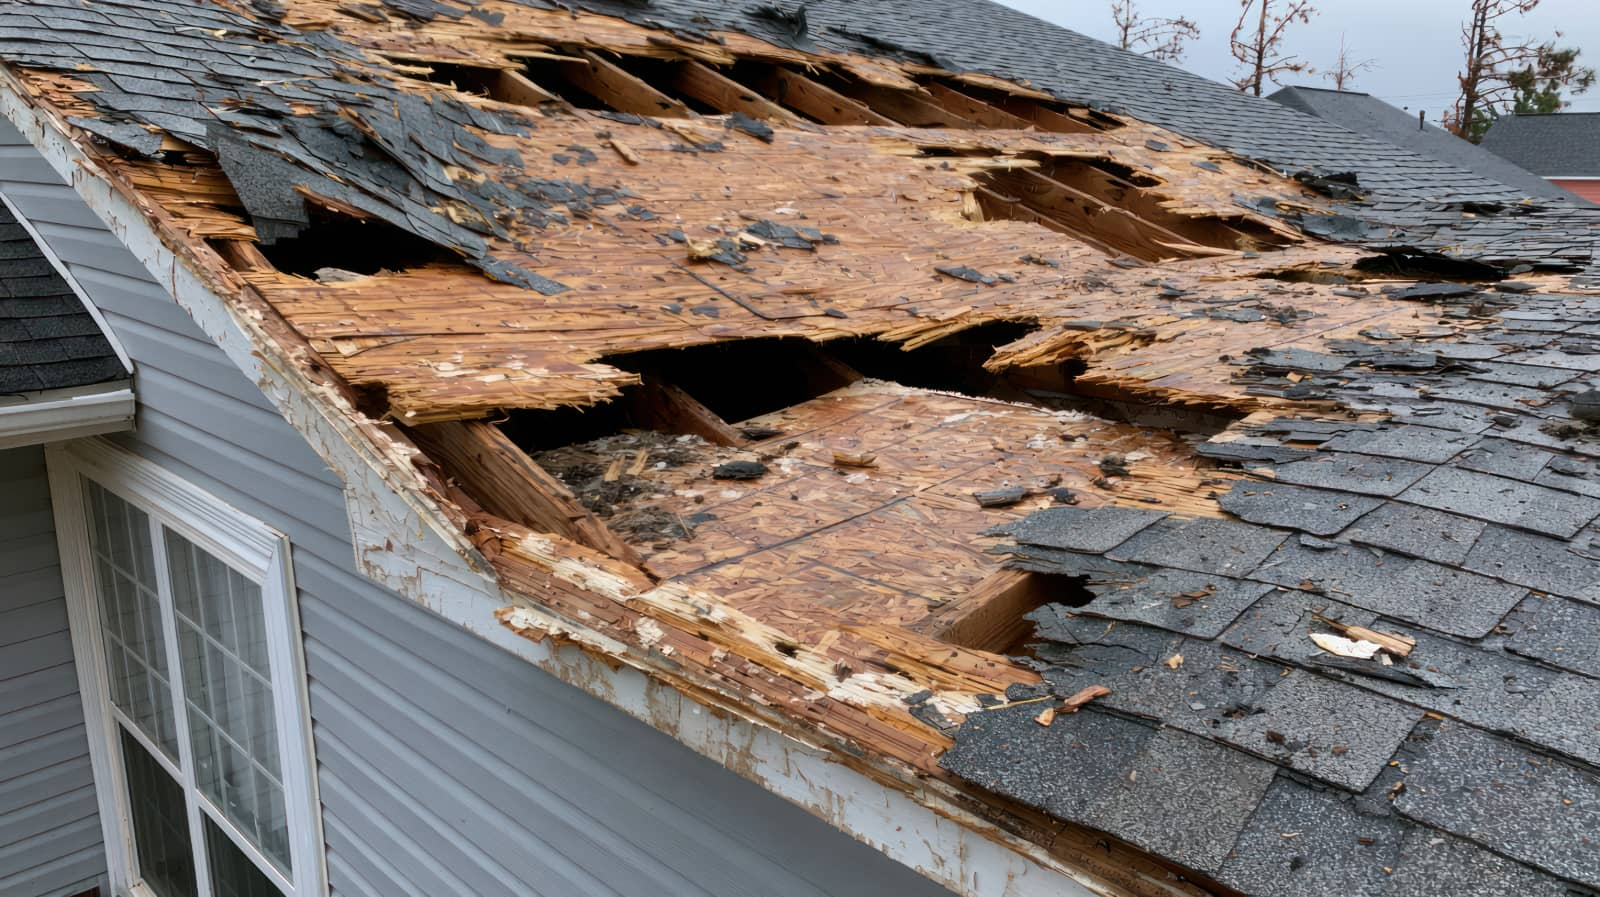
Nearly one in four homeowners faces storm-related damage at some point, and your response in the first few hours can shape the outcome. After storm damage, you need to check for immediate safety, document visible and hidden issues, and stop water from spreading before it causes further loss. The right steps can help protect your claim, your budget, and the quality of repairs, but a few important details are often missed.
Key Takeaways
- Make the area safe first by checking for hazards, shutting off utilities if safe, and keeping children and pets away.
- Stop further damage by removing standing water, protecting belongings, and ventilating rooms with fans and dehumidifiers.
- Document all damage with clear photos, videos, dates, and receipts for emergency repairs and cleanup supplies.
- Inspect hidden damage in attics and basements for moisture, discoloration, rust, and structural problems.
- Contact your insurer and hire a licensed contractor, then compare estimates and keep all repair records organized.
Check for Immediate Safety First
Before you inspect any damage, make sure the area is safe to enter.
After a storm, you should watch for downed power lines, gas odors, unstable structures, standing water, and broken glass. If you suspect a leak, fire risk, or electrical hazard, leave immediately and call emergency services or your utility provider.
Wear sturdy shoes, gloves, and a mask if you must enter briefly. You should keep children and pets away until you know the space is secure.
Shut off utilities only if you can do so safely. These steps to take after storm damage help you reduce risk and protect everyone on your property.
When you confirm the area is stable, you can move on with confidence and support your household’s recovery.
Photograph All Storm Damage
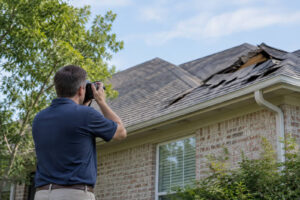
Take clear photos and videos of every area affected by the storm as soon as it’s safe to do so. Capture wide shots that show the full scene, then take closer images of damaged walls, roofs, windows, siding, furniture, and personal belongings.
Include time stamps if your device offers them, and note the date and location for each set of images. Move methodically so you don’t miss anything, and keep your file names organized for easier sharing with your insurer or contractor.
If possible, back up the media to a cloud service or external drive right away. Clear documentation helps you show the extent of loss, support your claim, and stay connected to the restoration team working with you.
Inspect Hidden Damage in Attic and Basement
Check your attic for moisture signs such as damp insulation, water stains, musty odors, and warped wood, since storm leaks often show up there first.
Then inspect your basement for water damage, including pooling water, wet walls, cracks, and shifting or stained materials.
If you find any of these issues, document them and address them quickly to limit further damage.
Attic Moisture Signs
A storm can leave hidden moisture in the attic and basement long after the visible damage is gone, so inspect both areas for damp insulation, stained sheathing, warped wood, peeling paint, musty odors, or active leaks.
You should also check rafters, trusses, vents, and any roof penetrations for discoloration or rust. Use a flashlight to look for dark patches, sagging materials, or condensation on nails and fasteners.
If you notice softened drywall, bubbling finishes, or cold, damp surfaces, document them clearly. Take photos from several angles and note the date, time, and location.
Basement Water Damage
Even if the surface looks dry, basement water damage can linger after a storm and cause hidden structural and indoor air-quality problems. You should inspect walls, floors, baseplates, and stored items for dampness, staining, swelling, or a musty odor.
Check sump pumps, drains, window wells, and utility areas for standing water or slow leaks. If moisture reached drywall, insulation, or framing, it can weaken materials and support mold growth. Use a flashlight to look behind appliances and along corners where seepage often starts.
Photograph all visible damage before cleanup, then remove wet belongings and ventilate the space. If water covered electrical components, shut power off and call a licensed professional. Acting quickly helps protect your home and keeps your household safer.
Prevent Further Water Damage
If water is still entering your home, stop it as quickly as you can to limit additional damage. Shut off the main water supply if a pipe has burst, and disconnect electricity to wet areas only if you can do so safely.
Move valuables, documents, and electronics to a dry space so you protect what matters most to your household. Remove standing water with buckets, mops, or a wet vacuum, and ventilate rooms by opening interior doors and windows when weather allows.
Run fans and dehumidifiers to lower moisture and slow mold growth. Check ceilings, walls, and floors for soft spots or swelling, then mark affected areas for later review.
Acting promptly helps your home recover faster and keeps your family’s next steps organized.
Cover Broken Openings and Leaks
Once you’ve slowed the water inside, protect the building from more intrusion by covering broken openings and leaks as soon as it’s safe. You can place tarps over torn roof sections, secure plastic sheeting over shattered windows, and board up exposed doors or vents. Use sturdy fasteners so wind won’t pull materials loose.
If you find small roof leaks, set containers beneath active drips and apply temporary patches only if you can do so without risk. Move quickly but carefully, since unstable shingles, sharp glass, and wet surfaces can cause injury.
Contact Your Insurance Company Right Away
Contact your insurance company right away so you can start the claims process and reduce delays in payment or repairs.
Give your agent the date of the storm, your policy number, and a clear summary of what’s damaged. Ask what your policy covers, what documentation they need, and whether you can choose your own contractor.
Keep notes from every call, including names, times, and instructions you receive. If your insurer offers a mobile app or online portal, use it to submit photos and claim details quickly.
Stay organized and respond promptly to requests so your claim moves forward without avoidable setbacks.
Save Receipts for Temporary Repairs
You should track every emergency repair cost, including materials, labor, and any out-of-pocket expenses tied to temporary fixes.
Keep clear records of each repair you make to prevent further damage, along with dates, descriptions, and photos when possible.
Organize all receipts in one place so you can submit accurate documentation to your insurer and verify your losses.
Track Emergency Repair Costs
If you need to make emergency repairs after a storm, keep every receipt and record each expense right away. List the date, vendor, item, amount, and reason for each charge so you can show how the repair protected your property from more damage.
Use one folder, spreadsheet, or app to organize costs for tarps, boards, nails, labor, and equipment rental. If you pay by card or digital wallet, save the transaction confirmation too.
Clear records help you speak confidently with your insurer, contractor, or landlord and reduce the chance of missed reimbursement. Review totals regularly so you can spot gaps early and stay prepared.
When you track costs carefully, you protect your claim and join the many homeowners who recover faster after severe weather.
Keep Temporary Fix Records
Temporary repairs deserve the same careful documentation as any other storm-related expense. You should keep receipts, invoices, and written estimates for tarps, plywood, fasteners, sealants, and labor you’ve paid for to limit additional damage.
Note the date, location, and purpose of each fix so you can show why the work was necessary. If you bought materials yourself, photograph them before use and keep the store receipt with the matching repair note.
If a contractor or neighbor helped, ask for a simple written record of what was done and what it cost. These records support your insurance claim and help you explain your actions clearly.
Staying organized here also helps you feel more confident as you protect your home and move toward recovery.
Organize All Repair Receipts
Keep all repair receipts together so you can track storm-related costs and support your insurance claim. Store invoices, credit card slips, contractor estimates, and material lists in one folder, whether digital or paper.
Label each item with the date, vendor, and repair purpose so you can quickly explain how it relates to temporary protection or emergency cleanup. If you buy tarps, plywood, fans, or mold treatment, keep those records too.
You’ll likely need them when you speak with your insurer, adjuster, or contractor. Organizing receipts also helps you compare costs, avoid missed reimbursements, and stay connected to the recovery process with confidence.
A clear record gives you a stronger position and helps your household move forward together.
Hire a Licensed Storm Repair Contractor
Once you have documented the damage and made the property safe, hire a licensed storm repair contractor to assess the work and provide a clear repair plan.
You’ll want a professional who knows local codes, understands storm-related hazards, and can explain what needs immediate attention. Verify licenses, insurance, and experience with roofing, siding, water intrusion, and structural repairs.
Ask for references and confirm the contractor communicates clearly and responds promptly. A qualified contractor can identify hidden damage, reduce the risk of future problems, and help you move forward with confidence.
When you choose someone dependable, you’re not handling recovery alone; you’re working with a team that understands the pressure you’re facing and can guide your home back to safe condition.
Review Repair Estimates and Approval
Review the repair estimates carefully and compare each contractor’s scope of work, materials, labor costs, timelines, and warranty terms before you approve anything.
You should check that each estimate addresses the same damage, so you can make a fair comparison. Ask questions about unclear line items, exclusions, and permit fees, and request written updates when a proposal changes.
You’ll want to confirm that the contractor’s payment schedule, insurance details, and cleanup responsibilities are spelled out clearly. Keep copies of every estimate and note the version you accept.
When you feel confident that the proposal matches your needs and budget, approve it in writing. That step helps you stay organized, protect your interests, and move forward with a team that’s ready to restore your property.
Start Permanent Repairs After Approval
With your written approval in place, the contractor can begin the permanent repairs needed to restore your property. You should confirm the schedule, scope, and materials before work starts, so your team stays aligned and your expectations remain clear.
Permanent repairs may include roof replacement, structural fixes, drywall, flooring, insulation, and electrical or plumbing restoration. Stay available for progress updates, but let licensed professionals handle the technical work.
Keep copies of permits, invoices, and change orders for your records. If the project reveals hidden damage, you’ll want prompt documentation and a revised plan.
Frequently Asked Questions
How Soon Should I Return Home After a Severe Storm?
You should return only when authorities say it’s safe and your home’s been inspected. Don’t rush back; hidden hazards, structural damage, and gas leaks can injure you. Contact professionals first, then document damage and begin cleanup.
What Emergency Supplies Should I Keep After Storm Damage?
Keep water, nonperishable food, flashlights, batteries, first aid, chargers, blankets, masks, and medications. After storms, you’ll want supplies for 72 hours; FEMA says that’s the minimum many families need before help arrives.
Can I File a Claim if the Storm Damage Seems Minor?
Yes, you can file a claim if the damage seems minor; you should document everything, review your policy, and contact your insurer quickly. Even small issues can worsen, and you’ll want support if repairs reveal hidden loss.
Should I Contact My Utility Company After a Storm?
Yes—contact your utility company right away; during major storms, thousands of outages can occur, and you’ll help keep your home safe. You’ll report hazards, confirm service status, and prevent further damage quickly.
How Do I Handle Storm-Damaged Trees on My Property?
You should keep clear of storm-damaged trees, assess from a distance, and call an arborist for unstable limbs or splits. Don’t attempt removals yourself; document damage, protect nearby property, and notify your insurer if needed.
Wrap-Up
After the storm passes, you can steady the ship by taking quick, careful action. Check for hidden damage, document every wound, and protect your home from further water intrusion. Keep every receipt, compare estimates, and work with a licensed contractor before repairs begin. When you follow these steps, you turn chaos into a clear path forward, helping you safeguard your property and peace of mind with confidence.