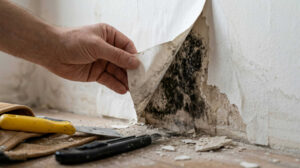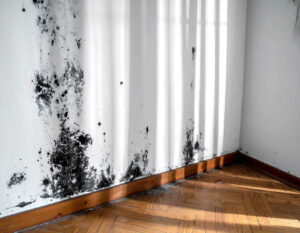
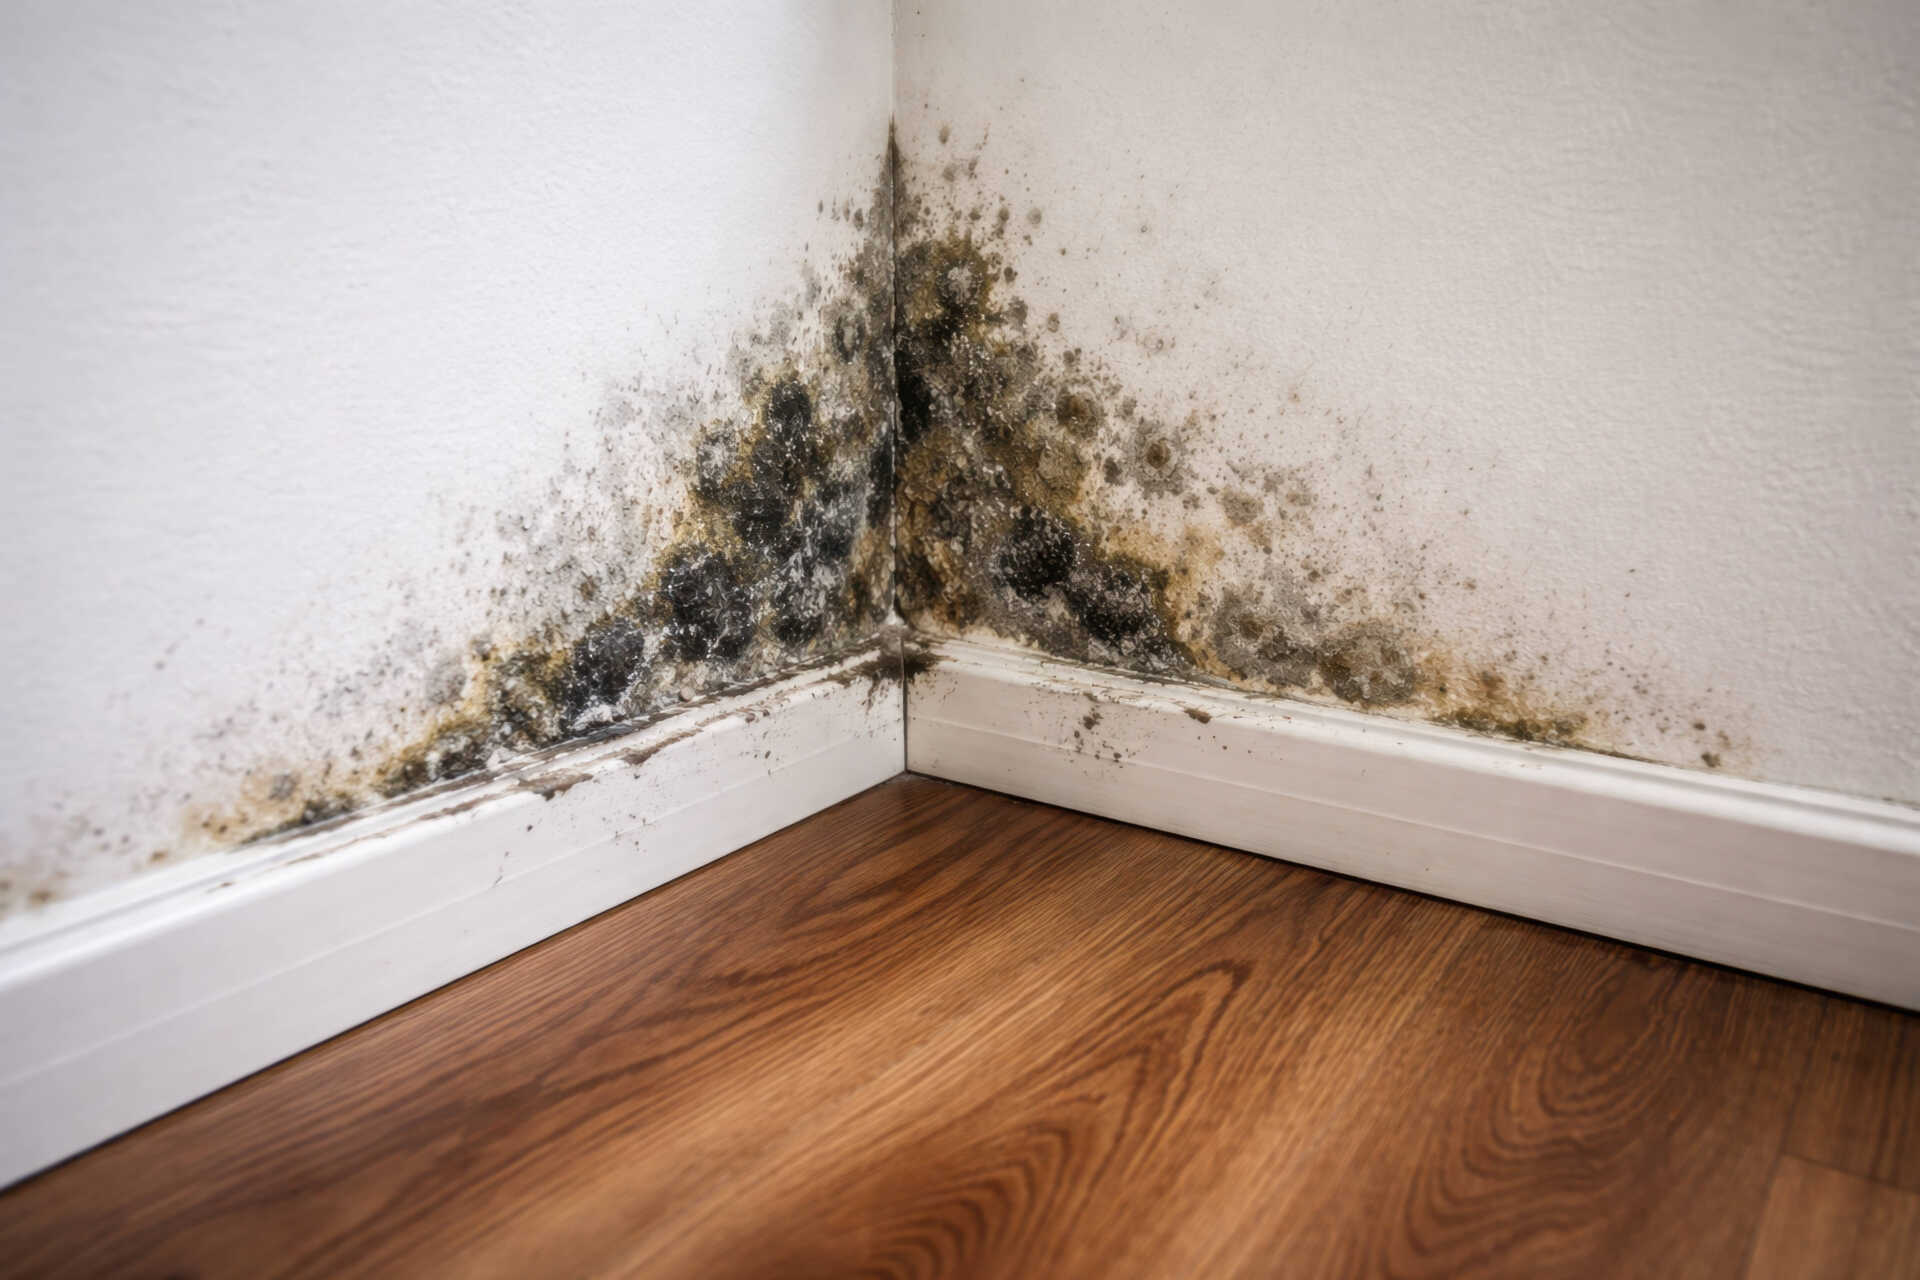
If you discover mold after a leak or flood, mold remediation and insurance coverage may depend on whether the cause fits your policy’s covered perils. You’ll need to act fast, document the damage, and check for mold exclusions or sublimits before you file. The difference between covered cleanup and an out-of-pocket loss often comes down to timing, policy wording, and proof- details that can significantly affect the outcome of your claim.
Key Takeaways
- Home insurance usually covers mold only when it results from a covered peril, like a burst pipe or roof leak.
- Policies often exclude mold from neglect, gradual seepage, or repeated moisture, and may also impose low coverage sublimits.
- Document damage immediately with dated photos, videos, moisture readings, repair records, and all insurer communications.
- Stop the water source first, dry affected areas quickly, and keep receipts for cleanup, disposal, and mitigation work.
- If a claim is denied, review the policy language carefully and submit a organized appeal with evidence that addresses the denial reasons.
What Home Insurance Covers for Mold
Home insurance typically covers mold only when a covered peril caused the moisture problem that led to the growth, such as a burst pipe, roof leak from a storm, or water damage from firefighting efforts.
You should confirm your policy’s mold remediation and insurance coverage terms, because insurers usually pay for cleanup tied to the covered loss, not the mold alone.
After you find moisture, report it promptly, stop additional water intrusion, and document the damage with photos, dates, and repair records.
Then file the claim and cooperate with the adjuster so you can show the cause and extent of loss.
If the insurer approves coverage, you may receive payment for drying, removal, and related repairs that restore your home to a safe, livable condition.
What Mold Exclusions to Watch For
What exclusions should you expect to see? You’ll often find mold language tucked into your policy’s exclusions section, so read it line by line.
Watch for absolute mold exclusions, low sublimits, and caps that apply per occurrence or per policy term. Check for maintenance exclusions that deny losses tied to neglected leaks, poor ventilation, or delayed cleanup.
Many policies also exclude gradual seepage, repeated moisture, long-term humidity, and preexisting damage. Some require you to report water damage promptly and document mitigation steps, or your claim can shrink fast.
You should also look for anti-concurrent causation wording, because it can limit coverage when excluded mold and covered water damage happen together.
Keep copies of endorsements, then ask your agent to explain any gap clearly, so your household stays prepared and protected.
Which Mold Causes Insurance May Cover
Insurance may cover mold when it stems from a sudden, accidental water loss that your policy already insures, such as a burst pipe, appliance failure, roof damage from a storm, or an overflow from plumbing or HVAC equipment.
You’ll usually see coverage when the mold follows a covered peril and you act promptly to stop further damage. Review your dwelling and personal property terms, because some policies limit mold payments to sublimits or only pay for direct cleanup after the initial loss.
If a covered event caused the moisture, your insurer may also consider temporary repairs and approved remediation.
Stay aligned with your policy’s notice rules, and report the loss as soon as you can so you keep your claim on track and protect your household’s interests.
How to Document Mold Damage
Start documenting mold damage as soon as you spot it, because a clean record can help support both coverage and the scope of repairs.
Take clear, dated photos and short videos of every affected area, including walls, ceilings, flooring, contents, and visible staining. Save repair invoices, moisture readings, inspection notes, and any correspondence with your insurer or adjuster.
Create a simple timeline showing when you first noticed the issue, when you reported it, and what conditions you observed. Keep samples or discarded items only if your policy or adjuster asks for them.
Use consistent file names and store backups in one place so your claim stays organized. When you present a complete record, you help your household speak with one voice and strengthen your position throughout the claim process.
Mold Remediation Steps After Water Damage
First, you should stop the water source immediately to prevent additional damage and limit the spread of mold.
Next, you’ll dry all affected materials as quickly and thoroughly as possible, following any insurer-required mitigation steps.
Then, you should remove contaminated contents that can’t be cleaned or salvaged and keep clear records for your claim.
Stop The Water Source
Before mold can be effectively addressed, you need to stop the water source that caused the damage, because ongoing moisture will keep spreading and can undermine both remediation and an insurance claim.
Shut off the supply line, close the main valve, or isolate the leak immediately, and document the exact action you took. If the source is hidden, contact a licensed plumber or restoration contractor right away.
Notify your insurer promptly and explain that you’ve taken reasonable steps to prevent further loss. Keep receipts, photos, and notes showing when you stopped the leak and who inspected it.
If your policy requires mitigation, follow those terms closely so your claim stays aligned with coverage conditions. Acting quickly protects your home, your neighbors, and your claim file.
Dry Affected Materials
Once you’ve stopped the water source, dry every affected material as quickly as possible because lingering moisture can turn a water-loss claim into a mold dispute.
You should open windows if weather allows, run fans, and use dehumidifiers to pull moisture from walls, floors, and framing. Keep air moving, but don’t spread dampness into unaffected areas. Document the start time, equipment used, and daily progress so you can show your insurer you acted promptly and reasonably.
- Remove standing water fast.
- Dry structural materials until readings drop.
- Save meter photos and receipts.
If your policy includes mold limits, prompt drying helps support coverage and shows compliance with mitigation duties.
You’re not alone in this step; careful records and steady action strengthen your claim and your position.
Remove Contaminated Contents
Pull contaminated contents out of the wet area as soon as you can, because mold can spread from porous items into clean spaces and complicate your claim.
You should bag, label, and separate damaged items from salvageable ones, then photograph each piece before you move it.
Keep receipts for disposal, cleaning, and temporary storage, since insurers often ask for proof of loss and mitigation costs.
Check your policy for coverage limits on personal property, mold sublimits, and exclusions tied to long-term seepage or neglect.
If an adjuster needs to inspect items, preserve them until you get direction.
When you act fast and document each step, you protect your claim and stay aligned with others who’ve faced the same cleanup.
When Insurance Pays for Testing and Cleanup
Insurance may pay for mold testing and cleanup when the mold results from a covered loss, such as a burst pipe, roof leak, or appliance failure, and the policy includes resulting water damage or mold-related expenses.
You’ll usually qualify only if the damage happened suddenly and you act within the policy’s limits. Review your declarations page and endorsements so you know whether mold caps, exclusions, or sublimits apply.
Then focus on what insurers typically cover:
- Testing that confirms the source and extent of contamination
- Professional containment, removal, and structural drying
- Repairs needed to stop ongoing moisture intrusion
If your policy covers the cause, you’re not alone in expecting help with remediation costs.
Keep your home safe, document conditions, and follow the carrier’s approved standards.
How to File a Mold Claim
When mold appears after a covered water event, you should notify your insurer right away and start the claim process with clear, specific facts.
Give the date, source of water, affected rooms, and when you first noticed the mold. Then ask for the claim number, adjuster contact, and any required forms.
Protect your home, but keep damaged materials until the adjuster inspects them, unless removal is necessary for safety.
Photograph every area, save repair invoices, and keep notes of calls, emails, and conversations.
If your policy requires prompt notice, meet that deadline.
Submit your loss details, mitigation records, and proof of repairs in one organized package so your file stays easy to review.
Staying methodical helps you move forward with confidence and stay aligned with your coverage.
How to Respond to a Claim Denial
When you get a denial letter, review it line by line and note the exact policy language, exclusions, and stated reason for the denial.
Then gather supporting evidence, including photos, repair estimates, inspection reports, and prior claim records, to show why your loss should qualify for coverage.
Keep your documentation organized so you can respond quickly and challenge any errors with a clear, policy-based appeal.
Review Denial Letter
A denial letter is your starting point for an appeal, because it should tell you exactly why the insurer رفضed the mold claim and which policy language they relied on.
Read it line by line, and mark every cited exclusion, condition, and deadline. You’ll want to see whether the carrier says mold stems from wear, maintenance, or a non-covered source.
Then compare the insurer’s stated reason with your policy’s coverage section and endorsements.
- Note the denial date and appeal deadline.
- Identify every cited policy provision.
- Flag any vague or missing explanation.
If the letter feels incomplete, you’re not alone. Insurers sometimes write broadly, but you deserve a precise basis for denial so you can respond with confidence and stay on track.
Gather Supporting Evidence
Once you’ve marked the denial reasons, gather evidence that directly answers each one, because your appeal should show the insurer what happened, when it happened, and why coverage may still apply.
Collect dated photos, videos, repair invoices, plumber or HVAC reports, moisture readings, and any emergency mitigation receipts. Save the policy, the denial letter, claim notes, and every email or text with the adjuster.
If a sudden pipe leak, roof failure, or appliance overflow started the mold, obtain a written statement that ties the cause to a covered event.
Build a clear timeline from first damage through remediation. Then organize everything by denial issue, so you can respond point by point and show you’re following the same process careful policyholders use.
Frequently Asked Questions
Can Mold Affect My Home’s Resale Value?
Yes—mold can lower your home’s resale value because buyers may worry about hidden damage and future repairs. You can protect value by documenting cleanup, fixing moisture sources, and sharing professional inspection records upfront.
Should I Hire a Public Adjuster for Mold Claims?
Yes, you should hire a public adjuster if your claim’s a locked door; they can access policy limits, document hidden damage, and negotiate for you, especially when your insurer’s wording feels overwhelming or unfair.
How Long Does Mold Remediation Usually Take?
You’ll usually need one to seven days for small jobs, but larger infestations can take weeks. You should expect inspection, containment, removal, drying, and verification. Stay proactive, document everything, and follow your insurer’s procedures.
Can Renters Insurance Cover Mold Damage?
Yes, you can get coverage if your policy covers sudden leaks, fire, or vandalism; you may not if it excludes neglect, flooding, or gradual growth. You’ll need photos, receipts, and prompt notice to file a claim.
Are Temporary Housing Costs Covered During Remediation?
Yes, you’re often covered if your policy includes loss-of-use coverage and a covered mold cause forced you out. You’ll need receipts, claim approval, and proof remediation made your home uninhabitable during repairs.
Recap
You can protect your claim by acting fast, documenting every wet surface, and reviewing your policy for mold exclusions and sublimits. If a covered peril caused the damage, your insurer may pay for testing, cleanup, and repairs. Follow the claims process carefully, keep records of all communications, and challenge a denial when the facts support coverage. When you move quickly, you keep mold from spreading like ink across a page.