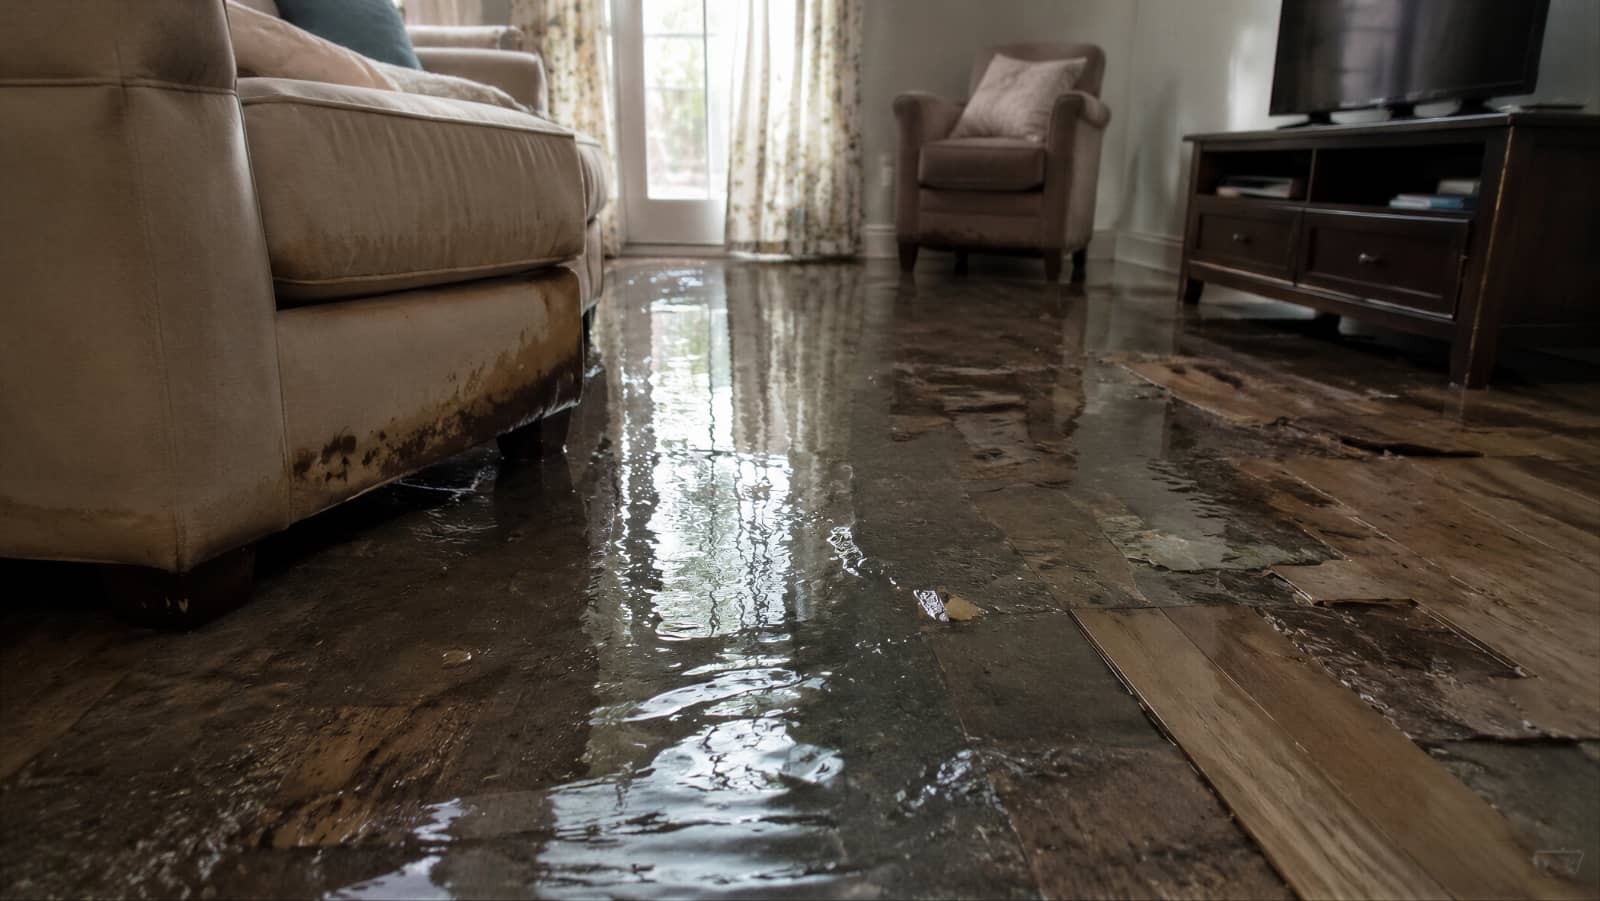
Water can seem harmless until it soaks walls, floors, and hidden cavities. The emergency water damage restoration process starts with checking safety, followed by technicians who inspect the damage, map moisture, and remove standing water fast. After that, they dry, clean, and sanitize the affected areas while documenting everything for insurance. Repairs come next, but the real question is whether the structure is truly dry yet, and that’s where the process gets critical.
Key Takeaways
- Technicians inspect the damage, identify the water source, and create a clear restoration plan.
- Standing water is quickly removed using pumps and vacuums to limit further damage.
- Air movers and dehumidifiers dry walls, floors, and hidden moisture while conditions are monitored.
- Safety hazards are checked, utilities may be shut off, and affected areas are documented for repairs.
- Final restoration includes cleaning, sanitizing, replacing damaged materials, and verifying complete drying.
Emergency Water Damage Restoration Process
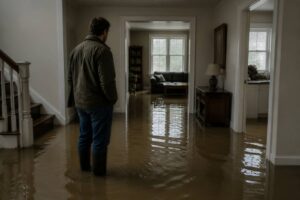
When water damage strikes, the restoration process starts fast with a detailed inspection to assess the source, spread, and severity of the damage.
You’ll get a clear plan for the emergency water damage restoration process, so you know what comes next and feel supported.
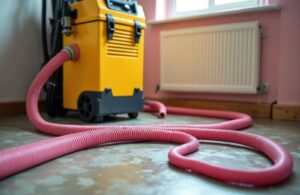
Technicians then extract standing water with powerful pumps and vacuums, reducing further loss.
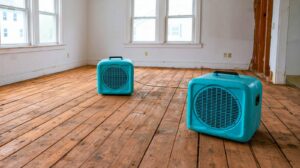
Next, they place air movers and dehumidifiers to remove hidden moisture from walls, floors, and contents.
They also clean affected surfaces and apply antimicrobial treatments when needed to limit odor and microbial growth.
Finally, they document progress, verify drying goals, and complete repairs that return your space to normal.
You’re not facing it alone; the team works with you to restore comfort, control, and confidence.
Check Safety Before Cleanup
Before you start cleanup, assess the structure for sagging ceilings, warped floors, loose drywall, or other hazards that could fail under load.
If it’s safe to do so, shut off electricity, gas, and water at the main source to reduce shock, fire, and leak risks.
Only enter the area once you’ve confirmed the space is stable and the utilities are secured.
Assess Structural Hazards
A thorough safety check comes first in any water damage response. You need to look for structural hazards before you enter further. Water can weaken floors, walls, ceilings, and stairs, so move slowly and trust your senses.
If anything feels unstable, stop and keep your team out until a pro evaluates it.
- Check for sagging ceilings
- Watch for cracked or bowed walls
- Test floors for soft spots
- Inspect stairs and landings
- Look for shifting foundations
You’ll protect everyone when you identify risks early and document them clearly. Mark unsafe areas, limit access, and stay with your restoration crew so no one works alone in a compromised space.
This step helps your recovery stay controlled, efficient, and safe.
Shut Off Utilities
Once you’ve confirmed the area is stable enough to enter, shut off the utilities to reduce the risk of shock, fire, or gas exposure.
Turn off electricity at the main breaker if water has reached outlets, appliances, or wiring. If you smell gas, hear hissing, or see a damaged line, leave immediately and call your utility provider and emergency services.
Close the main water valve to stop additional flooding, then shut off fuel sources such as propane or oil if they’re affected.
Don’t touch switches or wet equipment with bare hands. If you’re unsure, wait for a licensed professional to verify the system.
This step protects your household and helps your restoration team work safely, so everyone can move forward with confidence together.
Inspect Damage and Map Moisture
Technicians inspect the visible damage and quickly map hidden moisture to determine how far the water has spread. You’ll see them check walls, flooring, trim, and insulation, then log readings so your team can plan the next steps with confidence.
- Moisture meters pinpoint damp materials
- Thermal imaging reveals hidden wet zones
- Inspectors mark affected rooms and boundaries
- They note warped, stained, or softened surfaces
- They document findings for your records
This assessment helps you understand what’s wet, what’s at risk, and what needs focused attention.
Remove Standing Water Fast
You need to remove standing water fast to limit structural saturation and reduce secondary damage.
We’ll use pumps and high-powered vacuums to extract water from floors, cavities, and low areas as quickly as possible.
This rapid removal helps prevent swelling, corrosion, and microbial growth while the drying process begins.
Fast Water Extraction
Fast water extraction starts immediately after inspection to remove standing water before it soaks deeper into floors, walls, and contents. You’ll see trained technicians move quickly, map affected areas, and use specialized equipment to pull moisture from accessible surfaces.
This step helps protect your home and keeps the restoration plan on track.
- Identify saturated zones
- Protect unaffected belongings
- Reduce spread into hidden cavities
- Support faster drying later
- Prepare rooms for cleanup
You’re not facing this alone; the team works with you to stabilize the space and limit added damage.
Fast extraction is precise, controlled, and focused on getting your property back to a safer condition as soon as possible.
Pumping and Vacuuming
Once the affected areas are mapped, crews bring in pumps and wet vacuums to remove standing water quickly. You’ll see technicians place hoses in low spots, direct flow to approved drains, and monitor suction so water leaves fast and evenly.
This step lowers saturation in flooring, trim, and subfloors, so your team can work with a cleaner, safer site. You can expect steady noise, controlled movement, and constant checks on remaining moisture. The goal is simple: get bulk water out before it spreads deeper.
Because everyone on site follows the same plan, you’re not dealing with guesswork—you’re part of a coordinated recovery effort. Once the visible water is gone, the next phase can begin with more accurate drying targets and less disruption.
Preventing Further Damage
As standing water lingers, it keeps soaking building materials and increases the risk of swelling, staining, and microbial growth. You need to act fast, because every minute counts during emergency water damage restoration.
Our team will remove residual water, protect affected surfaces, and stabilize the space so damage doesn’t spread. You can help by keeping traffic low and reporting hidden moisture.
- Shut off power in wet zones.
- Move dry contents to a safe area.
- Lift rugs and furniture off floors.
- Open access to closets and cabinets.
- Keep children and pets away.
This quick response supports your home’s structure and gives your crew a cleaner, safer starting point. Together, we’ll stop the loss from growing and move you toward recovery.
Dry Walls, Floors, and Air
Technicians then dry your walls, floors, and indoor air using targeted equipment such as air movers, dehumidifiers, and sometimes wall cavity drying systems.
You’ll see them position machines to create steady airflow, draw moisture from materials, and speed evaporation without overloading your home. They monitor temperature, humidity, and surface readings so they can adjust equipment as conditions change.
This step helps stabilize the structure and reduces the chance of hidden dampness lingering behind finishes. You can expect some noise and warm air movement, but the setup stays focused and efficient.
The team checks progress regularly, giving you clear updates so you know the space is moving toward a dry, safe state.
Clean, Sanitize, and Prevent Mold
Next, the team cleans affected surfaces, sanitizes salvageable materials, and treats high-risk areas to help prevent mold growth. You’ll see technicians use EPA-registered cleaners and targeted antimicrobial applications to reduce microbial activity on hard, nonporous materials. They work methodically, so your home feels controlled and cared for.
Key steps include:
- Removing dirt and residue
- Sanitizing salvageable contents
- Treating hidden cavities
- Sealing off contaminated zones
- Checking for recurring moisture
You’ll also get focused attention on porous items that may need disposal if contamination runs deep. By keeping humidity low and surfaces dry, the crew limits conditions mold needs to spread.
This step helps restore a healthier indoor environment, and you’re not facing it alone.
Document Damage for Insurance Claims
Once the area is stable, the team documents damage for your insurance claim with clear photos, moisture readings, and detailed notes on affected materials.
You’ll see them record room conditions, item locations, and visible impact so your claim reflects the full scope. They may label affected surfaces, compare wet and dry zones, and track readings over time to support loss verification.
This careful file helps your adjuster understand what happened without guesswork. You stay informed, too, because the team can explain each record and answer questions as the process moves forward.
With organized evidence, you’re not handling the claim alone; you’re working with a crew that knows how to protect your interests and keep documentation accurate, professional, and ready for review.
Make Repairs After Water Damage
After drying and cleanup are complete, your restoration team can start making repairs to return the space to pre-loss condition. You’ll see targeted work that rebuilds what water weakened and helps your home feel like yours again.
Common repairs include:
- Replacing damaged drywall
- Installing new insulation
- Repairing flooring and trim
- Resetting cabinets or fixtures
- Repainting affected surfaces
Your crew may also match materials, seal vulnerable areas, and restore structural components as needed.
They’ll use precise methods so each repair blends with the surrounding finish. You can expect clear coordination, steady progress, and a focus on safety and durability.
This phase brings your space back together, so you can move forward with confidence and feel at home again.
Confirm the Restoration Is Complete
With repairs finished, your restoration team will confirm the job is complete by checking that the space is dry, clean, and safe to use.
You’ll see them verify moisture readings in walls, floors, and framing, then inspect for hidden dampness, odors, stains, or warped materials.
They’ll test restored systems, confirm sanitation, and ensure no debris or contaminants remain.
If they find anything off, they’ll address it before closing the project.
You should also review the finished work, ask questions, and make sure you feel comfortable with the results.
This final walkthrough helps you know your home or business is truly back to normal, so you can re-enter with confidence and feel supported by a team that’s done the job right.
Frequently Asked Questions
How Soon Should I Call a Restoration Company After Flooding?
Call a restoration company right away—ideally within hours of flooding. You’ll limit structural damage, mold growth, and costly repairs. They’ll inspect, extract water, dry materials, and guide you through recovery with confidence.
Will Restoration Teams Move My Furniture and Belongings?
Yes, they’ll move your furniture and belongings, carefully and quickly, to protect items and create clear drying access. You’ll usually see crew members catalog, cover, and relocate contents, then return everything after repairs.
Can I Stay in My Home During Water Damage Restoration?
You can stay in your home if damage’s limited and utilities remain safe, but you’ll need to avoid work areas. Your team’ll isolate affected rooms, manage drying, and help you stay comfortable throughout.
How Long Does the Entire Restoration Process Usually Take?
Usually, you’ll need a few days to several weeks, depending on damage severity. You’ll get rapid extraction first, then drying, cleaning, and repairs. Your team’ll monitor progress so you can feel included and informed throughout.
What Signs Mean Hidden Water Damage Is Still Present?
A lot of hidden damage starts behind walls: you’ll notice musty odors, warped floors, peeling paint, recurring stains, or rising humidity. Don’t ignore soft drywall or lingering mold, because you belong in a dry, safe space.
Summary
When water strikes, you don’t have to face your own Flood of Styx alone. You’ve seen the path: secure the space, trace hidden moisture, extract water, dry thoroughly, clean and sanitize, document the loss, and complete repairs. By following each step with precision, you reduce damage and lower the risk of mold. In the end, you’ll know the restoration is complete when your home is safe, dry, and ready for normal use again.