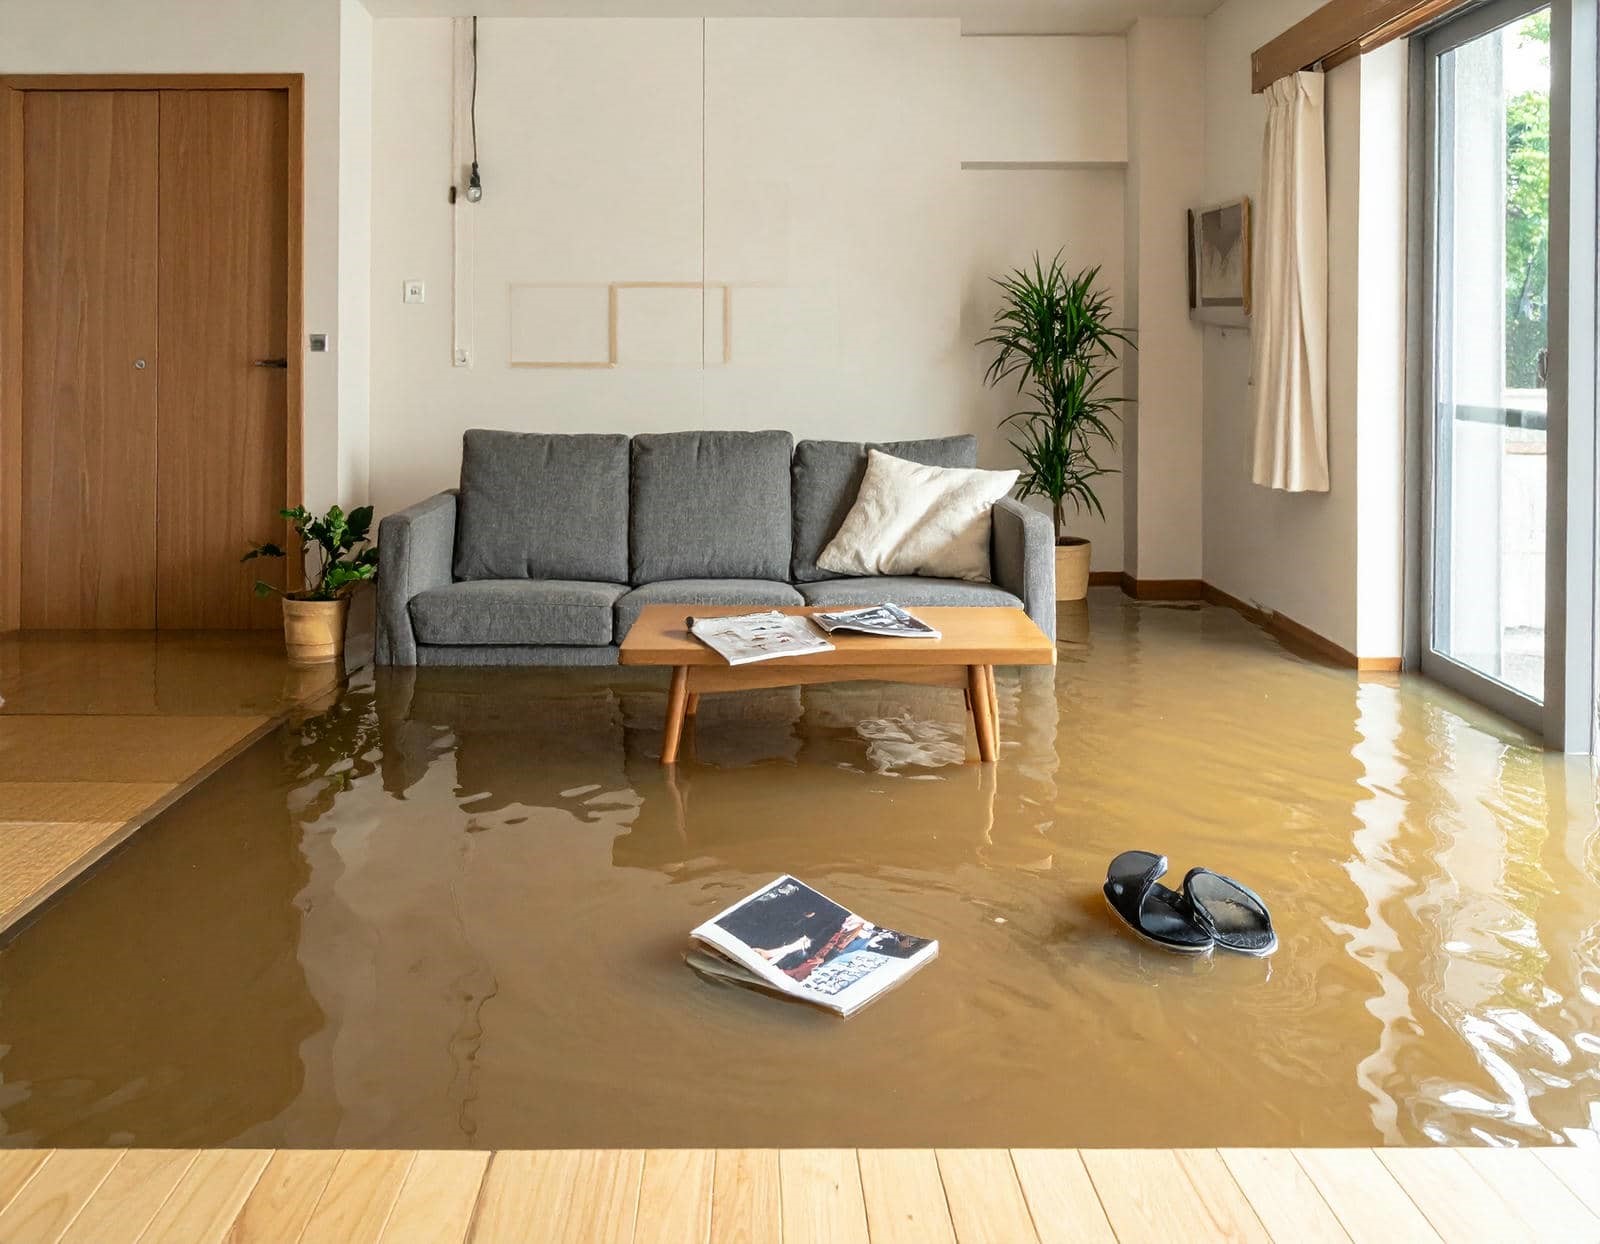
Flooded Home Cleanup Repair requires a fast, organized response to limit damage and protect your property after a flood. Begin by assessing the affected areas, shutting off electricity and the water source if it is safe to do so, and removing standing water before moisture spreads into walls, floors, and other materials. Thorough drying, mold prevention, and contamination checks are essential to protect your home and belongings. Addressing hidden moisture and structural issues early helps preserve salvageable materials, reduce repair costs, and create a safer path toward complete restoration.
Key Takeaways
- Document all flood damage with photos, then inspect hidden areas for water lines, swelling, mold, and structural issues.
- Shut off electricity, water, and gas safely before cleanup, and avoid wet outlets, cords, or appliances.
- Pump out standing water gradually, then remove soaked drywall, insulation, and other unsalvageable materials promptly.
- Clean hard surfaces with soap and disinfectant, and dry everything quickly using fans, dehumidifiers, and good ventilation.
- Restore only after safety checks, professional inspections, and moisture readings confirm the home is dry and structurally sound.
Assess Flood Damage First
Before you start cleaning, you need to assess the flood damage first so you can work safely and prioritize what matters most.
Walk through each room and note water lines, soaked materials, staining, warping, and odors. Use a flashlight to check corners, baseboards, cabinets, and hidden spaces, because damage often spreads beyond what you can see.
During your flood assessment, photograph everything and list items that need drying, removal, or professional help. Your damage evaluation should separate salvageable items from materials that can’t be saved, like swollen drywall or soaked insulation.
Stay calm and systematic; you’re not doing this alone, and each careful step helps your home recover. If you document clearly now, you’ll make cleanup faster, safer, and more organized for everyone helping you.
Shut Off Water and Power
Once you’ve sized up the damage, cut off the utilities so the cleanup stays safe.
First, locate your main water valve and turn it off if you can reach it without stepping into standing water. If the shutoff is stuck, call your utility provider for help.
Next, follow power safety precautions: switch off electricity at the breaker only if the panel is dry, accessible, and outside the flood zone. Never touch wet outlets, cords, or appliances.
If you smell gas or hear hissing, leave immediately and contact emergency services and your gas company.
These water shutoff tips protect you and your crew while you prepare the rest of the home. You’re not doing this alone; careful, steady steps keep everyone safer together.
Pump Out Standing Water
Start pumping out standing water as soon as it’s safe to do so, using a submersible pump, wet/dry vacuum, or sump pump sized for the job.
Choose water extraction techniques that match the depth and debris level: a pump handles larger volumes, while a wet/dry vacuum helps with shallow puddles.
If you’re comparing sump pump options, pick one with enough horsepower and hose length to move water away from your foundation and walkways.
Keep discharge hoses clear, stable, and directed downhill if possible.
Work steadily, but don’t lower the water level too fast if the structure is heavily damaged; a gradual drop can reduce stress.
Wear boots and gloves, monitor the area, and stay with your team.
You’ve got this, and every gallon you remove brings you closer to recovery.
Dry Walls, Floors, and Furniture
Open windows, set up fans and dehumidifiers, and keep air moving across wet walls, floors, and furniture so moisture can escape faster.
You should monitor humidity and surface temperature with a meter, because hidden dampness can linger inside materials.
Run air movers along baseboards, under cabinets, and around upholstered pieces, but don’t trap moisture by closing rooms too soon.
Lift area rugs, prop furniture feet on blocks, and separate cushions so they dry evenly.
For drywall, watch for swelling, sagging, or persistent softness that may signal drywall replacement.
For wood and fabric, continue circulation until readings stabilize and surfaces feel dry.
When you work methodically, you protect your home and help your household recover together with confidence.
Remove Unsalvageable Materials
Remove materials that can’t be saved as soon as you confirm they’re beyond recovery, because keeping them in place can slow drying and encourage mold growth.
You’ll protect the rest of your home by sorting items methodically and discarding materials that are swollen, crumbling, or contaminated. As you’re evaluating belongings, set aside anything with persistent odors, warping, or hidden moisture in seams, insulation, or backing.
Use gloves, sturdy bags, and clearly labeled piles so your team stays organized and confident. Remove soaked drywall, insulation, carpet padding, and particleboard first, since they often fail structurally.
If an item feels unsafe to lift alone, ask for help. By making careful choices now, you’ll make the next cleanup steps easier and help your home get back to normal faster.
Clean and Disinfect Flooded Surfaces
Once you’ve cleared out damaged materials, clean every remaining flooded surface with soap and water to remove dirt, silt, and residue before disinfecting.
You’ll work room by room, using gloves and sturdy brushes to reach seams, corners, and textured finishes. Rinse well, then apply effective cleaning agents labeled for hard surfaces and follow the contact time on the package.
These surface sanitization techniques help reduce contamination and prepare your home for safe rebuilding. Use fresh cloths or mops so you don’t spread grime back onto clean areas.
Open windows and run fans if power’s available to improve drying. If you stay organized and methodical, you and your household can move forward with confidence, knowing each surface is being handled the right way.
Check for Mold Growth
After the hard surfaces are cleaned and disinfected, inspect the area closely for mold growth, especially in hidden spaces where moisture lingers. You’ll want to check behind baseboards, under flooring, inside cabinets, and around HVAC vents.
Different mold types can appear as black, green, white, or fuzzy patches, and each one needs prompt attention. Watch for mold symptoms, too: a musty odor, discoloration, peeling paint, or damp drywall often signals trouble.
If you find growth, dry the area fast and remove porous materials that stayed wet too long. Use gloves, eye protection, and an N95 respirator if you’re working nearby.
You’re not dealing with this alone; careful inspection helps your home get back to a safe, healthy state.
Handle Sewage-Contaminated Water
When floodwater contains sewage, treat every affected surface and item as hazardous until you’ve cleaned and disinfected it properly.
Wear gloves, boots, eye protection, and a respirator if splashing can happen. Keep kids and pets out, and ventilate the area when you can.
Remove contaminated debris in sealed bags, then wash hard surfaces with detergent and hot water before applying a disinfectant labeled for sewage safety. Follow the contact time exactly so it works.
Replace porous items that soaked up wastewater, like insulation, drywall, and upholstered furnishings.
Wash hands often and change clothes after cleanup. If you feel unsure, call a licensed restoration pro; you’re not alone, and careful steps reduce contamination risks while helping your home recover safely.
Repair Hidden Damage and Moisture
You’ll need to map moisture with a meter or thermal camera to find wet areas behind walls, under floors, and inside cavities.
Check for hidden structural damage in framing, subflooring, insulation, and fasteners, then repair or replace compromised materials.
Dry everything fully, control humidity, and clean affected surfaces promptly to help prevent mold growth.
Moisture Mapping Methods
To find hidden moisture after a flood, map the affected area with a moisture meter and note readings on walls, floors, baseboards, and trim. You’ll use moisture detection to spot wet pockets that look dry, then compare numbers room by room.
Mark each reading on a simple sketch so you can see patterns and follow dry-to-wet shifts. These mapping techniques help you target cleanup instead of guessing, which saves time and supports the whole crew’s effort.
Check corners, seams, behind furniture, and near outlets only after power is safe. Recheck areas after drying equipment runs, and record changes daily.
When you track moisture this way, you’re building a clear plan together, and you can move forward with confidence.
Hidden Structural Damage
Even after visible water is gone, hidden structural damage can linger in framing, subfloors, drywall, insulation, and trim. Inspect those materials for swelling, soft spots, warping, cracking, and musty odor.
Use thermal imaging and moisture sensors to find hidden leaks in wall cavities and under flooring, then verify structural integrity before you rebuild. Check for framing issues, insulation damage, and loose fasteners around windows, doors, and baseboards.
If you see settling or uneven floors, schedule a foundation inspection right away. Don’t overlook pest infestations, since damp wood invites them.
As you work, keep notes and photos so your team can compare findings and plan repairs together. When you address damage early, you protect air quality, reduce follow-up costs, and restore your home with confidence.
Mold Prevention Steps
Fixing hidden damage and drying every damp material are the fastest ways to stop mold before it starts.
You should open walls, floors, and cabinets where water trapped, then remove soaked insulation, drywall, and carpet padding.
Use fans, dehumidifiers, and fresh airflow until materials read dry on a moisture meter.
Clean hard surfaces with detergent, then disinfect if floodwater touched them.
Watch for mold types such as green, black, or white growth, and don’t ignore musty odors.
These prevention techniques work best when you act within 24 to 48 hours and keep indoor humidity below 50 percent.
If you’re unsure, bring in a trusted pro so you and your household can stay safe, dry, and confident.
Restore Your Home and Prevent Future Flooding
Once the cleanup is complete, you can start restoring your home by replacing damaged materials, checking electrical and HVAC systems, and treating any remaining moisture to prevent mold growth.
Work with licensed pros to verify repairs meet building codes and protect shared safety. Review flood insurance coverage, then upgrade drainage systems, sump pumps, and water barriers where water entered.
Consider landscaping solutions and home elevation if your lot floods often. Keep emergency kits ready, and maintain property maintenance on gutters, grading, and seals.
Use community resources to compare local mitigation grants and learn from neighbors who’ve faced similar losses. You’re not alone in this process; every improvement helps your home recover and become stronger before the next storm.
Frequently Asked Questions
How Soon Should I Contact My Insurance Company After Flooding?
Contact your insurance company immediately after flooding, ideally within 24 hours. You’ll speed the insurance claim process and flood damage assessment, protect coverage, and join others acting fast to reduce losses and stress.
Can I Stay in My Home During Flood Cleanup?
You might stay, but only if it’s safe. Take safety precautions first: turn off power, test air quality, and avoid damaged areas. If hazards remain, you’ll need temporary housing, and you’re not alone.
What Documents Should I Photograph Before Cleanup Begins?
Photograph your insurance policies, home inventory, receipts, warranties, and damaged items before cleanup starts. You’ll protect your claim, document condition, and help adjusters verify losses. Keep files backed up and organized for peace of mind.
Do I Need Permits for Flood-Related Repairs?
Yes—you’ll often need permits for flood damage repairs, especially for structural, electrical, or plumbing work. Check local repair regulations first; like a compass in a storm, they’ll guide you, and you’ll fit right in.
How Do I Choose a Qualified Water Damage Contractor?
Choose a water damage restoration contractor with verified contractor qualifications, insurance, licensing, and references. You should check drying equipment, response time, and written estimates. Trust professionals who explain your options clearly and make you feel supported.
Final Thoughts
After a flood, you’re not just drying a room—you’re protecting your home’s structure and your health. Did you know that mold can begin growing within 24 to 48 hours after water damage? That’s why fast action matters. If you assess damage, shut off utilities, remove water, and dry hidden moisture quickly, you’ll cut repair costs and reduce risk. With the right cleanup steps, you can restore your home safely and prevent the next flood from doing the same damage.