Some homeowners face some form of water damage, and an appliance leak can turn a small problem into a major one fast. You need to stop the source, cut power, and pull standing water right away before moisture spreads into floors, walls, and hidden spaces. Drying, disinfecting, and checking for swelling all matter, but the critical step that decides how much you save comes next.
Key Takeaways
- Stop the leak, shut off power, and close the water supply valve immediately for safety.
- Remove standing water fast using a wet/dry vacuum, pump, towels, or a squeegee.
- Use fans and a dehumidifier to dry floors, walls, baseboards, and hidden spaces.
- Inspect for hidden moisture, swelling, stains, odors, and damage in seams, corners, and trim.
- Call a water damage professional if water reaches walls, subflooring, insulation, or electrical components.
Stop the Leak and Cut Power
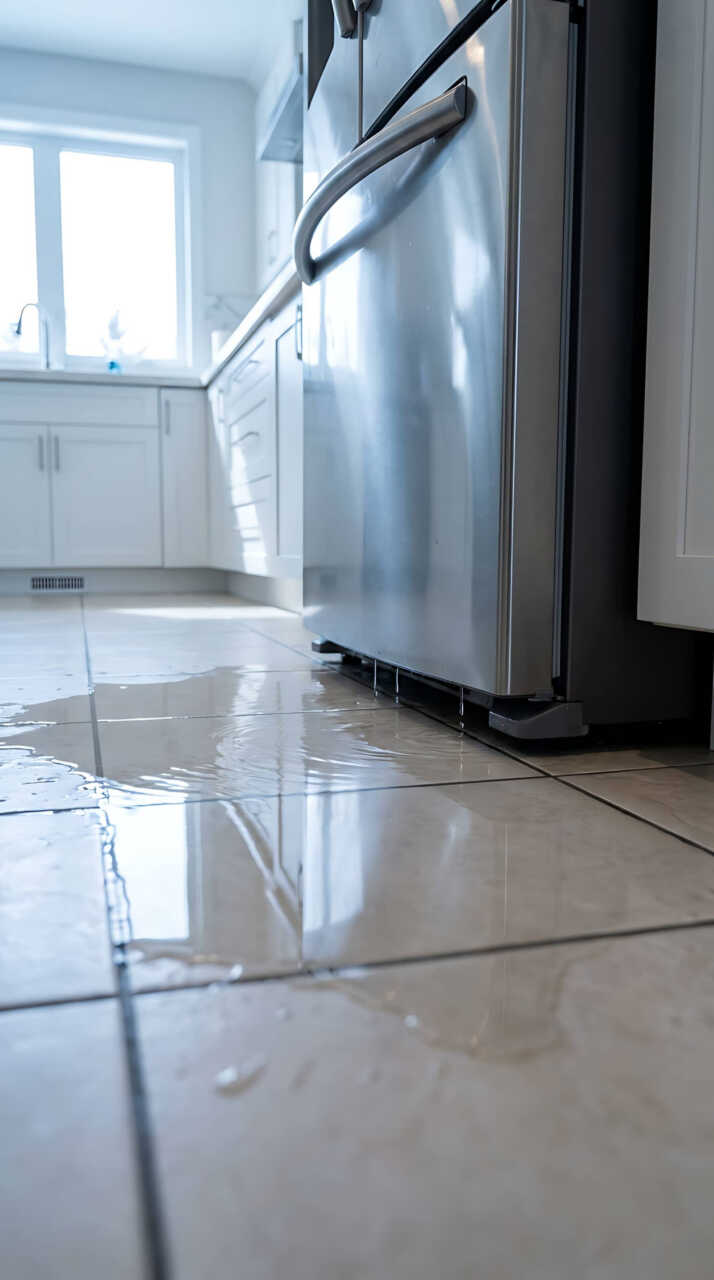
First, stop the leak at the source and cut power to the affected appliance. Unplug it if you can do so safely; if water’s near outlets, switch off the circuit breaker first. You protect yourself and the rest of your crew when you isolate electricity before water extraction after an appliance leak.
Close the supply valve, then verify the hose, seal, or connection that failed. If the appliance is hardwired or the area’s flooded, call a qualified technician before you move it. Wear insulated gloves and dry footwear. Keep bystanders clear, and document the damage for your records.
Once the unit’s safe, check nearby walls, cabinets, and flooring for moisture spread so you can plan the next recovery steps with confidence and avoid secondary damage.
Remove Standing Water Fast
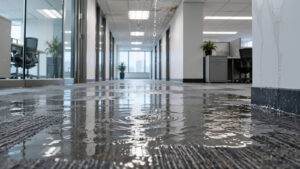
Once you’ve shut off power and stopped the source, remove the standing water as quickly as possible to limit soak-in and mold growth.
Use a wet/dry vacuum, sump pump, or extraction machine, depending on the volume. Start at the lowest point and work toward the exit so you’re not tracking water back across the room. Empty equipment often to keep suction strong.
Use mops, towels, and a squeegee to pull residual water from hard surfaces and tight edges. Remove rugs or movable items only if they’re saturated and safe to handle.
Wear gloves and non-slip shoes so you stay protected while you work. The faster you clear pooled water, the better your chance of keeping the space in your control and moving to drying cleanly.
Check Floors and Walls for Moisture
Check floors and walls for hidden moisture before you start drying. You should inspect baseboards, trim, drywall, and flooring seams for dampness, swelling, discoloration, or soft spots.
Press on suspect areas with a clean glove or towel to confirm surface wetness. Use a moisture meter if you have one, and compare readings between affected and unaffected areas so you know where water spread.
Pay close attention to corners, cabinet backs, and the lower edges of walls, where leaks often travel. Mark wet zones with tape so your team can stay organized and focused.
If you catch moisture early, you reduce the chance of hidden damage and stay ahead of problems together, with a clear plan and a safer recovery path.
Use Fans and Dehumidifiers
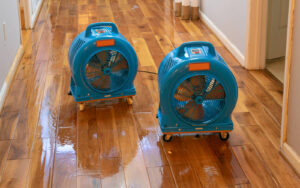
Place fans to move air across wet floors, walls, and baseboards, and position a dehumidifier in the affected room to pull moisture out of the air.
Aim each fan so you get steady airflow over damp surfaces, not just one spot. Keep doors open between connected rooms if you want drier air to circulate.
Run the dehumidifier continuously and empty its tank as needed, or drain it if your unit allows. Check humidity often; you’re aiming for faster evaporation and a lower indoor moisture level.
Reposition equipment if airflow feels blocked. This setup helps you limit lingering dampness, reduce the risk of mold, and keep the space moving toward recovery.
Stay consistent, and you’ll help the room dry evenly and safely.
Move Salvageable Items Out Fast
Move dry goods out of the wet zone first, then remove salvageable items before they wick up more water.
Protect valuables immediately by placing them on dry, elevated surfaces or in sealed containers.
Sort items by wetness as you move them so you can separate dry, damp, and saturated materials for faster recovery.
Remove Dry Goods
Get dry goods out of the affected area as soon as the leak is under control. You should sort boxes, pantry items, paper products, and sealed packages first, then carry them to a clean, dry room.
Keep items upright so contents don’t shift or leak. Check each package for wet seams, swollen cardboard, or torn wrapping, and set aside anything damp. Use clean bins or shelves to group similar items so your team can move efficiently and avoid cross-contamination.
If the floor is slick, wear shoes with traction and lift items instead of dragging them. Work in a steady line, starting near the wettest zone and moving outward.
Quick removal helps you protect the space, reduce odors, and keep recovery organized for everyone involved.
Protect Valuables Quickly
Once dry goods are out, protect anything valuable that can still be saved by removing it from the wet area right away.
Grab electronics, documents, photos, medication, and tools first, and carry them to a clean, dry room with good airflow. Use a sturdy bin, towel, or cart so you don’t drop or drag items through contaminated water.
Keep cords, chargers, and small accessories with each device so setup is easier later. If you’re working with family or roommates, assign one person to carry, one to clear paths, and one to open doors.
Move efficiently, but don’t rush so hard that you cause extra damage. Every minute counts, and acting together helps your crew protect more belongings, preserve function, and stay organized.
Sort By Wetness
Start by sorting items by how wet they’re so you can save the driest ones first and limit further damage.
Set three zones: dry, damp, and soaked. Move dry items to a clean, ventilated area right away. Bag damp textiles separately, then spread them flat so air can reach both sides.
Keep soaked contents in a leak-safe bin to prevent drip spread. You’ll work faster if you group similar materials together, like paper, fabric, and electronics.
Check each item for swelling, staining, or odor before deciding to keep or discard it.
If you’re part of a crew, assign one person to carry, one to inspect, and one to log items. This shared workflow helps your team stay organized and protect salvageable belongings.
Clean and Disinfect Wet Appliance Areas
After you remove standing water and the area is mostly dry, clean the appliance surfaces and nearby flooring with warm water and a mild detergent to lift residue and reduce slip hazards.
Wipe from the least contaminated areas toward the dirtiest so you don’t spread grime. Rinse cloths often and change the solution when it turns cloudy.
Next, apply a disinfectant labeled for hard, nonporous surfaces and follow the full contact time on the product label.
Keep kids and pets away until the area is dry and safe. Use gloves, ventilate the space, and avoid mixing cleaners.
If you’re working through this as a team, assign one person to clean and another to track treated areas, so everyone stays organized and no spot gets missed.
Dry Hidden Spaces Behind Cabinets
Use fans, a dehumidifier, and steady airflow to dry the hidden space behind cabinets, since trapped moisture can linger long after the visible floor looks dry.
Pull the cabinet base toe kick if you can, and aim air into the cavity with a narrow nozzle or vented panel. Keep the room warm, but don’t overheat surfaces.
Check the back wall, floor edge, and plumbing cutouts with a moisture meter, then reposition equipment where readings stay high.
If cabinets sit on a slab, place air movers low and maintain dry room air to speed evaporation.
You’re not alone in this process; systematic drying protects the whole kitchen.
Recheck after several hours and continue until materials read stable and feel fully dry to the touch.
Watch for Mold and Swelling
You should check damp areas for mold growth, especially along seams, baseboards, and hidden edges.
Look for swelling damage in wood, drywall, and laminate, since raised surfaces or warped panels can show trapped moisture.
If you spot either sign, keep drying and remove affected materials before the problem spreads.
Mold Growth Checks
Once the visible water is removed, check the affected area for early mold growth and swelling, especially around baseboards, drywall, cabinets, and flooring.
You’ll want to inspect seams, corners, and hidden edges where moisture lingers. Look for discoloration, musty odors, fuzzy spots, or damp surfaces that stay cool to the touch. Use a flashlight and keep airflow moving so you can spot changes fast.
If you see any growth, isolate that section and dry it immediately. Remove wet materials that can’t be cleaned safely, and clean hard surfaces with an approved antimicrobial product.
Keep monitoring for 24 to 48 hours, since mold can start quickly. Staying alert helps protect your home and keeps your space safe for everyone.
Swelling Damage Signs
Watch for swelling in baseboards, drywall, cabinet panels, laminate, and flooring, since trapped moisture can cause materials to expand, bow, or lift.
You may also see seams separating, paint bubbling, or trim pulling away from walls. Press gently on affected areas; soft spots often mean the substrate is saturated.
Check door frames and toe kicks for warping, because these areas trap water after a leak. If flooring feels springy or uneven, moisture may still be present below the surface.
Mark damaged zones and monitor them for 24 to 48 hours after extraction. If swelling worsens, keep the area dry and call a restoration pro.
Quick action helps you protect your space and stay on top of hidden damage.
Know When to Call a Water Damage Pro
Call a water damage pro when the leak has spread beyond a small, contained area, when water has reached walls, subflooring, or insulation, or when you can’t confirm the moisture is fully removed.
You also need help if the appliance leak touched electrical outlets, HVAC components, or structural framing. A pro brings meters, extraction tools, and drying equipment that you probably don’t have at home.
They’ll map hidden moisture, set drying goals, and reduce mold risk. If you smell mustiness, see staining spreading, or notice warped materials returning after drying, stop and call.
Getting expert support isn’t overreacting; it’s the smart way to protect your home and keep your repair crew on the same page.
Frequently Asked Questions
How Do I Know if Appliance Leak Water Reached the Subfloor?
You’ll know it reached the subfloor if flooring feels spongy, seams darken, baseboards swell, or moisture readings stay high after drying. Lift a small section and inspect for damp wood, odor, or discoloration.
Can I Safely Use a Wet Appliance Again After Cleanup?
No, you shouldn’t use it again until you’ve fully dried it, checked for moisture, and confirmed no electrical damage. You’ll protect your home and feel confident by testing it only after a qualified technician clears it.
What Insurance Documents Should I Collect After an Appliance Leak?
You should collect photos, repair estimates, receipts, appliance model numbers, serial numbers, cleanup invoices, moisture readings, and a written incident report. You’ll strengthen your claim and stay connected with your insurer’s process.
How Long Should Hidden Moisture Be Monitored After Drying?
Monitor hidden moisture for 7–14 days after drying, and longer if materials stayed wet. You’ll want daily meter checks, especially in walls, floors, and cabinets, so you catch rebound moisture before mold starts.
Which Appliances Most Often Cause Slow, Hard-To-Find Leaks?
Dishwashers, washing machines, refrigerators, water heaters, and ice makers usually cause sneaky leaks; like a watch in a storm, you should inspect hoses, valves, and drain lines regularly so you belong to the repaired, dry side.
Review
You can limit damage if you move fast after an appliance leak. Stop the leak, cut power, and extract standing water right away. Then dry floors, walls, and hidden spaces with fans and dehumidifiers, and watch for swelling or mold. Clean wet surfaces and save what you can. If moisture spreads beyond your control, call a water damage pro. Quick action is the bridge that keeps a small leak from becoming a costly loss.