Imagine discovering a hidden leak in your home, much like finding a crack in a dam—it can lead to a flood of problems. Mold thrives after water damage, and if you don’t act quickly, it can invade your space, compromising air quality and structure. Understanding how to tackle this issue effectively is essential. What steps should you take to eradicate mold and prevent its return? Let’s explore the secrets to keeping your home safe and mold-free.
Key Takeaways
- Act quickly to dry affected areas within 24 to 48 hours to prevent mold growth after water damage.
- Use high-quality mold removal products, scrub brushes, and HEPA vacuums for effective cleaning and containment.
- Ensure proper ventilation and wear personal protective equipment (PPE) like gloves, goggles, and respirators during the removal process.
- Dispose of contaminated materials safely and consider professional help to ensure thorough remediation and safety compliance.
- Invest in mold-resistant materials and maintain indoor humidity below 60% to prevent future mold growth.
Understanding Mold Growth After Water Damage
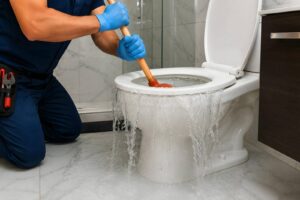
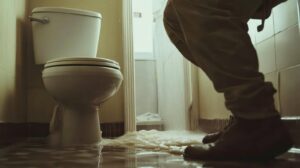
When water damage occurs, it creates an ideal environment for mold to thrive, especially if the affected area isn’t dried promptly.
Understanding the mold lifecycle is essential for effective remediation. Mold spores, which are everywhere, need moisture sources—like leaks or high humidity—to germinate and grow. Within 24 to 48 hours of water exposure, spores can begin to colonize surfaces, leading to potential health risks and structural damage.
To combat mold growth, act quickly. Identify and eliminate moisture sources by repairing leaks, improving ventilation, and using dehumidifiers.
Clean and disinfect affected areas thoroughly, employing specialized mold removal products if necessary. Remember, simply drying the surface isn’t enough; you must make sure that all underlying materials are dry, too.
Identifying Signs of Mold on Ceilings
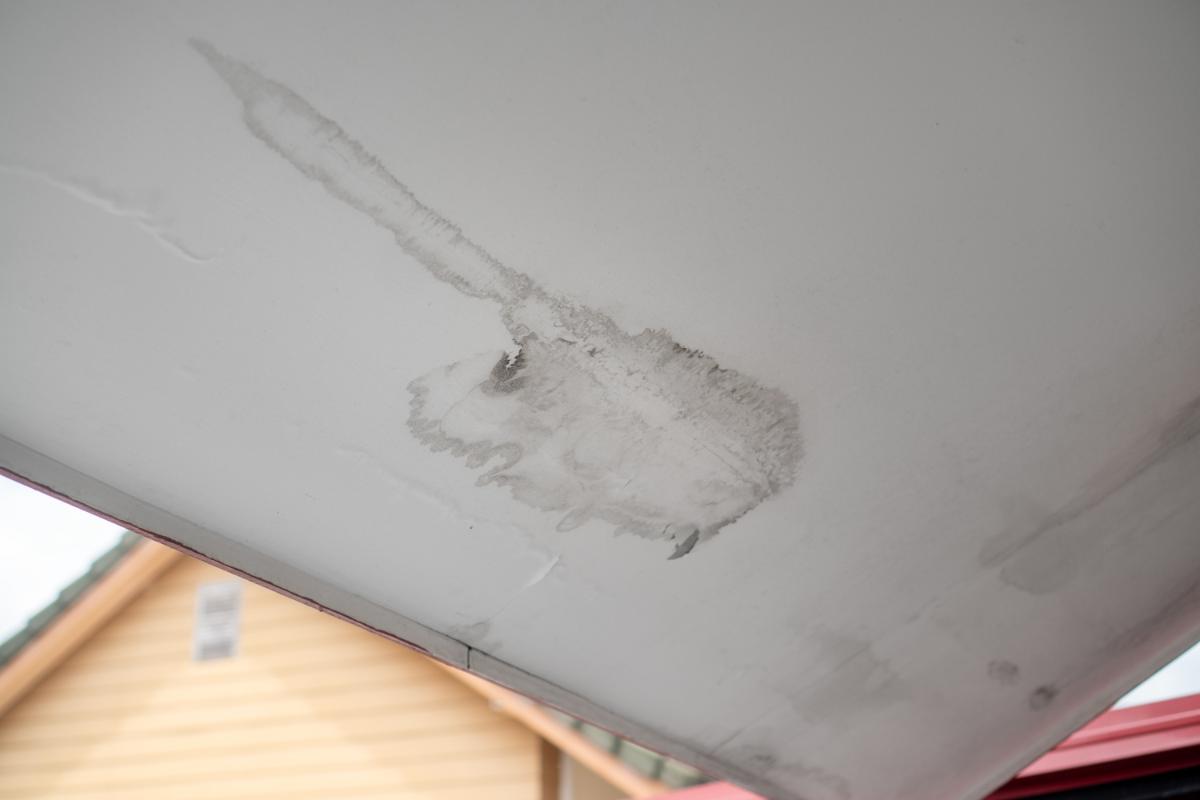
Mold can manifest in various areas of your home, with ceilings being a common spot due to moisture accumulation from leaks or high humidity.
To effectively identify mold, start with thorough ceiling inspection techniques. Look for discoloration, such as dark spots or staining, which often indicates mold growth. You might notice a musty odor, a telltale sign that mold is present.
Utilizing mold detection methods can enhance your inspection. Consider using a moisture meter to check for hidden dampness in the ceiling material. If you suspect mold but can’t see it, air quality tests can also be helpful in identifying airborne spores.
Don’t forget to examine areas near vents or plumbing fixtures, as these are common culprits for moisture issues.
Essential Safety Precautions for Mold Removal
Before you start removing mold, it’s essential to equip yourself with the right personal protective equipment, including gloves, masks, and goggles.
Ensure proper ventilation and airflow in the area to minimize exposure to airborne spores.
Taking these safety precautions will protect your health and make the removal process more effective.
Personal Protective Equipment
To safely tackle mold removal after water damage, you must prioritize personal protective equipment (PPE). Wearing gloves, goggles, and a mask is essential to shield yourself from mold spores and harmful chemicals.
Nitrile gloves provide a barrier against skin irritation, while goggles protect your eyes from exposure. A respirator with a HEPA filter is important for breathing safely in contaminated areas, ensuring you adhere to safety guidelines for mold prevention.
Additionally, consider donning a disposable coverall to prevent cross-contamination. By equipping yourself with the right PPE, you’re not just following safety protocols; you’re fostering a secure environment for yourself and those around you.
Ventilation and Airflow
Ensuring proper ventilation and airflow is essential when addressing mold removal after water damage, as it helps minimize the concentration of spores in the air.
To achieve effective air circulation, open windows and use fans to promote cross-ventilation. This will help lower humidity levels, which is vital for mold prevention.
Consider employing dehumidifiers to maintain ideal humidity control, ideally between 30-60%. If the affected area is extensive, professional-grade air movers can expedite the drying process and enhance airflow.
Remember, stagnant air encourages mold growth, so prioritize continuous ventilation throughout the cleanup.
Tools and Materials Needed for the Job
To effectively tackle mold removal, you’ll need specific cleaning supplies and protective gear.
Essential cleaning supplies include mold-killing solutions, brushes, and sponges, while protective gear should comprise gloves, masks, and goggles to keep you safe.
Gathering these tools beforehand ensures you can efficiently and safely address the mold issue.
Essential Cleaning Supplies
When tackling mold after water damage, having the right cleaning supplies is essential for effective remediation. Start with high-quality mold removal products, like specialized fungicides or vinegar solutions, to target the mold effectively.
You’ll also need scrub brushes and sponges for mechanical cleaning techniques; these tools help dislodge stubborn mold from surfaces. Don’t forget a vacuum with a HEPA filter to capture mold spores and prevent their spread.
Additionally, gather buckets for mixing solutions and a spray bottle for easy application. Using a stiff brush can help clean porous materials, while disposable cloths are perfect for wiping down surfaces.
With these essential supplies, you’ll be well-equipped to reclaim your space from mold.
Protective Gear Requirements
As you prepare to tackle mold removal, donning the right protective gear is essential for your safety.
Start with a high-quality respirator that meets safety standards to shield your lungs from mold spores. Wear goggles to protect your eyes from irritants and gloves to keep your skin safe from cleaning chemicals. A durable, long-sleeved shirt and pants will prevent direct contact with mold-infested surfaces.
Finally, consider sturdy footwear—preferably rubber boots—to protect your feet from potential hazards.
Remember, investing in proper protective gear ensures your safety and enhances your confidence in effectively addressing mold issues.
Step-by-Step Mold Removal Process
The process of removing mold after water damage requires a systematic approach to ensure thorough eradication and prevent future growth.
Start by evaluating the affected area, identifying all mold-infested surfaces. Next, use appropriate mold removal techniques, such as scrubbing with a mixture of water and detergent, or employing a commercial mold remover for stubborn spots. Make sure to seal off the area to prevent spores from spreading.
Once you’ve removed visible mold, it’s crucial to dry out the space completely. Use fans or dehumidifiers to reduce moisture levels, as lingering dampness can encourage regrowth.
Dispose of contaminated materials responsibly, including insulation and drywall, if necessary. Finally, clean and disinfect surfaces to eliminate any remaining spores.
Preventing Future Mold Growth
After successfully removing mold, your focus should shift to preventing its return. Start by investing in mold-resistant materials for areas prone to moisture, like bathrooms and kitchens. These materials can greatly reduce the risk of future infestations.
Next, implement effective humidity control measures. Keep indoor humidity levels below 60% by using dehumidifiers and ensuring proper ventilation, especially during hot, humid months.
Regularly inspect your home for leaks or water damage, addressing any issues immediately. If you notice condensation on windows or walls, take action by increasing airflow and reducing moisture.
Also, consider sealing your basement and crawl spaces to further prevent dampness. By taking these proactive steps, you’ll create an environment less favorable for mold growth, fostering a healthier living space for you and your loved ones.
Your commitment to prevention will protect your home and contribute to a sense of belonging in a safe, clean environment.
When to Call in Professional Help
When you notice extensive mold growth or persistent moisture issues that you can’t manage on your own, it’s time to call in professional help.
Mold remediation experts possess the technical expertise to assess the situation accurately. They’ll conduct a thorough professional assessment of your property, identifying hidden mold and moisture sources that you might overlook.
You may find that DIY methods aren’t enough, especially when mold spreads beyond visible areas.
Professionals use specialized equipment to eliminate mold effectively and prevent future outbreaks. They can also ensure your HVAC systems are properly cleaned, which is essential for maintaining a healthy home environment.
Don’t hesitate to reach out for support; dealing with mold is a serious matter, and your health and safety come first.
Final Thoughts
In the battle against mold after water damage, swift action and the right tools are your best allies. By following the steps outlined, you can reclaim your space and breathe easy again. Remember, mold doesn’t just disappear; it lurks, waiting for the perfect moment to strike again. So, stay vigilant, maintain low humidity, and use mold-resistant materials. With these strategies in place, your home can remain a safe haven, free from the hidden dangers of mold.