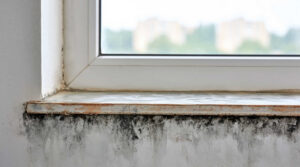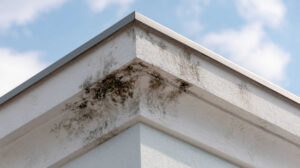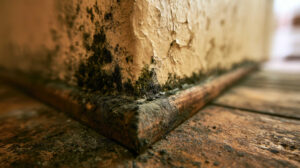
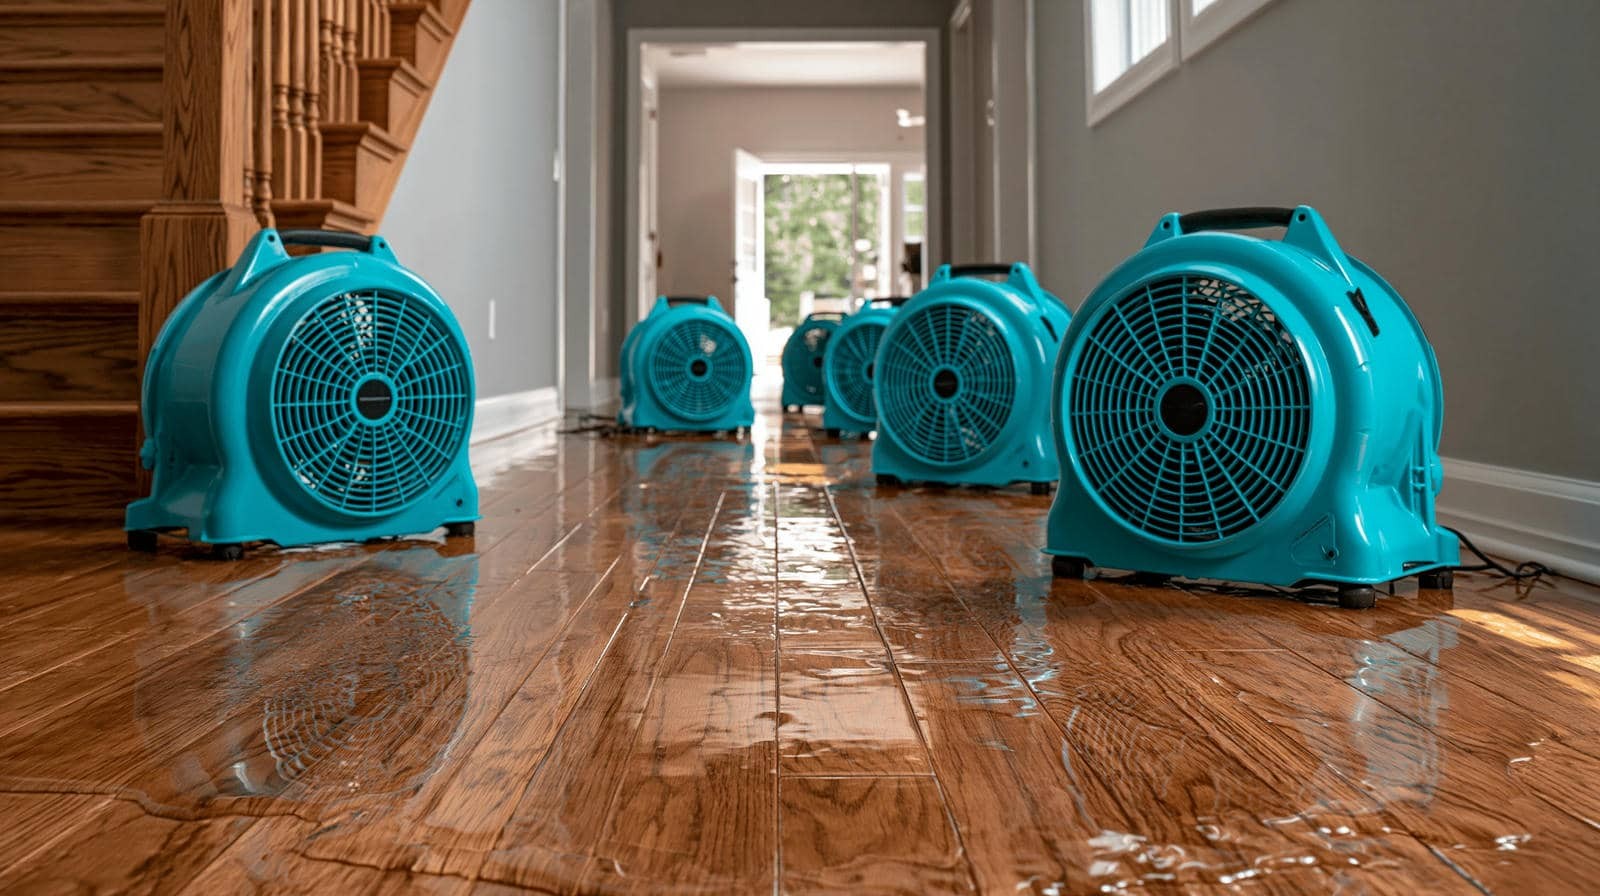
Structural Drying is a critical part of water damage restoration because removing visible water alone does not eliminate hidden moisture. The process begins with standing water extraction, followed by controlled airflow, dehumidification, and moisture monitoring to remove water trapped inside building materials. A thorough drying plan may also require opening concealed areas, inspecting wall cavities, and removing contaminated materials that cannot be restored safely. Proper sequencing and daily moisture tracking help prevent mold growth, structural deterioration, and larger restoration problems caused by incomplete drying.
Key Takeaways
- Start with rapid water extraction to stop moisture from spreading into framing, subfloors, and wall cavities.
- Use moisture meters and thermal imaging to map hidden saturation before drying begins.
- Combine dehumidification, air movers, and controlled heat to speed evaporation and stabilize conditions.
- Remove unsalvageable or sewage-contaminated materials immediately using proper protective equipment.
- Monitor moisture, temperature, and humidity daily, adjusting equipment until materials return to safe levels.
How Emergency Structural Drying Works
When water intrudes into a building, emergency structural drying starts with rapid assessment, moisture mapping, and controlled extraction to stop further damage.
You then verify affected materials with moisture measurement, so you know where hidden saturation remains.
Next, you set drying techniques that match the structure: dehumidification, airflow management, and heat control.
You monitor readings daily, adjust equipment, and keep conditions stable to protect framing, drywall, and finishes.
This process helps you reduce swelling, warping, and microbial risk before they spread.
You’re not tackling the loss alone; you’re following a proven workflow used by experienced restoration teams.
With disciplined checks and targeted action, you can return the building to a safe, usable state efficiently and with confidence.
Remove Standing Water First
You should remove standing water first to stop moisture migration and reduce ongoing damage.
Use pumps, extractors, or wet vacuums as soon as possible to control the water load.
Quick removal helps protect structural materials like drywall, framing, and subfloors from swelling, delamination, and decay.
Stop Water Quickly
Act fast to remove standing water before it spreads into wall cavities, subfloors, and structural framing. You need to stop water quickly because every minute raises the risk of water damage and slows drying techniques.
Use pumps, wet vacs, and squeegees to clear the largest volumes first, then pull water from corners, seams, and low spots. Work from the outer edges toward drains so you don’t push water deeper into the structure.
If you’re part of a restoration team or handling a home loss, stay coordinated: one person extracts, another checks hidden pooling, and another documents conditions.
Shut off the source if you can do it safely. Fast removal keeps your crew aligned, limits spread, and sets up the next drying phase.
Protect Structural Materials
Once standing water is gone, focus on protecting framing, subfloors, drywall, and finishes before moisture wicks deeper into the structure. You’ll keep damage localized by isolating wet zones and moving air across exposed materials.
Install moisture barriers over vulnerable assemblies, but leave paths for controlled drying so trapped vapor doesn’t linger. Use protective coatings on salvageable wood and metal to slow corrosion and swelling.
Inspect joists, plates, and sheathing for saturation, then mark replacement points.
Cover surfaces with breathable barriers and dehumidify the space continuously.
Remove compromised trim, insulation, and drywall edges before mold gains a foothold.
When you act fast and methodically, you protect the structure and help your team restore the property with confidence.
Use Air Movers to Speed Drying
Place air movers so you can push dry air across damp surfaces and target the wettest materials first.
Angle each unit to maximize surface evaporation without creating dead zones or blowing moisture into unaffected areas.
Set units to promote cross-flow drying, since steady airflow across the space speeds moisture removal and improves drying uniformity.
Strategic Air Placement
A few well-positioned air movers can dramatically accelerate evaporation by keeping air moving across wet surfaces and breaking up humid boundary layers. You’ll get better results when you read airflow patterns and adjust placement to match the room’s geometry, openings, and obstacles.
Use moisture mapping to target the wettest zones first, then angle each unit so the discharge crosses surfaces, not empty space.
- Place units low for carpet, baseboard, and subfloor drying.
- Space them to avoid dead zones and competing currents.
- Recheck readings and shift positions as materials dry.
When you coordinate the layout with the structure, you’re not guessing—you’re working like a crew that knows the system. That approach builds momentum, saves time, and helps everyone stay aligned during the dry-out.
Maximize Surface Evaporation
With the air movers positioned, the next objective is to maximize surface evaporation by forcing a steady airflow across wet materials. You’ll want the air stream to skim the damp surface, removing the humid boundary layer that slows drying.
Keep the nozzle angle low and the distance consistent so you maintain a uniform evaporation rate across framing, drywall, and flooring. As moisture leaves, watch surface temperature; cooler readings often signal active evaporation and help you verify progress.
You don’t need excess velocity—just enough air to keep the surface exposed and moving. Check for visible sheeting, wet edges, or dull spots, then adjust the unit placement as needed.
When you and your team work this way, you shorten dry times and protect the structure.
Improve Cross-Flow Drying
To improve cross-flow drying, aim your air movers so the airflow travels across the wet surface and exits toward a drier area, creating a clear path for moisture to leave. You’ll reduce drying time when you align each unit with the room’s natural pathway and avoid dead zones.
Use cross ventilation techniques to move humid air out fast and keep fresh air circulating. Watch moisture retention factors such as dense materials, trapped pockets, and blocked edges, since they slow evaporation.
- Space air movers evenly for full coverage.
- Angle them low across floors and baseboards.
- Recheck airflow after each equipment change.
When you set the pattern right, you join a crew that dries smarter, protects structure, and restores confidence.
Use Dehumidifiers to Remove Deep Moisture
Dehumidifiers pull moisture from the air and help dry materials that still hold water below the surface. You use them after airflow gets the room moving, because they drive moisture removal from framing, drywall, and subfloor layers.
Match dehumidifier types to the job: refrigerant units work well in warm spaces, while desiccant units perform better in cooler conditions. Place the unit in the most humid zone, seal the area as much as you can, and empty or drain it continuously so performance stays steady.
Check humidity and material readings each day, then adjust the setup to keep drying on track. When you control deep moisture this way, you protect the structure and stay in step with your restoration team.
Open Wall Cavities to Dry Hidden Moisture
When moisture gets trapped inside wall assemblies, you may need to open cavities so hidden wet materials can dry faster. You’ll protect the structure better when you expose trapped wall insulation and let airflow reach the damp core.
Use a moisture meter to confirm hidden moisture, then remove finishes only where needed.
- Cut access points cleanly to limit damage and speed drying.
- Pull saturated insulation so cavities can ventilate fully.
- Keep dehumidifiers and air movers aimed at the opened spaces.
You’ll work faster and with confidence when you document each opening, track readings, and restore only after materials return to safe moisture levels.
This approach helps your team stay aligned, reduces guesswork, and supports a clean, professional dry-out process.
Dry Subfloors and Framing
Even after visible water is gone, subfloors and framing can hold deep moisture that slows recovery and risks swelling, warping, or microbial growth.
You should meter-check joists, plates, and plywood from multiple points, then target airflow across both faces of the assembly.
Remove saturated carpet pad, detach wet base layers, and lift any trapped insulation materials so air can reach the cavity.
If moisture readings stay elevated, add dehumidification and controlled heat to speed evaporation without overdriving the wood.
Protect dry areas with moisture barriers so rewetting doesn’t undo your progress.
Work methodically, and you’ll keep your structure stable while the space rebounds.
When the crew stays consistent, you all move closer to a clean, sound rebuild with fewer surprises later.
Dry Walls Before Mold Starts
Wet drywall can trap moisture in the core and on the back side, so you should check with a moisture meter before you assume the wall is safe.
You protect the space faster when you open wall cavities, remove wet insulation, and run air movement across both faces for mold prevention. Keep the lower edge clear so moisture control works efficiently and hidden dampness doesn’t linger.
- Cut inspection openings at the base and top.
- Remove saturated drywall that won’t dry cleanly.
- Use dehumidification with directed airflow to finish the job.
You’re part of a crew that values clean, dry materials, and that mindset helps you stop mold before it gains a foothold.
Dry the wall fully, then close it only when it feels solid and stable.
Check Moisture Levels Every Day
Daily monitoring lets you spot plateaus, slow areas, or rebound moisture before they become bigger problems. Compare today’s numbers with yesterday’s and note temperature, humidity, and airflow changes, since drying performance depends on all three.
Stay consistent, and you’ll know when a surface is genuinely ready for the next step. If readings stop dropping, adjust equipment placement, increase ventilation, or extend run time.
This routine helps you stay in control with the rest of the team.
Remove Sewage-Damaged Materials Safely
Remove sewage-damaged materials as soon as you confirm contamination, starting with porous items that can’t be effectively cleaned or dried. You protect the space by acting fast and keeping sewage safety front and center.
Wear gloves, boots, eye protection, and a fitted respirator before you touch anything. Seal affected drywall, insulation, carpet, and padding in heavy-duty bags for material disposal.
Cut out wet wall sections at least 12 inches beyond visible damage.
Lift flooring and underlayment that trap moisture or residue.
Separate salvageable nonporous surfaces for approved disinfection.
Move debris directly outside, and keep clean pathways clear so your team can work efficiently.
Don’t compact waste indoors, and don’t mix contaminated debris with regular trash. Each careful step helps your crew stay safe and keeps recovery on track.
When to Call Water Damage Restoration Pros
If the damage is widespread, the water source is contaminated, or hidden moisture may have spread into wall cavities, subfloors, or insulation, you should call water damage restoration pros right away.
You also need help if you see water damage signs like swelling, staining, odors, or peeling finishes after 24 hours.
Pros use moisture meters, thermal imaging, and controlled drying to map affected areas, reduce secondary damage, and protect indoor air quality.
They can also set realistic restoration timelines based on material type, saturation level, and drying conditions, so you’re not guessing.
When you bring in a trained team, you join a process built for fast recovery and fewer surprises.
That support helps you get back to normal with confidence, not chaos.
Frequently Asked Questions
How Long Does Emergency Structural Drying Usually Take?
You’ll usually need 3–7 days for emergency structural drying, depending on water removal speed, materials, and drying techniques. You can get back to normal faster when you act quickly, use professional monitoring, and stay connected.
What Equipment Is Needed for Structural Drying?
You’ll need dehumidifiers, air movers, moisture meters, and containment barriers. Choose dehumidifier types by space size and moisture load, and place fans for air mover efficiency. You’re not guessing; you’re controlling drying together.
Can Structural Drying Prevent Long-Term Structural Damage?
Yes, you can prevent long-term structural damage by acting fast. You’ll use moisture assessment to find hidden wet areas, then apply targeted damage mitigation. You’re protecting your property, reducing decay, and keeping your space safe.
Is Emergency Structural Drying Covered by Insurance?
Yes, you’re often covered if your insurance policies include water damage, but coverage limits can vary. Like a soaked wall holding its shape, your claim depends on cause, timing, and documented emergency mitigation.
What Signs Show Drying Was Done Too Quickly?
You’ll notice warped trim, lingering damp odors, bubbling paint, or new stains. Poor moisture assessment and rushed drying techniques leave hidden moisture, so you might also feel cool spots, soft drywall, or recurring mold.
Review
When water damage hits, you can’t wait for the hidden moisture to reveal itself. You need to remove standing water, drive airflow, control humidity, and track moisture every day before the structure shifts toward mold and decay. If sewage is involved or the damage runs deep, you should stop guessing and call restoration pros. The real danger isn’t always visible yet, but it’s already working against you unless you dry fast and dry thoroughly.