When storm damage hits, you need to act fast and in the right order. You’ll assess hazards, remove water, dry the structure, clean contaminated areas, and repair the roof and exterior before hidden damage spreads. If sewage or floodwater got in, the cleanup becomes more complex. The seven repair options below show you what to handle yourself, what to document, and when a professional can save you time and cost.
Key Takeaways
- Assess storm damage quickly and safely, noting wind, hail, flooding, and structural hazards before starting repairs.
- Document all damage with photos and notes to support insurance claims and repair estimates.
- Remove standing water, dry affected areas, and sanitize surfaces to prevent mold and further deterioration.
- Use temporary fixes like tarps, sealant, and board-ups to protect the property until permanent repairs begin.
- Choose professional contractors or DIY repairs based on damage severity, and review insurance coverage before work starts.
Assess Storm Damage Safely
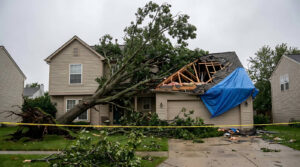
Before you inspect any storm damage, make sure the area is safe: stay away from downed power lines, unstable trees, standing water, and weakened roofs or walls.
Start your storm assessment from the ground, and use a flashlight if visibility’s poor. Check exterior siding, windows, gutters, shingles, and foundation cracks for impact, lifting, or displacement.
Inside, look for ceiling stains, warped trim, broken glass, and shifted doors. Take photos and notes so you can share accurate details with your insurance team and repair crew.
Wear gloves, boots, and eye protection, and don’t enter any space that feels unstable. These safety precautions help you protect your home and keep your household informed, calm, and ready for the next step.
Remove Water and Dry Out Fast
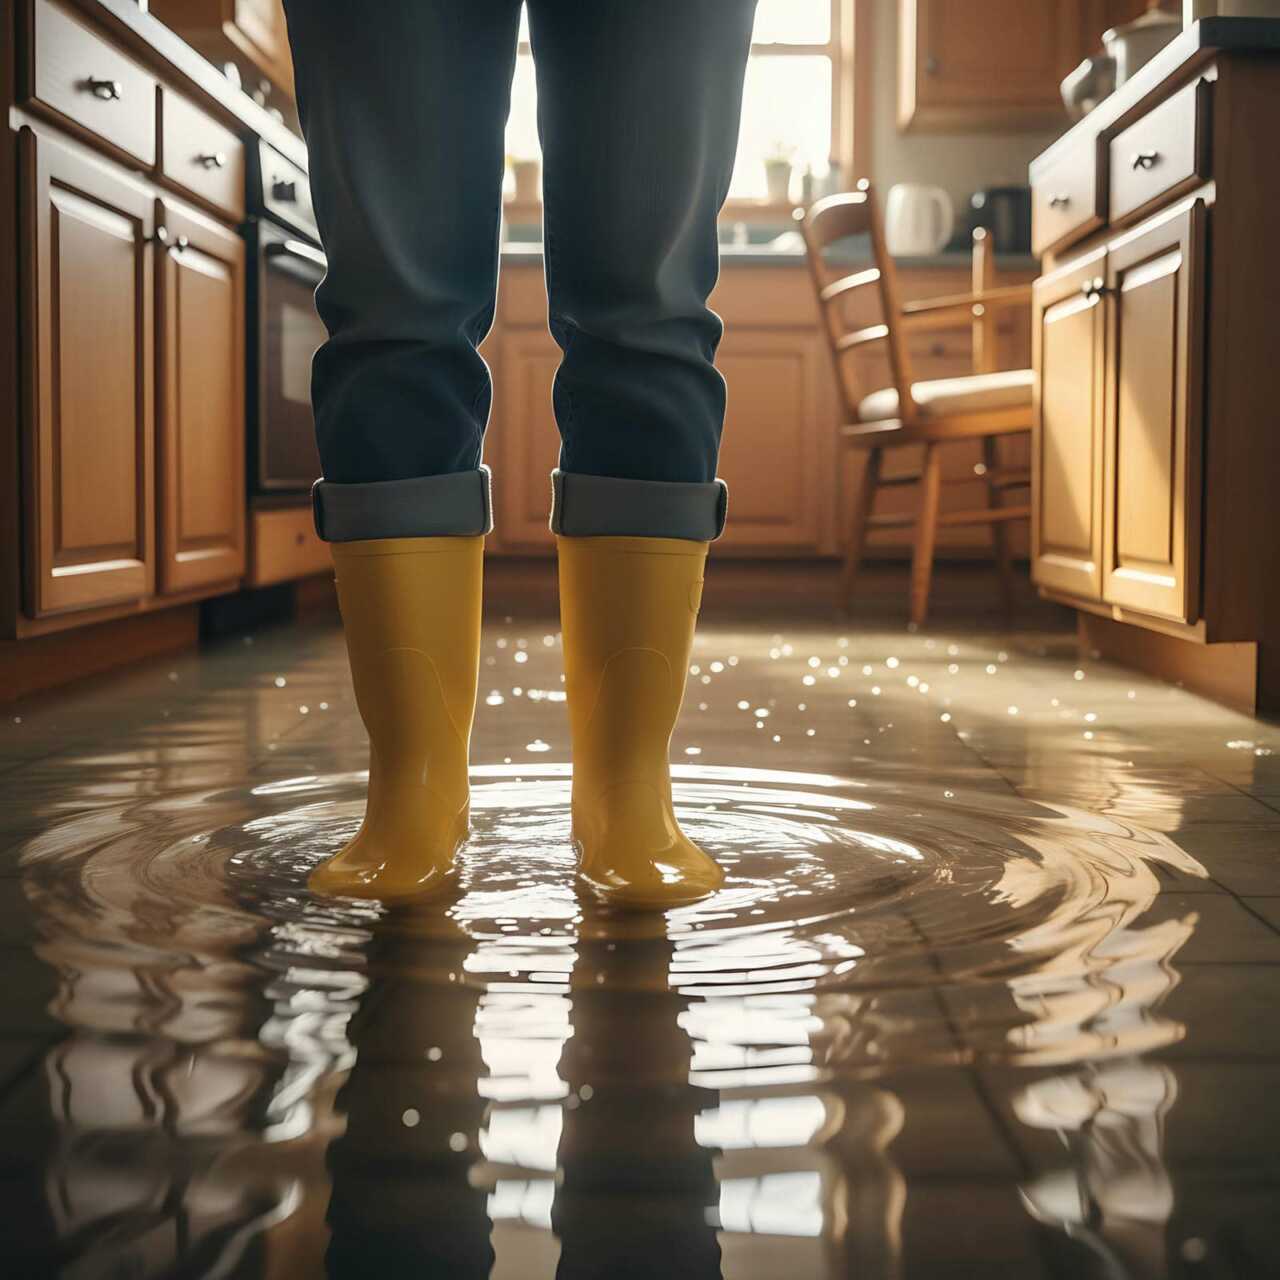
Act quickly to remove standing water and start drying affected areas as soon as it’s safe to enter. You should shut off power to wet spaces, then use pumps, wet vacs, and mop heads for efficient water extraction.
Open windows only if outdoor air is dry, and run fans plus dehumidifiers to support rapid drying. Focus on carpets, drywall edges, baseboards, and subfloors, because trapped moisture can spread damage fast.
Move furniture onto blocks so air can circulate underneath. Check humidity and surface moisture each day until readings drop to safe levels.
If you work with a trusted storm-repair crew, you’ll protect your home and your people faster, and you’ll feel more confident through recovery.
Clean Up Flooded Rooms
Once the floodwater is gone, clean all flooded rooms with a disinfectant solution to remove mud, sewage, and other contaminants.
Wear gloves, boots, and a respirator, and keep windows open if weather allows. Shut off power to reduce electrical hazards before you move anything.
Remove wet debris, then sort salvaged items from ruined materials. Place flooded furniture in a dry, ventilated area, but don’t drag saturated pieces across finished floors.
Use buckets, plastic sheeting, and trash bags to control mess and protect pathways.
- Work from the highest point to the lowest point.
- Bag contaminated waste before it spreads.
- Document damage for repairs and claims.
Stay methodical so your crew or family can work safely together and finish faster.
Sanitize and Disinfect After Flooding
After flooding, you need to sanitize surfaces quickly to slow mold growth and stop lingering contamination.
Use safe disinfectants on hard, nonporous materials, following label directions and proper ventilation.
Remove and discard soaked porous items that can’t be fully cleaned and disinfected.
Mold Prevention Steps
Floodwater leaves behind more than visible debris; it can seed mold growth within 24 to 48 hours, so you need to sanitize and disinfect affected surfaces as soon as they’re dry enough to treat. Your goal is to stop moisture from lingering and protect your home’s structure and air quality.
Focus on humidity control, because damp air keeps spores active and spreadable.
- Remove soaked porous materials that can’t be fully cleaned.
- Wipe hard surfaces to remove residue before disinfecting.
- Dry rooms fast with ventilation, fans, and dehumidification.
Check hidden areas like wall cavities, subfloors, and trim, since trapped moisture fuels new growth.
When you act quickly and consistently, you help your space recover safely and join the group of homeowners who stay ahead of storm damage.
Safe Disinfection Methods
When surfaces are dry enough to treat, you should clean first, then sanitize and disinfect with products labeled for flood cleanup, following the manufacturer’s contact time and safety directions.
Wear gloves, eye protection, and a respirator if the label calls for it, and keep rooms ventilated.
Use eco-friendly disinfectants on nonporous surfaces when they’re approved for water damage, but don’t assume they replace full disinfection.
For high-touch areas, apply the solution evenly, let it stay wet for the required time, then air-dry.
UV light sanitation can supplement cleaning on exposed surfaces, yet it won’t penetrate grime or shadowed spots, so you still need chemical treatment.
Stick with your crew’s checklist, work methodically, and verify each area before moving on.
Contaminated Material Removal
Before you bring repairs back online, remove any contaminated materials that can’t be fully cleaned and disinfected, including soaked drywall, insulation, carpet padding, ceiling tiles, and porous finishes.
You protect your crew and home when you treat flood residue as a hazard, not a nuisance. Start with a hazardous materials assessment, then isolate the work area, wear PPE, and bag debris for prompt disposal.
For contaminated insulation removal, cut back to dry framing and confirm cavities are clean before rebuilding.
- Keep wet porous materials out of circulation.
- Prevent mold, odor, and microbial spread.
- Verify surfaces are dry, safe, and ready for repair.
When you remove the right materials now, you help your space recover faster and rejoin normal use with confidence.
Repair Roof and Exterior Storm Damage
Start roof and exterior repairs by documenting every damaged area, then make temporary fixes to stop further water intrusion.
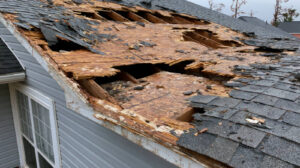
During your roof inspection, check shingles, flashing, vents, and gutters for lifting, punctures, and loose fasteners. Replace missing roof sections, seal exposed seams, and secure tarps where needed.
For exterior repairs, assess siding, trim, soffits, windows, and doors for cracks, dents, and separated joints. Refasten panels, patch openings, and apply weatherproof sealant to restore the building envelope.
Match materials and fasteners to the existing assembly so you keep the structure aligned and efficient. Work methodically, verify each repair, and keep a clear record for follow-up.
You’re not fixing this alone; every solid repair helps your home stand with your crew.
Remove Sewage and Contaminated Water
Pump out sewage and contaminated water as soon as it’s safe to do so, and treat the area as a biohazard until cleaned and disinfected.
You protect your crew and neighbors by isolating the zone, wearing PPE, and using approved sewage removal equipment. Fast action limits water contamination, reduces odor, and slows microbial growth. Document the affected spaces and keep children, pets, and untrained helpers out.
Shut off power if water reaches outlets or appliances.
Remove standing water with pumps, vacuums, or extractors rated for wastewater.
Disinfect hard surfaces with an EPA-registered solution.
Bag porous debris that can’t be sanitized, and dispose of it per local rules.
If you smell gas or see structural damage, wait for licensed pros.
Restore Your Home After Storm Damage
Once you’ve removed contaminated water and secured the area, you can begin restoring your home methodically.
Document every damaged room, then contact your insurer and start insurance claims with photos, receipts, and estimates.
Coordinate with emergency services if hazards remain, including exposed wiring, gas leaks, or structural instability.
Next, dry framing, insulation, and subfloors with dehumidifiers and air movers until moisture readings normalize.
Remove unsalvageable drywall, flooring, and insulation, then disinfect remaining surfaces.
Replace damaged materials with code-compliant products, and inspect HVAC, plumbing, and electrical systems before reactivating them.
Keep your crew informed, set daily goals, and verify each step against the scope.
When you stay organized, you’ll rebuild faster and protect your home’s long-term value.
Frequently Asked Questions
How Soon Should I File an Insurance Claim After Storm Damage?
File your insurance claim as soon as you can, ideally within 24 to 72 hours. You’ll protect insurance timelines and strengthen claim documentation, helping you stay connected, informed, and ready for faster review.
Does Storm Damage Repair Usually Require Permits?
Usually, yes—you’ll need permits for storm damage repair when work affects structure, electrical, plumbing, or roofing. Check permit requirements and local regulations early; you’ll avoid delays, stay compliant, and keep your project moving smoothly.
Can Mold Appear Days After the Initial Storm Cleanup?
Yes, mold can appear days after cleanup. You should use careful cleanup strategies, dry materials fast, and practice mold prevention to stop hidden moisture from growing. You’re protecting your space and your community, together.
What Should I Save Before Contractors Start Repairs?
You should save essential items like IDs, insurance papers, photos, receipts, and valuables, then document damage before contractors begin. Back up files, label salvageable belongings, and keep samples for claims and repairs.
How Do I Choose a Reliable Storm Damage Restoration Company?
You should choose a restoration company with strong customer reviews, clear service guarantees, and proper licensing. Verify their storm-borne expertise, response time, and detailed estimates so you’ll feel confident joining a trusted, capable team.
Review
When you face storm damage, act fast and stay safe. You can limit long-term costs by documenting losses, removing water, drying spaces, and disinfecting surfaces right away. Did you know mold can begin growing within 24 to 48 hours after flooding? That makes quick response critical. Whether you handle repairs yourself or hire a pro, focus on structural safety, sanitation, and prevention so you’re better protected against the next storm.