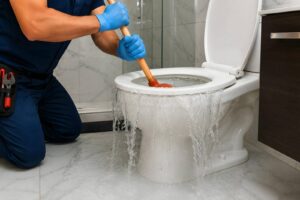
When pipe flooding occurs, immediate action is vital to prevent mold growth. You’ll need to assess the damage and identify all affected areas first. Following that, removing standing water becomes a priority. But simply drying the space isn’t enough; you’ll also have to manage humidity levels effectively. The steps that follow can make or break your efforts against mold. Let’s explore the 10 best treatments to keep your home mold-free.
Key Takeaways
- Conduct thorough inspections to assess damage and document findings, focusing on hidden moisture that may indicate mold growth.
- Remove standing water immediately and use fans and dehumidifiers to ensure effective drying within 24 to 48 hours.
- Clean surfaces with a mold-killing solution, allowing it to sit for 10-15 minutes before rinsing to eliminate spores.
- Replace damaged materials with moisture-resistant options, such as antimicrobial insulation and water-resistant flooring, to prevent future mold issues.
- Regularly monitor humidity levels and visually inspect affected areas, addressing any dampness sources promptly to inhibit mold regrowth.
Assess the Damage and Identify Affected Areas
As you begin to tackle mold treatments after a pipe flooding incident, evaluating the damage and identifying affected areas is essential.
Start by employing effective mold inspection techniques, like visual evaluations and moisture meters. These methods help pinpoint hidden moisture and potential mold growth.
Next, utilize damage evaluation strategies to understand the extent of the flooding. Inspect materials such as drywall, insulation, and flooring, as they can harbor mold if saturated.
Document your findings meticulously; this will guide your treatment plan and help in discussions with insurance providers.
Consider the air quality as well—using air sampling can reveal mold spores that mightn’t be visible.
Remove Standing Water Promptly
Removing standing water quickly is essential to prevent mold growth and further structural damage.
You’ll need effective tools like wet vacuums, pumps, and absorbent materials to expedite the water removal process. Acting quickly minimizes damage and reduces the potential for mold spores to proliferate in your environment.
Importance of Quick Action
When a pipe floods, the clock starts ticking on your response; quick action in removing standing water is essential to prevent mold growth.
Mold can develop within 24 to 48 hours in damp conditions, greatly increasing health risks for you and your household. Immediate water removal minimizes the risk of mold, protects structural integrity, and reduces costly repairs.
Delaying a quick response can lead to extensive contamination, affecting indoor air quality and potentially causing respiratory issues.
By acting swiftly, you safeguard your living environment and foster a sense of community responsibility.
Tools for Water Removal
To effectively combat standing water after a pipe flood, utilizing the right tools is essential. Start with a reliable water extraction system, as it’ll expedite the removal process.
Submersible pumps are excellent pump options for significant water volumes, efficiently draining flooded areas. For smaller spaces, a wet/dry vacuum can be your best ally, offering versatility and portability. Make sure to check the pump’s specifications to match your specific situation.
Additionally, consider using dehumidifiers afterward to eliminate residual moisture, preventing mold growth. Remember, the faster you act with these tools, the better your chances of preventing mold and further damage.
Dry Out the Affected Spaces
As soon as the floodwaters recede, it’s important to begin drying out the affected spaces to prevent mold growth. Start by employing effective drying techniques, such as using fans and opening windows to enhance airflow.
Focus on removing any standing water and ensuring that surfaces are cleaned thoroughly. Pay particular attention to porous materials like carpets and drywall, which can retain moisture and become breeding grounds for mold.
You’ll want to monitor moisture levels diligently. Use moisture meters to assess drywall and flooring, ensuring levels drop below 20%.
If you find areas with excessive moisture, take immediate action by implementing targeted drying techniques, like using towels or wet-dry vacuums.
Use Dehumidifiers to Reduce Humidity
While drying out affected areas is vital, using dehumidifiers greatly enhances your efforts to reduce humidity levels and inhibit mold growth. By strategically placing dehumidifiers, you can achieve effective humidity control throughout the space.
Set your dehumidifier settings to target a relative humidity below 60%, as this is ideal for preventing mold proliferation. Regularly monitor humidity levels with a hygrometer to ensure you maintain the desired environment.
It’s also beneficial to run the dehumidifier continuously for the first few days after flooding, as this aggressive approach accelerates moisture removal. If you’re using multiple units, stagger their placement across the affected areas for uniform humidity control.
Clean Surfaces With Mold-Killing Solutions
After effectively reducing humidity with dehumidifiers, the next step is to clean surfaces using mold-killing solutions.
Begin your mold cleaning process by ensuring thorough surface preparation. Remove any visible mold with a stiff brush or cloth to prevent spores from spreading.
Mix a mold-killing solution—commonly a blend of water and bleach, or a commercial mold remover—following the manufacturer’s instructions for effectiveness.
Apply the solution generously to the affected areas, ensuring it penetrates porous surfaces, as mold often hides beneath the surface.
Allow it to sit for at least 10-15 minutes to effectively kill mold spores. Rinse thoroughly with water, and dry the area completely to prevent future mold growth.
Apply Mold Inhibitors
To effectively prevent mold regrowth, you’ll want to apply mold inhibitors after cleaning.
Various types exist, including chemical sprays and natural solutions, each with distinct advantages.
Understanding the right application techniques is essential for ensuring maximum effectiveness and longevity of the treatment.
Types of Mold Inhibitors
When dealing with mold growth following pipe flooding, applying the right types of mold inhibitors is crucial for effective remediation.
You can choose from natural mold inhibitors, like tea tree oil and vinegar, known for their antifungal properties and environmental safety. These options are great if you prefer eco-friendly solutions that minimize chemical exposure.
Alternatively, chemical mold inhibitors, such as quaternary ammonium compounds and bleach, offer potent effectiveness against stubborn mold spores. While they can deliver rapid results, they may pose health risks if not used correctly.
Understanding the strengths and limitations of each type will help you make an informed decision that best fits your needs and ensures a mold-free environment for everyone involved.
Application Techniques Explained
Choosing the right mold inhibitor is only the first step; applying it effectively is key to successful mold remediation.
Start by selecting appropriate mold application techniques—spraying and brushing are commonly used. Make certain the surface is clean and dry before application to maximize adhesion.
Use a spray bottle for even coverage on porous surfaces, while a brush works well for crevices or textured areas. Maintain a consistent distance to avoid oversaturation.
It’s essential to follow the manufacturer’s instructions regarding dwell time; this ensures the active ingredients penetrate effectively.
After application, monitor the area for any signs of mold resurgence.
Combining these effective treatment methods with proper application ensures you create an environment resistant to future mold growth, fostering a sense of community in mold prevention.
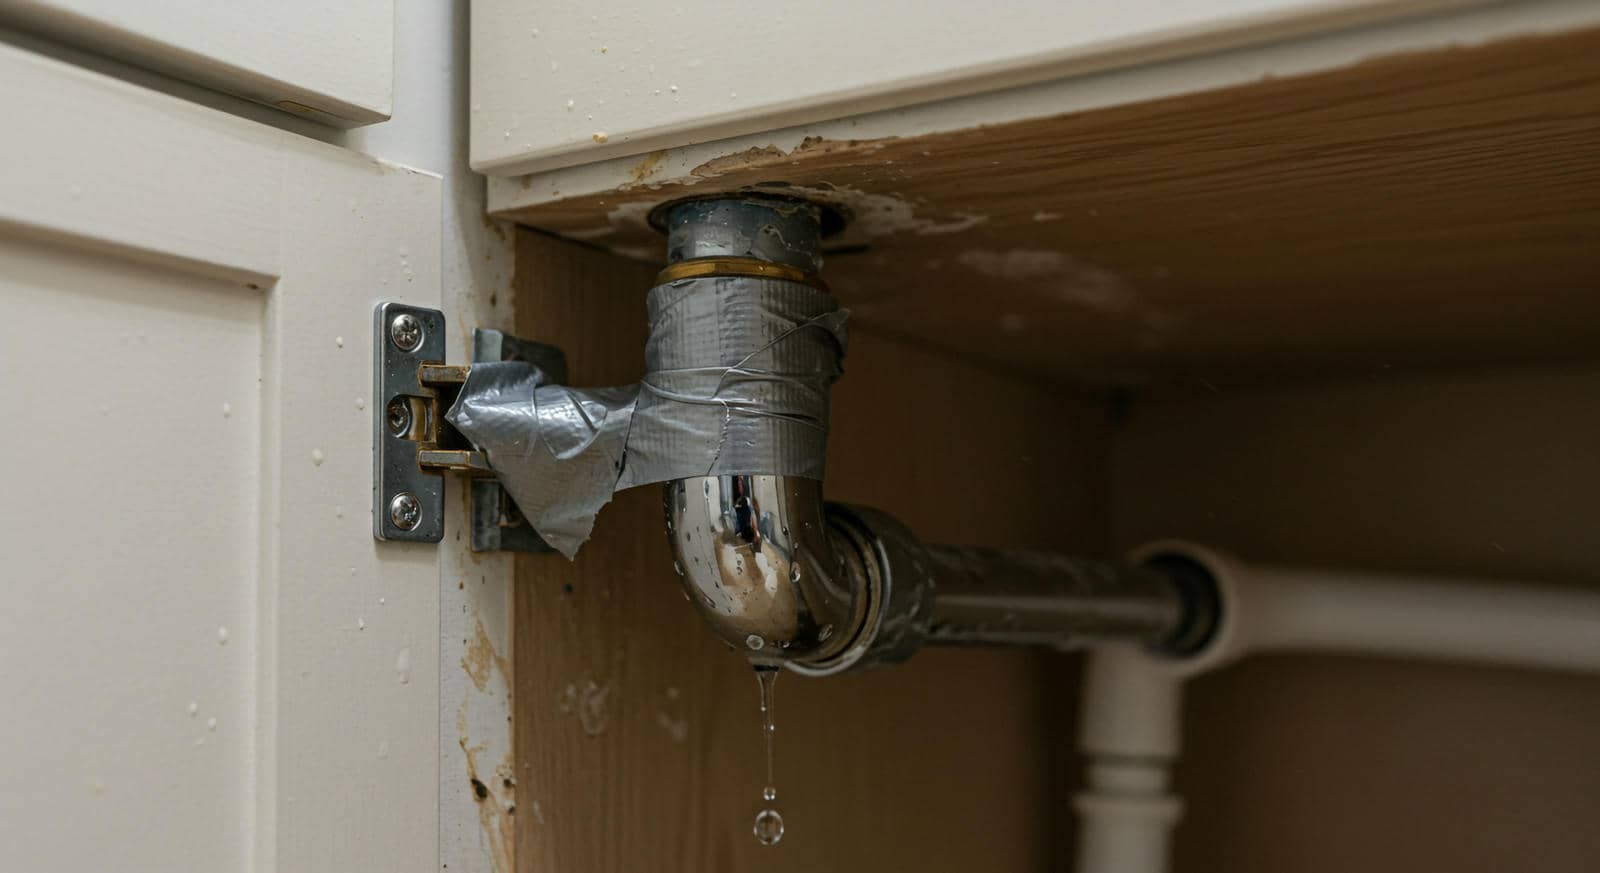
Seal Any Cracks or Openings
As soon as you identify any cracks or openings in your home’s structure, it’s crucial to seal them promptly to prevent mold growth following a pipe flood.
Begin with a thorough opening inspection, examining walls, floors, and ceilings for vulnerabilities. Use a high-quality sealant specifically designed for crack sealing; this ensures durability and effectiveness against moisture intrusion.
Before applying the sealant, clean the cracks to remove any debris or loose material. This preparation enhances adhesion and maximizes the sealant’s performance.
Carefully apply the sealant, making sure it fills the entire crack or opening, and smooth it out for a seamless finish.
Once sealed, monitor these areas regularly to detect any new cracks that may develop over time. Proactively addressing these vulnerabilities helps prevent mold and contributes to your home’s overall integrity and comfort, fostering a sense of belonging in a safe environment.
Replace Damaged Materials
After sealing any cracks or openings, your next step is to replace any damaged materials affected by the flooding. Assess the extent of the damage to walls, flooring, and insulation.
For drywall, consider using moisture-resistant panels to prevent future mold growth. When it comes to flooring, options like vinyl or tiles are often more water-resistant than carpets, which can harbor mold.
If insulation is compromised, rigid foam boards or fiberglass batts are effective replacement options. Be sure to remove any affected materials completely—mold can persist in even small remnants.
When selecting replacement materials, prioritize products with antimicrobial properties or those explicitly designed for high-moisture environments. Consulting with professionals can provide valuable insights tailored to your situation, ensuring you make the best choices for your home.
Monitor for Recurrence
To effectively prevent mold from reappearing, it’s essential to regularly monitor the affected areas for any signs of moisture or mold growth.
Begin by inspecting surfaces, especially in hidden spots like behind walls and under sinks, where moisture can accumulate unnoticed. Utilize a humidity meter to ensure levels stay below 60%, as high humidity fosters mold development.
Conduct routine visual inspections, looking for discoloration or unusual odors that could indicate mold’s return. Document your findings to identify patterns, which aid in recurrence prevention.
If you notice any dampness, address the source immediately—be it leaks or condensation—to eliminate conducive conditions for mold growth.
Engaging in consistent mold monitoring protects your space and fosters a sense of community well-being.
Consider Professional Mold Remediation Services
When dealing with significant mold infestations, considering professional mold remediation services can be vital for effective resolution.
These experts help eliminate the mold and ensure your space is safe and healthy.
Here are four reasons why you should opt for professional services:
Thorough Mold Inspection: Professionals conduct detailed inspections to identify all mold sources, ensuring no area is overlooked.
Specialized Equipment: They utilize advanced tools and techniques that are often beyond standard cleaning methods, effectively removing mold.
Prevent Future Growth: Experts can provide recommendations and treatments to reduce the likelihood of recurrence, safeguarding your environment.
Transparent Remediation Costs: While initial costs may seem high, investing in professional services can save you money in the long run by preventing extensive damage.
Frequently Asked Questions
How Long Does It Take for Mold to Appear After Flooding?
Mold can start developing within 24 to 48 hours after flood damage. Understanding this mold growth timeline is vital, as timely intervention helps prevent extensive damage and protects your living environment from potential health risks.
Can I Treat Mold Myself, or Should I Hire Professionals?
You can treat mold yourself using DIY mold solutions, but hiring professional mold remediation ensures thorough removal and safety. Professionals have specialized equipment and expertise, reducing health risks and preventing future mold issues effectively.
What Are the Health Risks Associated With Mold Exposure?
Breathing in mold can trigger respiratory issues, causing symptoms like coughing, sneezing, or wheezing. Imagine feeling trapped in fog, struggling for air. It’s essential to address mold exposure to protect your health and well-being.
Are There Specific Types of Mold Treatments Recommended for Homes?
You should consider various mold removal methods, like bleach solutions and specialized cleaners. Effective cleaning techniques include scrubbing surfaces and using dehumidifiers to prevent future growth, ensuring a healthier environment for you and your loved ones.
How Can I Prevent Future Mold Growth After Cleanup?
To keep mold at bay, you’ll want to embrace preventive measures like maintaining humidity control. Use dehumidifiers, ventilate spaces, and seal leaks, ensuring your home remains a fortress against future mold intrusions.
Recap
In the aftermath of pipe flooding, you hold the key to a mold-free sanctuary. By swiftly evaluating damage and employing diligent drying techniques, you’re not just combating mold; you’re reclaiming your space. Each step, from cleaning with potent solutions to sealing vulnerabilities, builds a fortress against recurrence. Regular monitoring acts as your watchful sentinel, while professional help can be the safety net you need. Together, these actions weave a tapestry of resilience, ensuring a healthier, mold-free environment thrives in your home.