After a storm, evaluating post-storm damage is critical for your safety and future insurance claims. You need to start by inspecting your home’s structural integrity, focusing on key areas like the foundation and roof. Identifying water intrusion sources is equally important, as is recognizing potential mold growth. Each step requires careful attention to detail. Let’s explore how to document your findings effectively and why professional help might be necessary for a thorough evaluation.
Key Takeaways
- Assess the structural integrity of your home, checking for foundation cracks, roof damage, and moisture intrusion.
- Identify water intrusion sources by inspecting gutters, windows, and doors for gaps and blockages.
- Measure moisture levels in walls and floors to evaluate potential mold growth areas.
- Document all damage with clear photos and an inventory of affected items for insurance claims.
- Engage professional services for thorough inspections and certified assessments to strengthen your claims.
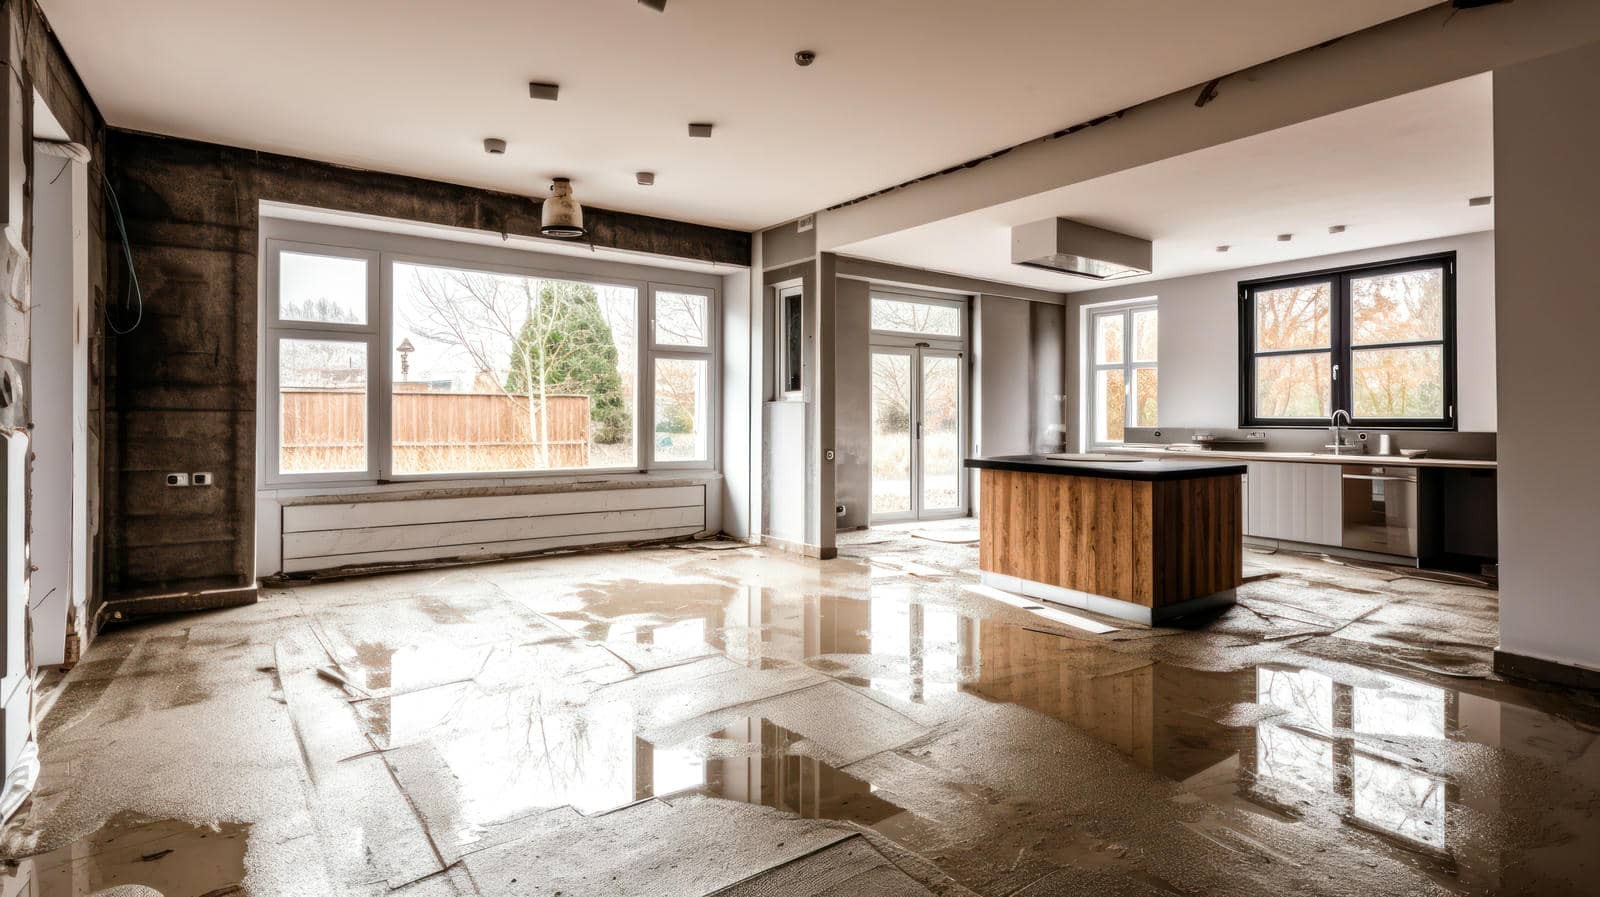
Inspecting Structural Integrity
When evaluating post-storm damage, you should first assess the structural integrity of your property, as even minor issues can escalate into significant safety hazards.
Begin with a thorough foundation stability check; look for cracks, uneven settling, or signs of moisture intrusion. These indicators can signal deeper problems that require immediate attention.
Next, conduct a roof assessment. Inspect shingles for missing or damaged pieces, check for sagging areas, and examine gutters and downspouts for blockages.
Look for any signs of leaks inside your home, as these can compromise your roof’s effectiveness.
Document your findings, noting any areas that need professional evaluation.
Prioritize safety by addressing the most critical issues first, ensuring your home remains a secure refuge for you and your loved ones.
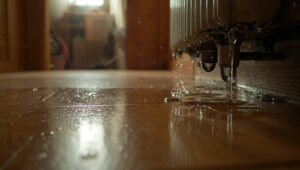
Identifying Water Intrusion Sources
After ensuring your property’s structural integrity, it’s important to pinpoint any sources of water intrusion that could compromise your home further.
Identifying these sources early can prevent significant damage and foster a safe environment for you and your family.
Use the following steps for effective leak detection and moisture mapping:
- Inspect Roof and Gutters: Look for missing shingles or debris that could obstruct water flow.
- Examine Windows and Doors: Check seals and caulking for cracks or gaps where water might enter.
- Assess Foundation and Walls: Look for cracks or signs of dampness that could indicate underlying issues.
- Utilize Moisture Meters: Employ tools to measure moisture levels in walls and floors, helping to detect hidden leaks.
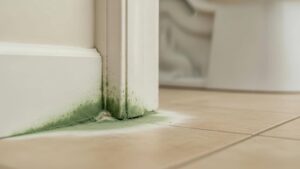
Assessing Mold Growth Potential
To effectively prevent mold growth in your home, it’s crucial to assess the potential for its development in areas affected by water intrusion. Start by checking moisture levels in your walls, ceilings, and floors. Use a moisture meter to identify hidden dampness; mold thrives in environments with over 60% humidity.
Pay special attention to dark, warm spaces like basements and attics, where mold is likely to flourish.
Next, evaluate your indoor air quality. Poor ventilation can exacerbate mold issues, so verify air circulates freely. Implement mold prevention strategies, such as using dehumidifiers and verifying proper insulation, to create inhospitable conditions for mold.
Finally, don’t forget about cleaning surfaces that may have been exposed to water. Regular checks and prompt action can greatly reduce your risk of mold growth, safeguarding both your home and the well-being of your family.
Documenting Damage for Insurance Claims
Thorough documentation of storm damage is vital for a successful insurance claim. By being methodical in your approach, you can ensure that you’re prepared for any discussions with your insurance provider.
Here are the key steps to follow:
- Take Photographic Evidence: Capture clear images of all affected areas, focusing on specific damage points.
- Create a Detailed Inventory: List damaged items, including their estimated value and replacement costs.
- Record Dates and Times: Document when the storm occurred and when you assessed the damage; this timeline can be essential.
- Collect Supporting Documents: Gather past insurance statements, maintenance records, and any relevant contracts to strengthen your claim.
Engaging Professional Assessment Services
Engaging professional assessment services can greatly enhance your understanding of the storm damage and ensure that all aspects are properly evaluated.
When you’re dealing with the aftermath of a storm, a roof inspection by trained experts is vital. These professionals have the experience to identify subtle signs of damage that you might overlook, ensuring that your home’s integrity is preserved.
By seeking professional advice, you gain insights into the extent of the damage, which is important for effective repairs and insurance claims. They’ll provide a thorough report detailing the findings, helping you make informed decisions about next steps.
Additionally, having a certified assessment can strengthen your claim, as insurers often require detailed documentation from qualified individuals.
Frequently Asked Questions
How Long Should I Wait Before Assessing Storm Damage?
You should wait at least 24 hours after the storm to assess damage, ensuring you’ve taken necessary safety precautions. This damage timeline allows you to evaluate effectively while minimizing risks associated with unstable conditions.
What Tools Do I Need for a Thorough Damage Assessment?
What’s your game plan for a thorough damage assessment? You’ll need the necessary equipment like a camera, measuring tape, safety gear, and a notepad to document findings, ensuring you capture every detail methodically and accurately.
Can I Perform the Assessment Safely Alone?
You can perform a solo assessment, but prioritize safety precautions. Confirm you’ve got the proper gear, stay aware of hazards, and have a communication plan. Engaging with others can enhance safety and provide support during the process.
What Are the Signs of Hidden Structural Damage?
Look for hidden leaks seeping through walls and ceilings, damp spots whispering of trouble. Inspect for cracked foundations; those jagged lines hint at deeper issues. These signs reveal the silent struggles within your home’s structure.
How Do I Prioritize Repairs After a Storm?
Prioritize repairs by evaluating safety hazards first. Focus on immediate actions like addressing leaks or structural issues, followed by non-urgent fixes. Create a detailed repair list to ensure efficient repair prioritization and foster a sense of community.
Final Thoughts
In the aftermath of a storm, remember that “an ounce of prevention is worth a pound of cure.” By systematically inspecting your home’s structural integrity, identifying sources of water intrusion, evaluating mold growth potential, and thoroughly documenting damage, you set the stage for a smoother insurance claims process. Don’t hesitate to engage professional services to ensure nothing is overlooked. Taking these steps protects your property and provides peace of mind in uncertain times.