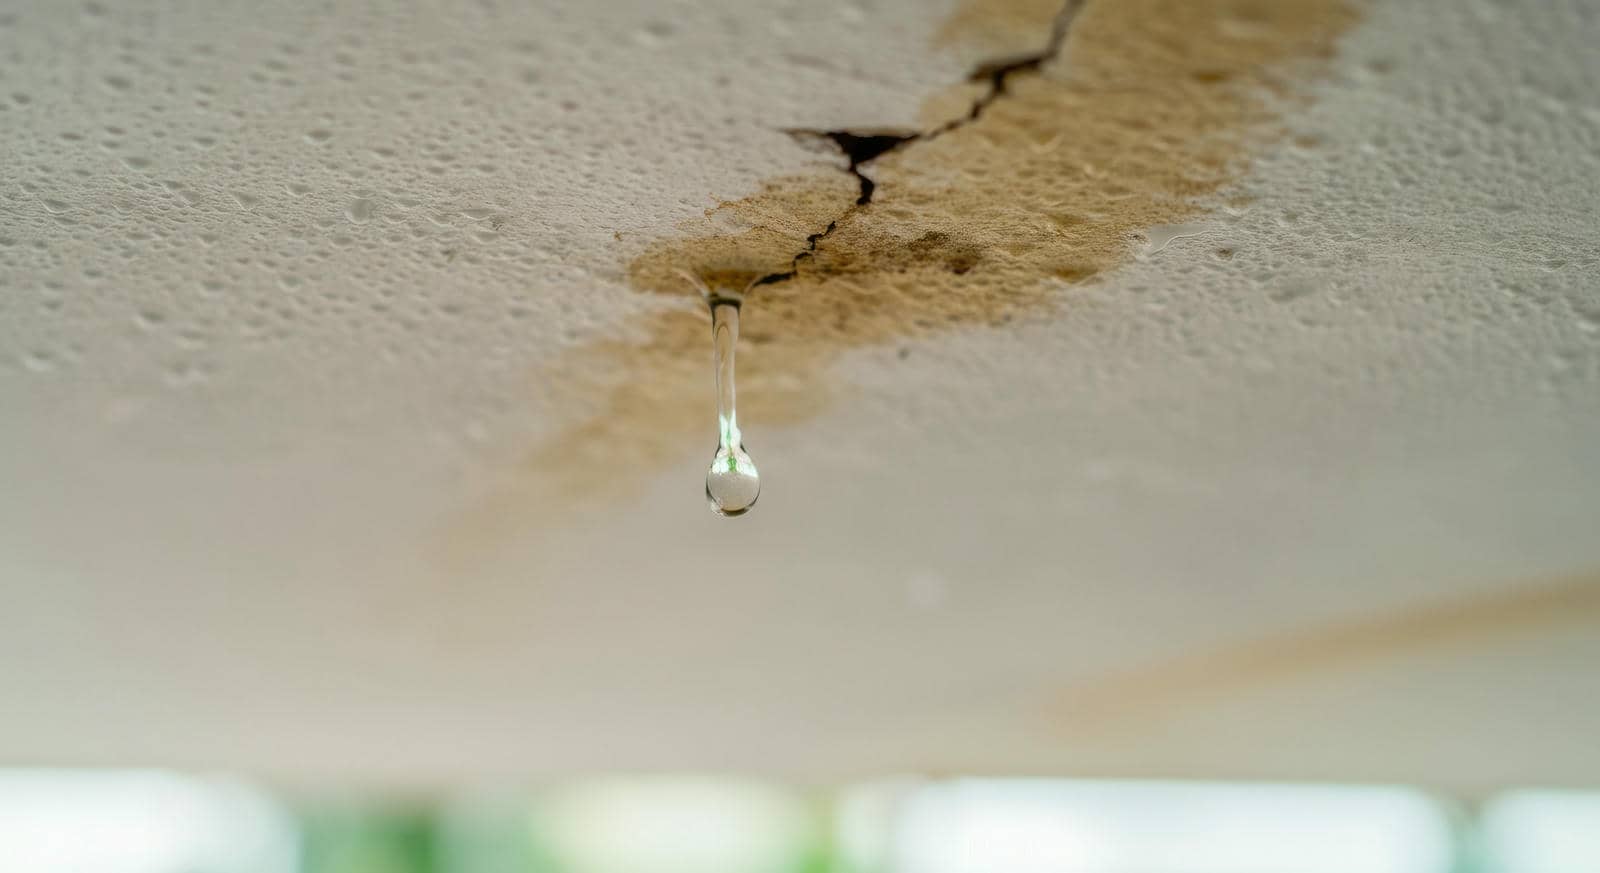
Imagine standing beneath a sagging ceiling, water stains spreading like inkblots overhead. You need to act quickly to prevent further damage and costly repairs. Start by evaluating the extent of the water damage and ensuring your safety before tackling the issue. Understanding how to identify the leak source is essential. With the right approach, you can restore your ceiling and protect your home from future issues. What comes next is key to a successful repair.
Key Takeaways
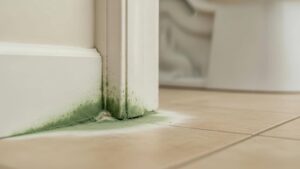
- Inspect the ceiling for discoloration, sagging, or mold growth to assess the extent of water damage.
- Identify the leak source by checking the roof, plumbing, and HVAC systems for potential issues.
- Remove damaged materials like drywall and insulation using a utility knife, and dispose of them properly.
- Use dehumidifiers to accelerate drying and monitor humidity levels to prevent mold growth.
- Apply waterproof sealants and regularly maintain the roof and gutters to prevent future water damage.
Assessing the Extent of Water Damage
Before you plunge into repairs, it’s crucial to assess the extent of water damage to your ceiling. Start by inspecting the area for visible signs of discoloration, sagging, or peeling paint. These are indicators of moisture infiltration.
Next, check for mold growth; it typically appears as dark spots or fuzzy patches. If you find mold, address it promptly, as it can compromise both your health and the structural integrity of your home.
Use a moisture meter for a more accurate assessment. This tool helps you determine moisture levels within the ceiling material. If readings are high, it indicates ongoing water issues that need resolving before repairs can begin.
Don’t forget to inspect adjacent areas, such as walls and insulation, as water can spread. By thoroughly evaluating the damage, you’ll gain a clearer understanding of the repairs necessary to restore your ceiling effectively.
Safety Precautions Before Starting Repairs
While you’re enthusiastic to start repairs, prioritizing safety is vital to ensure a smooth process.
Begin by wearing protective gear, including gloves, goggles, and a mask, to shield yourself from mold spores and debris. If your ceiling has extensive water damage, it’s important to make sure the area is dry to prevent slips and falls.
Before diving in, check for any electrical hazards; turn off power to the affected area to avoid electrocution. Keep a first aid kit nearby and know your emergency contacts in case of accidents.
Consider having someone with you—it’s safer and more reassuring when tackling repairs.
Confirm your workspace is well-ventilated to minimize exposure to harmful fumes from materials used in repairs. By taking these precautions, you’ll create a safer environment for yourself and your loved ones as you start on your repair journey.
Identifying the Source of the Leak
To effectively address water damage in your ceiling, you first need to pinpoint the source of the leak.
Start by inspecting the roof for any damaged shingles or gaps that could allow water in, then check your plumbing lines for leaks or corrosion.
Don’t forget to examine your HVAC systems, as faulty units can also contribute to excess moisture and leaks.
Inspect Roof Conditions
As you begin to inspect roof conditions, it’s vital to systematically identify the source of the leak. Start with a visual examination, looking for common issues that can compromise your roof’s integrity.
Good roof maintenance is important for preventing leaks, so consider these weatherproofing tips:
Check for missing or damaged shingles: They can allow water to seep through.
Inspect flashing around chimneys and vents: Faulty flashing can be a significant leak source.
Look for pooling water: Stagnant water can indicate drainage issues, leading to roof damage.
Check Plumbing Lines
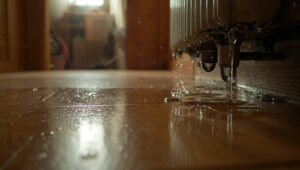
Checking plumbing lines is essential for identifying the source of a leak that may be causing ceiling water damage.
Start with a thorough plumbing inspection, focusing on visible pipes, joints, and valves. Look for signs of water stains, corrosion, or dampness, as these are indicators of potential leaks.
Don’t forget to check the connections under sinks and around appliances like washing machines and dishwashers.
If you can’t find the source visually, consider using leak detection tools, such as moisture meters or thermal imaging, to pinpoint hidden leaks.
It’s vital to act quickly, as even a small leak can lead to significant damage over time.
Examine HVAC Systems
After inspecting plumbing lines, it’s important to turn your attention to HVAC systems, as they can also be a source of ceiling water damage.
Check for any leaks or condensation issues that could contribute to moisture buildup. Regular HVAC maintenance is essential for preventing water damage and for ensuring good air quality in your home.
- Inspect ductwork for blockages or damage.
- Clean and replace filters regularly to maintain efficiency.
- Schedule professional maintenance checks to address any potential issues.
Removing Damaged Materials
To effectively address ceiling water damage, start by carefully removing any compromised materials. Use proper removal techniques to ensure safety and efficiency. Begin by wearing protective gear, then assess the damage to determine what needs to go.
Here’s a quick reference table for your removal process:
| Step | Action |
|---|---|
| 1 | Identify affected areas |
| 2 | Use a utility knife to cut away drywall |
| 3 | Remove insulation if it’s waterlogged |
| 4 | Dispose of materials in sealed bags |
For proper material disposal, follow local regulations to prevent environmental harm. If you’re unsure, consult a waste management service. Taking these steps helps restore your ceiling and ensure a safe and healthy environment for you and your loved ones.
Drying and Dehumidifying the Area
After removing damaged materials, it’s essential to assess moisture levels in the area to determine the extent of the water damage.
Use a moisture meter to accurately gauge the humidity and saturation in both the ceiling and surrounding surfaces.
Once you have those readings, deploy dehumidifiers effectively to expedite the drying process and prevent further complications.
Assessing Moisture Levels
Since moisture can lead to significant structural damage if not addressed quickly, evaluating the moisture levels in the affected area is essential.
You’ll want to start with moisture detection methods to gauge the extent of the damage. Use a moisture meter for accurate readings and keep an eye on humidity measurement to ensure the environment is conducive to drying.
Consider these steps:
- Inspect visible areas for water stains or discoloration.
- Use a thermal imaging camera to identify hidden moisture pockets.
- Monitor humidity levels regularly to track progress.
Using Dehumidifiers Effectively
How can you effectively use dehumidifiers to combat water damage in your ceiling?
Start by strategically placing your dehumidifier in the most affected area. This ensures ideal humidity control, allowing the unit to extract moisture efficiently. Aim for a central location, ensuring airflow isn’t obstructed by furniture or walls.
Keep windows and doors closed to maximize the dehumidifier’s effectiveness. Set the device to run continuously until humidity levels drop below 60%.
Monitor the humidity regularly, as this will guide you on when to adjust settings or relocate the unit.
Finally, empty the water reservoir frequently or connect a hose for continuous drainage.
With proper dehumidifier placement and consistent monitoring, you’ll effectively tackle ceiling water damage.
Repairing and Replacing the Ceiling
When water damage compromises your ceiling, addressing the issue swiftly is essential to prevent further deterioration.
Start by evaluating the extent of the damage. If the ceiling materials are sagging or stained, it’s often best to replace them.
Use these repair techniques to guide you:
- Identify and fix leaks: Confirm the source of moisture is resolved before proceeding with repairs.
- Choose appropriate ceiling materials: Depending on your ceiling type, consider drywall or plaster, making sure they’re suited for your home’s environment.
- Apply repair techniques: For small damages, patch up with joint compound; for larger areas, it may be necessary to replace entire sections.
Preventing Future Water Damage
After addressing the immediate repairs to your ceiling, the focus shifts to preventing future water damage. Implementing effective waterproofing techniques and committing to regular maintenance can safeguard your home against moisture issues. Start by inspecting your roof and gutters, ensuring they’re clear of debris and properly functioning.
| Action | Frequency |
|---|---|
| Roof Inspection | Annually |
| Gutter Cleaning | Biannually |
| Pipe Checks | Quarterly |
Additionally, consider applying a waterproof sealant to vulnerable areas, such as around windows and doors. Make sure to monitor indoor humidity levels, as excessive moisture can lead to mold growth. By staying proactive and vigilant, you’ll create a comfortable living space for you and your family while reducing the risk of future water damage. Remember, prevention is always easier and more cost-effective than repair.
Recap
Tackling ceiling water damage requires a careful approach and proactive measures. You’ve assessed the damage, taken safety precautions, and addressed the leak—so why risk future issues? By implementing regular inspections and waterproofing techniques, you can protect your home from recurring problems. Remember, a little effort now can save you from costly repairs later. Stay vigilant, and your ceiling will remain safe and sound for years to come.