After water damage, you need to inspect the area right away for visible mold, hidden moisture, and musty odors before the problem spreads. You’ll want to stop the water source, dry the space fast, and use proper protective gear before removing any porous materials that can’t be saved. Hard surfaces may clean up, but not every affected area is obvious at first, and that’s where the real risk starts.
Key Takeaways
- Stop the water source immediately and dry the area within 24 to 48 hours using fans, dehumidifiers, and open airflow.
- Wear gloves, goggles, and a mold-rated mask before cleaning to reduce exposure to spores and debris.
- Remove and discard porous materials like drywall, carpet, and insulation if they are moldy or soaked.
- Clean hard surfaces with detergent and water, scrub gently, then dry completely and use a mold-approved disinfectant if needed.
- Call a professional if mold is widespread, hidden, or linked to structural damage, odors, or health symptoms.
Check for Mold Damage First
Before you start cleaning, inspect the area for visible mold, musty odors, and damaged materials such as drywall, insulation, or carpet.
You’re looking for active growth, staining, and soft or warped surfaces that suggest hidden contamination. Identify mold types if you can, since some spread faster or trigger stronger health risks.
Check baseboards, behind furniture, under sinks, and inside wall cavities where moisture can linger. If you see widespread growth, a loose texture, or signs of respiratory irritation in your household, treat the area as compromised.
Keep your focus on safety and containment, and don’t disturb materials that crumble easily. This first inspection helps you decide whether you can handle the cleanup or need professional support from a team that understands your situation.
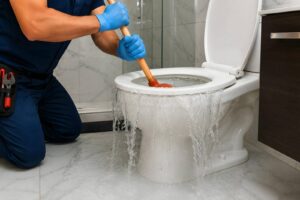
Stop the Water and Dry Fast
Shut off the water source immediately and stop any ongoing leak before you clean anything else. If you can’t reach the valve, call maintenance or your utility company now.
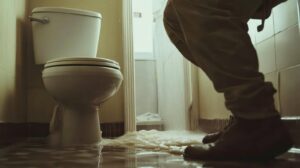
Next, remove standing water with a wet vacuum, towels, or a pump, then open doors and windows to boost airflow. Use fans and dehumidifiers to accelerate evaporation, and aim drying techniques at the wettest materials first: drywall, carpet padding, and insulation.
Pull furniture away from damp walls so air can circulate. Keep checking moisture levels until surfaces feel dry and cool, not clammy. Quick action limits mold growth and helps your team stay ahead of the damage.
The faster you dry, the easier your cleanup will be, and the more likely you’ll keep the space safe and workable.
Wear Protective Gear Before Cleanup
Now that the area is drying out, protect yourself before you handle any moldy materials. Put on protective gloves to keep spores off your skin, and choose safety goggles that seal well so debris can’t reach your eyes.
Wear mold masks rated for fine particles; a loose face covering won’t give you enough protection. If you can, open windows and run ventilation systems to move airborne particles out of the space while you work.
Dress in long sleeves, long pants, and closed-toe shoes so you’re not exposing bare skin. Keep your gear on until you’ve finished cleanup and left the affected area.
When everyone on your team uses the same basic protection, the job stays safer, cleaner, and easier to manage.
Remove Moldy Porous Materials
Once you’ve protected yourself, remove any porous materials that show visible mold growth or have stayed wet long enough to be contaminated. You can’t reliably clean these items with basic mold removal techniques, because fibers, foam, and paper trap moisture and spores.
Work methodically so you and your household stay on the same page about what must go.
- Bag and seal drywall, insulation, carpet, and padding before moving them.
- Check porous material options such as ceiling tiles, upholstery, and cardboard for saturation.
- Dispose of damaged items promptly, following local waste rules.
Keep salvageable belongings separate from trash, and avoid squeezing wet materials, which can spread contamination. By removing these items now, you reduce spread and create a safer path forward.
Clean Mold From Hard Surfaces
With the porous materials gone, you can clean mold from hard surfaces such as tile, metal, glass, and sealed wood using detergent and water.
Put on gloves and eye protection, then scrub the area with a stiff brush or sponge. Use cleaning solutions made for mold removal techniques, or mix warm water with detergent for routine cleaning.
Work from the outside of the stain inward so you don’t spread spores. Rinse the surface with clean water and wipe away residue.
If you’re part of a team handling the cleanup, keep each person’s area separate to reduce cross-contamination.
Check corners, grout, and seams closely, since mold often hides there.
Repeat the process until the surface looks clean and feels free of grime.
Dry, Disinfect, and Recheck the Area
Dry the cleaned area completely with fans, a dehumidifier, or increased ventilation, since lingering moisture lets mold return.
Keep airflow steady until surfaces feel fully dry and indoor humidity stays low; this is key for moisture control and stopping mold growth.
Then disinfect the area with a product labeled for mold cleanup, following the contact time exactly.
- Run drying equipment longer than you think you need.
- Wipe once more if you see residue or odor.
- Recheck the surface after 24 to 48 hours.
You’re not overdoing it—you’re protecting your space and the people in it.
If the area stays dry and clean, you’ve done the hard part well.
Notice any new spots or musty smells, and act fast to keep the problem from coming back.
Look for Hidden Mold in Walls and Floors
Check wall cavities for hidden mold by removing small sections of drywall and looking for staining, musty odor, or damp insulation.
Test floorboards for moisture with a meter and inspect for warping, soft spots, or discoloration.
Examine baseboards for swelling, dark edges, or visible growth, since they often show the first signs of trapped moisture.
Wall Cavities Inspection
When water has soaked into drywall or flooring, hidden mold can grow inside wall cavities long before you see surface damage. You should match your approach to wall types, because plaster, drywall, and paneling each trap moisture differently.
Use inspection tools like a moisture meter, borescope, and flashlight to check for damp insulation, discoloration, and musty odor. Open only small access points, and keep dust controlled so your team stays protected.
- Trace the wet area beyond the visible stain.
- Probe cavities at seams, outlets, and trim gaps.
- Document readings before you start cleanup.
If readings stay elevated, treat the cavity as contaminated and arrange professional removal.
When you inspect carefully, you help your space recover faster and protect everyone who shares it.
Floorboard Moisture Checks
Because water can travel under finished floors, you should test floorboards and subflooring for hidden moisture before you assume the area is dry. Use a calibrated moisture meter on multiple spots, especially seams, edges, and any warped sections.
During floorboard inspection, compare readings to dry-room baselines and note any pattern that stays elevated. If the meter gives inconsistent values, check again after airflow has stabilized. You can also lift a small section only when needed to confirm wet underlayment or staining.
Good moisture detection helps you catch mold before it spreads into the structure. Work methodically, document each reading, and keep the area ventilated while you assess it.
If levels remain high, you’re not done yet, and you should dry the assembly fully before cleanup.
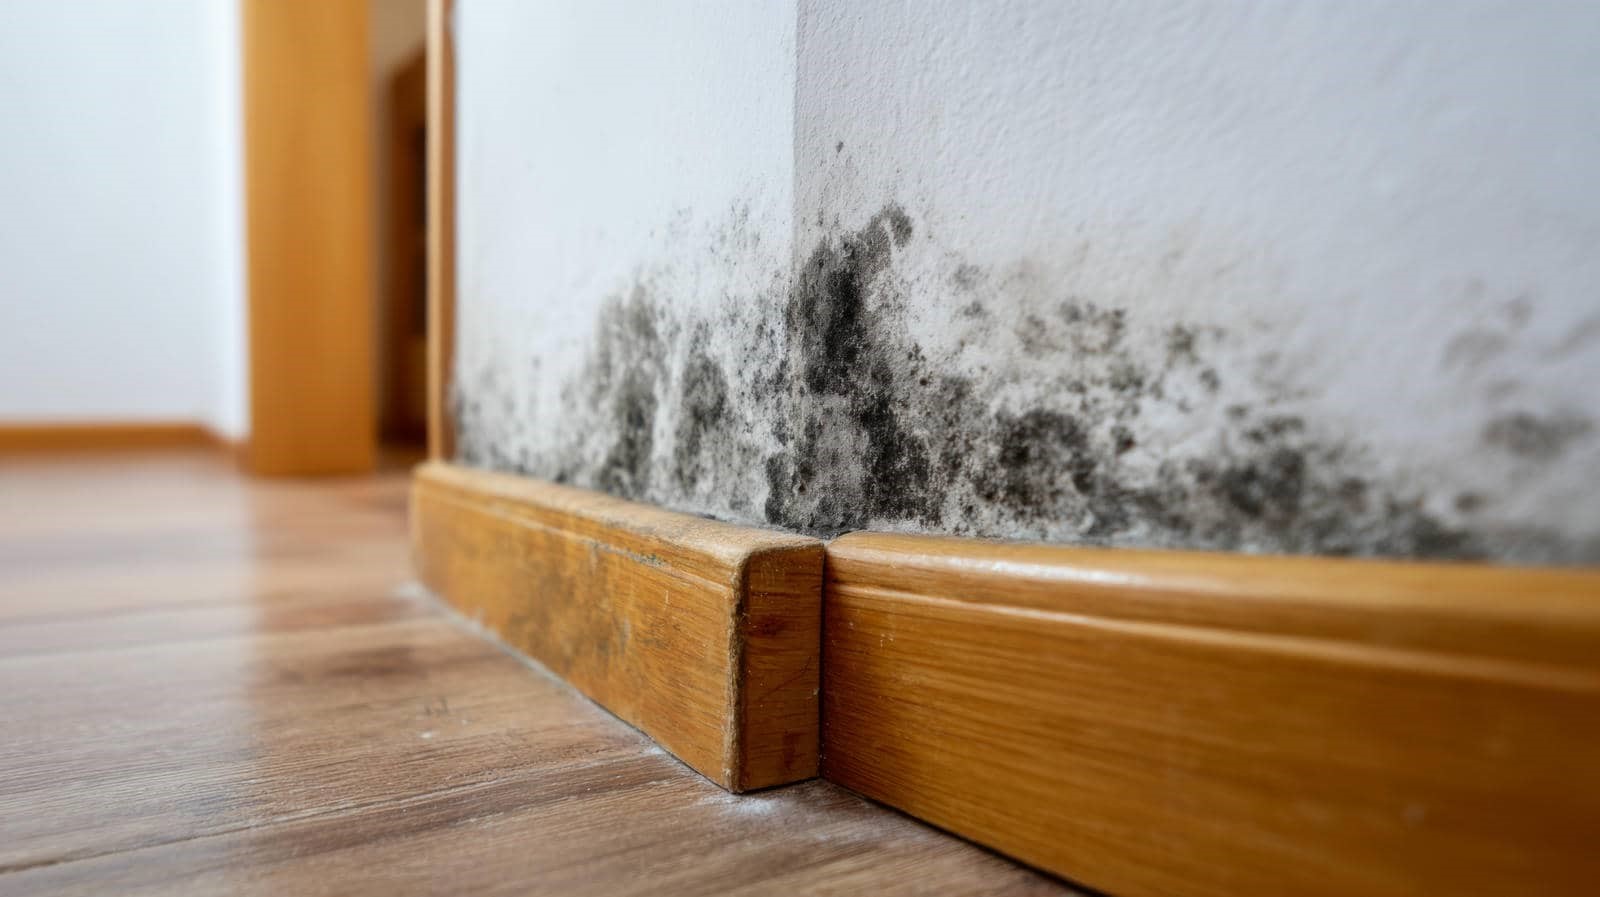
Baseboard Mold Signs
Baseboards often reveal hidden mold before larger wall or floor damage shows up, so inspect them closely for staining, swelling, peeling paint, soft spots, and dark gaps at the seam.
You’ll often see baseboard discoloration where moisture lingers, especially near bathrooms, sinks, or exterior walls. Check for a musty odor, and press gently to test for flexing or crumbling material.
- Lift the edge: look for mold growth behind caulk and trim.
- Trace the source: follow dampness into drywall or flooring.
- Mark and dry: document affected spots, then improve airflow fast.
When you catch these signs early, you protect your space and stay aligned with others who handle water damage quickly and confidently.
Call Mold Remediation Pros When Needed
If mold covers a large area, keeps returning, or appears inside walls, HVAC ducts, or other hidden spaces, you should call a certified mold remediation pro.
You’ll get a professional assessment that identifies the moisture source, the contamination scope, and the safest removal plan. That evaluation helps you choose the right response instead of guessing and spreading spores.
Mold remediation benefits include containment, HEPA filtration, safe disposal, and verification that affected materials are handled correctly. You stay protected, and your home team gets a clearer path forward.
If you smell musty air, see staining, or feel unsure about structural damage, don’t push through alone. Bringing in pros gives you support, technical accuracy, and peace of mind when the problem’s bigger than a surface clean-up.
Prevent Mold After Water Damage
To prevent mold after water damage, dry the area fast and completely, starting within 24 to 48 hours. Use dehumidifiers, fans, and open pathways for airflow so moisture doesn’t linger in walls, floors, or insulation.
You can protect your home with proven mold prevention techniques that stop spores from finding a wet surface. Follow these steps:
- Remove soaked materials that can’t dry quickly.
- Monitor humidity and keep it below 60%.
- Inspect hidden spaces, then clean and disinfect hard surfaces.
These moisture control methods help you stay ahead of damage and keep your space safe for everyone in your home.
Check again for damp odors, stains, or soft spots over the next few days. If conditions stay dry, you’re building a cleaner, healthier place where your family belongs.
Frequently Asked Questions
How Long Does Mold Take to Become Dangerous?
Mold can become dangerous within 24–48 hours, and you’ll face rising health risks as mold growth timeline advances. If you spot dampness or odor, act fast; you’re not alone, and prompt drying matters.
Can Vinegar Kill Mold After Water Damage?
Yes, vinegar can kill some mold on nonporous surfaces, but its vinegar effectiveness is limited after water damage. You’ll need mold prevention steps, drying, and removal of damaged materials to keep your space safe and included.
Is Black Mold Always Toxic?
No—black mold isn’t always toxic, though you shouldn’t ignore it. You’ll find many mold types; health effects vary by species, exposure, and your sensitivity. Test, remove safely, and protect your home, not just your walls.
Can I Clean Mold With Bleach on Wood?
You can’t safely clean mold with bleach on wood; it soaks in poorly and may worsen damage. Use proven mold removal cleaning techniques: dry thoroughly, scrub with detergent, and replace porous boards if needed.
Will Insurance Cover Mold Cleanup Costs?
Maybe, isn’t insurance wonderfully clear? You’ll need to check your insurance policy details, because coverage varies. You can often get mold cleanup costs covered if the damage came from a sudden, covered event and you used mold prevention strategies.
Final Thoughts
When water sneaks into your home, it is like a thief that leaves seeds of decay behind. You can win back the space by checking for damage, stopping the leak, drying fast, and wearing protective gear. Remove moldy porous materials, clean hard surfaces, and inspect hidden cavities. If the infestation spreads, call pros. Then keep humidity low, so the thief doesn’t return and your home stays sound, dry, and safe.