If you’re dealing with mold, you need a process that does more than wipe visible spots away. You inspect for growth and moisture, test for hidden contamination, contain the area, and set negative pressure before any removal starts. Then you remove damaged materials, clean remaining surfaces, dry everything thoroughly, and verify the work is complete. What happens at each step can determine whether the problem stays gone.
Key Takeaways
- Inspect visible mold, trace moisture sources, and document the affected area before starting remediation.
- Seal the work area with plastic sheeting and run HEPA air scrubbers to prevent spore spread.
- Remove mold-damaged materials safely, bag debris immediately, and clean remaining surfaces thoroughly.
- Dry the area completely, keeping humidity below 60% and verifying that no hidden moisture remains.
- Perform a final inspection and walk-through, then remove containment only when the space is clean and safe.
What Mold Remediation Includes
Mold remediation includes a controlled, step-by-step process to remove mold and prevent it from spreading. You’ll see containment, air filtration, removal of affected materials, cleaning of remaining surfaces, and final verification.
When you understand how the mold remediation process works, you can follow each task with confidence and protect your space. You’ll start by isolating the work area, then use HEPA filtration to capture airborne particles.
Next, you’ll remove porous materials that can’t be cleaned, and you’ll clean nonporous surfaces with approved methods. Throughout the process, you’ll wear proper protective equipment and keep dust and spores out of unaffected areas.
This approach helps you and your household return to a safer, cleaner environment together.
Inspect the Mold and Find the Source
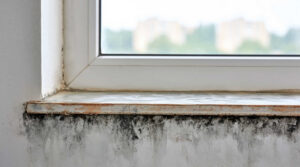
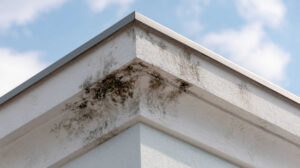
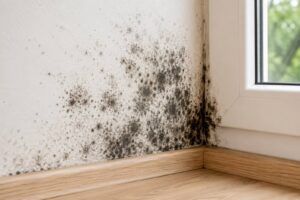
You should inspect visible mold growth, note affected materials, and document the size and location of each area.
Next, trace the moisture source by checking for leaks, condensation, or drainage failures that support fungal growth.
Then, assess the full spread extent so you can define the remediation scope and prevent overlooked contamination.
Mold Inspection Basics
Before remediation begins, inspect the affected area carefully to identify visible growth, moisture patterns, and likely entry points. You should document what you see with photos, notes, and room-by-room labels so your team stays aligned.
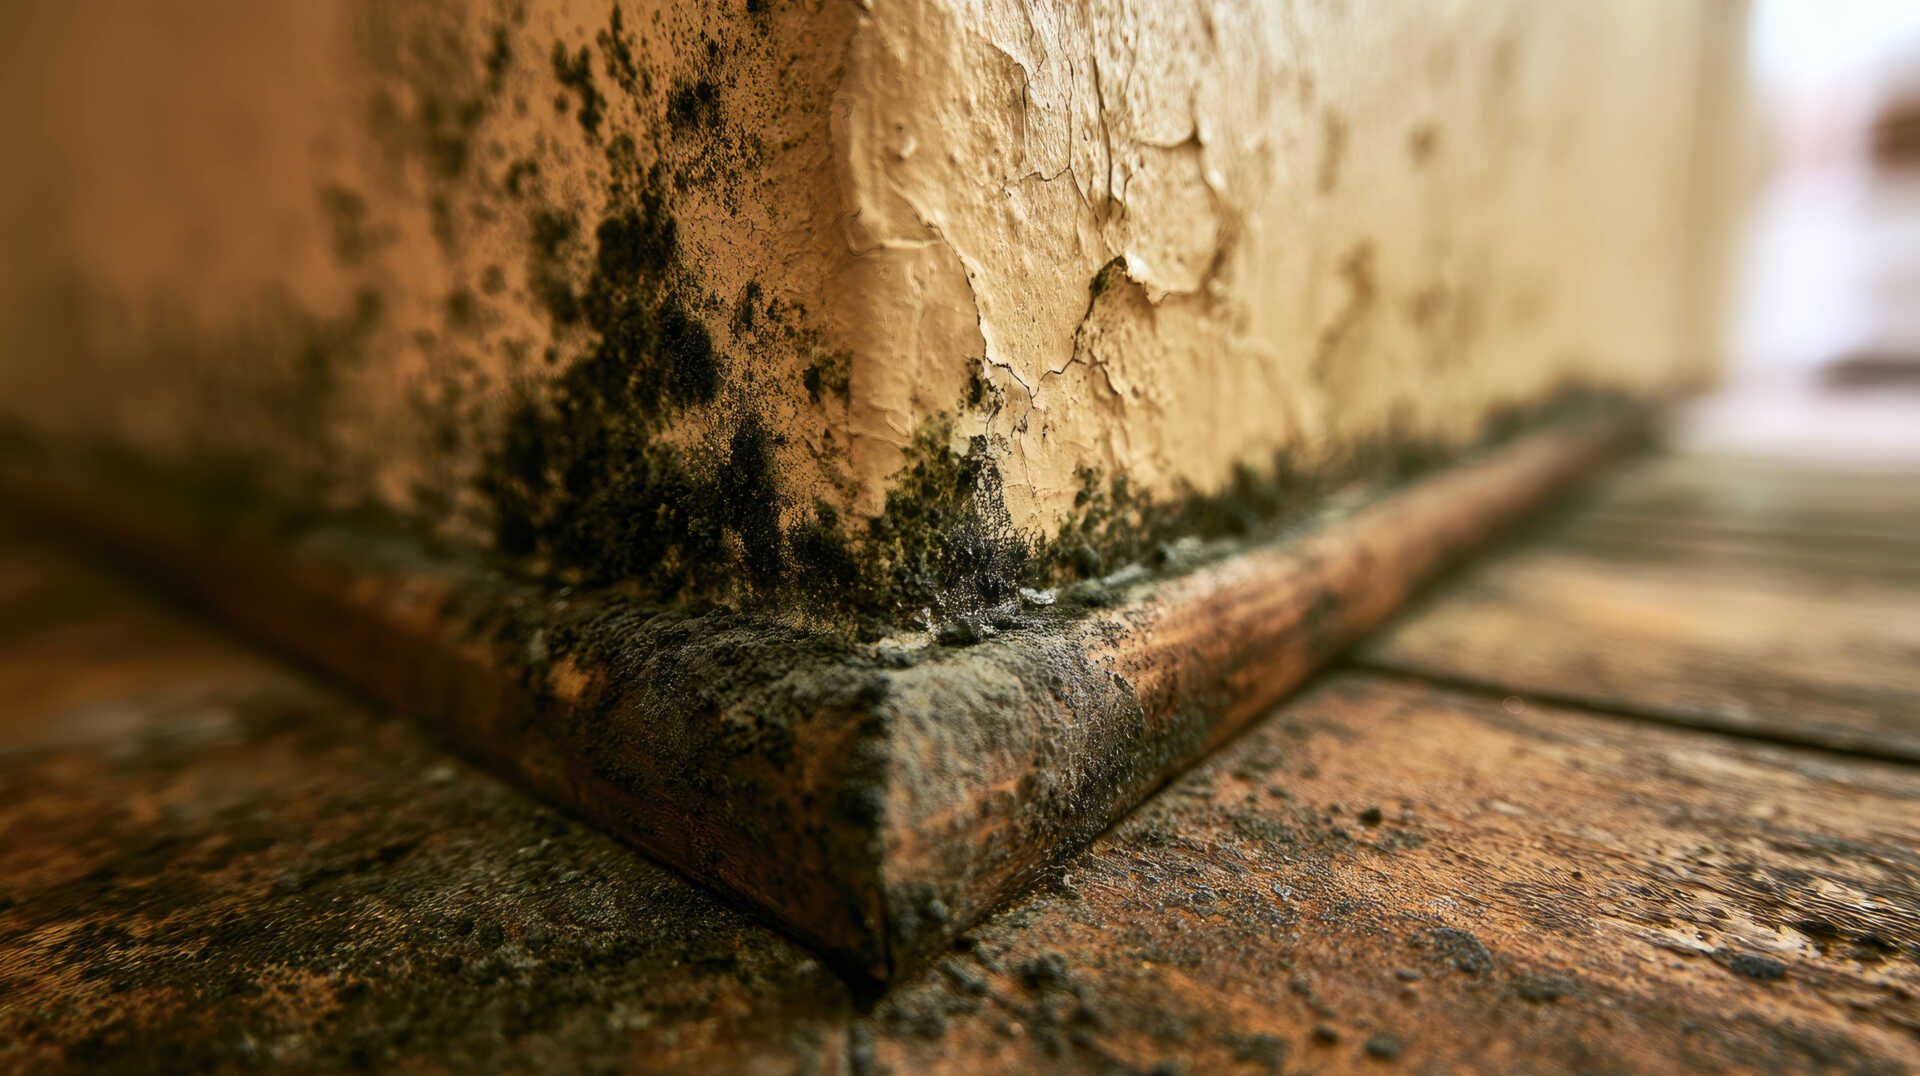
Check walls, ceilings, flooring, HVAC grilles, and hidden cavities for staining, discoloration, peeling paint, or musty odor. Use a flashlight and, when needed, a moisture meter to compare suspect areas with dry surfaces.
Don’t disturb colonies more than necessary; you want a clear baseline for safe planning. Mark the full perimeter of each affected zone and note materials that may need special handling.
This careful survey helps you work together with confidence, reduce guesswork, and prepare for the next remediation steps.
Locate Moisture Source
With the affected areas mapped, inspect the mold itself to find the moisture source that’s feeding growth. You’ll build trust in the process by tracing where water enters, lingers, or condenses.
Check these signs closely:
- stained drywall seams
- warped baseboards
- sweating pipes
- damp insulation edges
- failed caulk around tubs
Use a moisture meter, then compare readings on adjacent materials to pinpoint the wettest path.
Follow plumbing runs, rooflines, exterior walls, and HVAC condensate lines, because hidden leaks often hide there. Open only what you need to verify the source, and keep your notes exact.
When you identify the cause, you’re ready to stop the feed and support a clean, coordinated remediation effort with the rest of your team.
Assess Spread Extent
Map the full spread before you disturb anything. You inspect visible growth, then trace staining, warped materials, and hidden edges with a flashlight, moisture meter, and camera.
Measure the affected square footage, mark boundaries on walls, ceilings, and subfloors, and note whether contamination is surface-level or penetrated porous materials. Check adjacent rooms, HVAC returns, insulation, and cavities, because mold often travels beyond the first visible patch.
Confirm the moisture source you found earlier, and verify whether it’s active or intermittent. You’ll protect your crew and home better when you document everything, since that record guides containment, removal, and final clearance.
If the spread is large or recurring, bring in a qualified inspector so your team can move forward with confidence together.
Test for Hidden Mold and Moisture
A thorough mold remediation plan starts by testing for hidden mold and moisture in wall cavities, under flooring, and around plumbing or roof leaks. You’ll use a moisture meter, infrared camera, and targeted air or surface sampling to confirm what you can’t see.
Record readings in each room so your team shares one clear map of risk and knows where to focus next.
- Damp drywall behind a bathroom sink
- Darkened subfloor edges near a tub
- Cool, wet patches under carpet
- Stained framing around a roof line
- Swollen trim beside supply lines
Compare results with visible damage, then mark every confirmed source.
When you test carefully, you protect the whole home and keep everyone aligned on the next step.
Contain the Mold and Create Negative Pressure
Once you’ve confirmed the hidden mold and moisture, isolate the work area right away so spores don’t spread during removal.
Seal doorways, vents, and gaps with 6-mil polyethylene and tape, and post clear entry notices so only your trained team enters.
Set up an air scrubber with HEPA filtration inside the contained zone and vent it so it pulls air out of the space, not back through the building. This creates negative pressure, which keeps airborne spores moving inward instead of escaping.
Check pressure with a manometer or smoke pencil, and keep the enclosure under constant suction during work.
If you belong to the crew inside, maintain seal integrity, monitor equipment, and correct leaks immediately so the containment stays reliable.
Remove Mold-Damaged Materials Safely
With containment in place, you can begin removing mold-damaged materials that can’t be cleaned or restored. Wear gloves, eye protection, and a respirator, then cut affected items into manageable sections to limit tearing and dust release.
Bag debris immediately and seal each bag before moving it through the containment opening. Keep a clear path and work methodically so you and your team stay organized and safe.
- Damp drywall peeling from studs
- Warped baseboards lifting at the edge
- Saturated insulation clinging in clumps
- Stained carpet cut into strips
- Swollen trim stacked for disposal
Place all waste in approved containers and label them for removal. If you stay disciplined here, you protect the space and help everyone on site feel confident in the process.
Clean and Treat Remaining Surfaces
Scrub all remaining hard surfaces with the appropriate detergent or mold-cleaning solution, then rinse and dry them thoroughly so no residue stays behind.
You should work methodically across framing, subfloors, masonry, and sealed surfaces, using fresh cloths or brushes so you don’t redeposit spores.
Apply the cleaner to the surface, agitate with controlled pressure, and wipe away loosened film until the material looks visually clean.
If the product label calls for a dwell time, let it sit long enough to work before you wipe.
For porous but salvageable items, follow the approved treatment for that material and verify full coverage.
Inspect corners, seams, and fastener heads closely, because mold often hides there.
When you finish, your space should feel professionally cleaned and ready for the next step.
Dry the Area and Control Humidity
Now dry the area completely and keep humidity under control so mold can’t rebound. You’ll create a stable, shared-safe environment by removing trapped moisture from walls, framing, floors, and contents.
Run dehumidifiers, open pathways for airflow, and keep indoor relative humidity below 60%. Check hidden pockets with a moisture meter, then continue drying until readings match those of the unaffected areas.
- Damp drywall seams
- Cool floor edges
- Wet baseboards
- Condensation on glass
- Soft, swollen trim
Inspect daily and record progress so you know the space is truly recovering.
Replace saturated materials only after they’re dry enough to confirm. If you keep conditions dry and consistent, you’re protecting your home and supporting everyone who uses it.
Filter the Air During Remediation
Set up air filtration early in the remediation process to capture airborne spores and fine dust before they spread through the building.
You should place HEPA air scrubbers in affected rooms and adjacent pathways, then size them for the room’s volume and contamination load. Keep doors closed, route intake away from clean areas, and run the units continuously while you work.
Replace prefilters as they clog, and check that airflow remains strong. If you’re using negative pressure, coordinate filtration with containment so airborne particles stay inside the work zone.
This step helps your team breathe easier and keeps the space controlled, orderly, and ready for safe material removal.
Position cords and hoses carefully to avoid trips, and document filter changes and runtimes for your remediation log.
Verify the Mold Remediation Is Complete
Before you clear containment, verify that all visible mold, damaged materials, and contaminated dust have been removed. Then inspect the work area for any remaining staining, odors, or moisture sources.
You should confirm dry surfaces, intact building materials, and clean air returns before you reopen the space. Use a flashlight and meter to check hidden corners, baseboards, and cavities. If needed, document results with photos and notes so your team stays aligned.
- Clean walls and framing
- Dry floors and subfloors
- Replace removed materials
- Remove plastic barriers
- Check humidity levels
When the area looks and smells normal, perform a final walk-through with confidence. If anything still feels off, keep containment in place and address it now.
Frequently Asked Questions
How Long Does Mold Remediation Usually Take?
You’ll usually need 1 to 5 days for mold remediation, but larger infestations can take longer. You’ll move faster when you catch it early, limit moisture, and let qualified technicians contain, clean, dry, and verify the area.
Does Mold Remediation Always Require Professionals?
No, not always; you can handle small surface spots yourself, but you’ll need professionals for hidden growth, large areas, or contaminated materials. Like a map guiding your crew, proper containment, filtration, removal, cleaning, and verification protect your space.
Can I Stay Home During Mold Remediation?
You can stay home if the affected area’s sealed, ventilation’s controlled, and you’re not sensitive to mold. For large jobs, leave; remediation can release spores. Follow your contractor’s instructions and verification testing.
Will Mold Return After Remediation Is Finished?
Yes, mold can return if you don’t fix moisture; like weeds in a garden, it’ll regrow. You’ll need leak repairs, humidity control, and clean, dry surfaces to keep your space safe and your home feeling yours.
How Much Does Mold Remediation Typically Cost?
You’ll typically pay $500 to $6,000, depending on infestation size, material removal, and containment needs. You can lower costs by acting quickly, improving moisture control, and choosing a qualified remediation team.
Conclusion
In the end, you don’t “just clean up” mold—you run a controlled operation, because mold, unlike many people’s houseplants, thrives on chaos. You inspect, test, contain, remove, clean, dry, and filter the air until the area meets verification standards. Skip a step, and you’ve fundamentally invited the problem to regroup. Follow the process carefully, and you reduce contamination, restore safe conditions, and confirm the space is ready for occupancy.