If you’re facing ceiling water damage, it’s vital to tackle it promptly and effectively. Understanding how to assess the damage, select appropriate materials, and employ the right repair techniques can make all the difference. Let’s explore these essential tips to ensure your ceiling repair looks great and lasts long-term.
Key Takeaways
- Conduct a thorough damage assessment to identify severity and underlying causes before starting repairs.
- Choose moisture-resistant materials for repairs, ensuring longevity and prevention of future issues.
- Follow proper repair techniques, applying compound in thin layers and sanding between applications for a smooth finish.
- Document all damage and repairs for insurance purposes; keep records of the process and materials used.
- Consider hiring professionals for extensive damage to ensure durable repairs and compliance with industry standards.
Assess the Extent of Damage
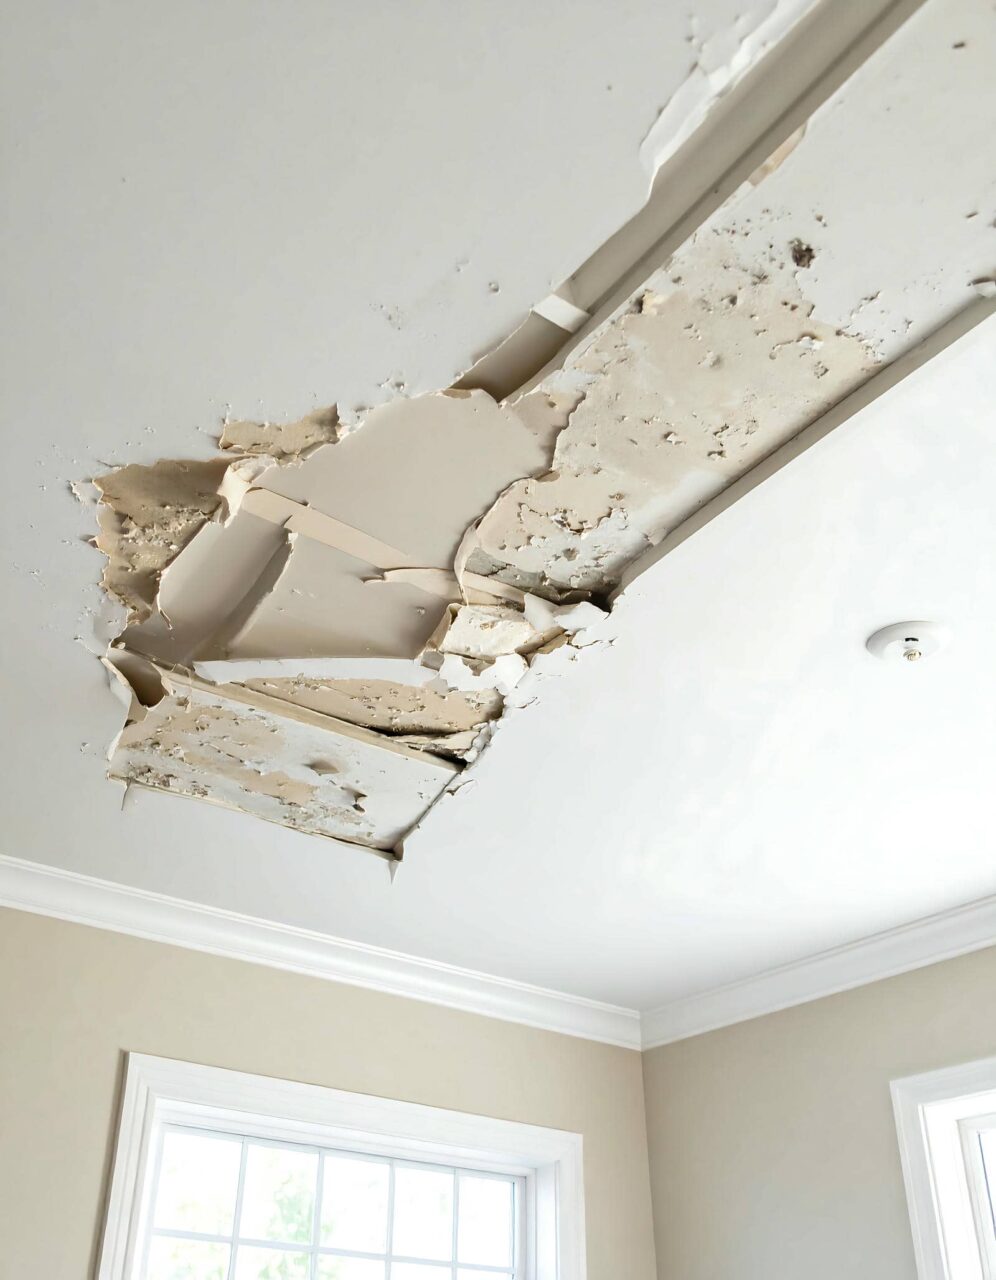
How do you know if the water damage to your ceiling is minor or severe? Start with a thorough damage evaluation.
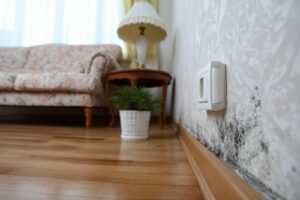
Look for discoloration, peeling paint, or sagging areas. These signs can indicate moisture buildup, which may worsen if left untreated. Using moisture detection tools, like a moisture meter, can help you identify hidden dampness that isn’t visible to the naked eye.
Check the size of the affected area; small spots might suggest minor leaks, while extensive damage could signal a more significant issue.
If you notice mold or a musty smell, that’s another red flag. Don’t hesitate to reach out to professionals for a detailed assessment if you’re unsure. They can provide the expertise needed to pinpoint the severity and recommend the best course of action.
Understanding the extent of the damage is essential to ensuring your home stays safe and sound.
Choose the Right Repair Materials
Once you’ve assessed the extent of the water damage, it’s time to select the right repair materials for your ceiling. Start by considering material types like drywall, plaster, or ceiling tiles, depending on your ceiling structure and the damage’s severity.
For minor repairs, lightweight joint compound may suffice, while more extensive damage might require new drywall panels. When choosing materials, check for moisture-resistant options to prevent future issues.
Be sure to follow the installation guidelines specific to each material type to ensure a solid repair. For example, if you’re using drywall, make sure to tape and mud the seams properly for a seamless finish.
Additionally, consider the aesthetic aspect; you want your ceiling to look as good as it functions. Selecting the right materials helps in fixing the damage and fosters a sense of belonging in your home by maintaining its integrity and appearance.
Follow Proper Repair Techniques
While you might feel tempted to rush through the repair process, following proper techniques is essential for achieving a durable and professional-looking ceiling restoration.
Start by ensuring the area is dry and free from mold. Use drop cloths to protect your floors, and wear safety gear to safeguard yourself.
When applying the compound, use a putty knife to spread it evenly. Aim for thin layers; this helps avoid cracks later. Sand between layers for a smooth finish.
Once the ceiling is primed, choose a high-quality paint for the final coat.
If you encounter extensive damage or feel unsure about your skills, don’t hesitate to seek professional assistance. Experienced contractors can provide valuable insights and ensure a lasting result.
Review
Tackling ceiling water damage doesn’t have to feel like steering through a stormy sea. By carefully evaluating the damage, selecting moisture-resistant materials, and following proper repair techniques, you can restore your ceiling to its former glory. Imagine the satisfaction of a smooth, flawless finish that looks great and protects your home from future issues. With these tips, you’re well-equipped to turn your water-damaged ceiling into a source of pride rather than worry.