After a storm, you need to act quickly to assess potential mold growth. Understanding the risks is vital, as mold can develop in just 24 to 48 hours. Start by identifying moisture hotspots and signs of water damage. You’ll need to ensure safety precautions are in place before you begin. Knowing the right tools for detection can make all the difference. What steps should you take to create a thorough action plan?
Key Takeaways
- Inspect the property for visible water damage and moisture hotspots within 24 to 48 hours after the storm to prevent mold growth.
- Use moisture meters and infrared cameras to detect high moisture levels in walls, ceilings, and other surfaces during your assessment.
- Wear personal protective equipment (PPE) such as N95 respirators and gloves to ensure safety while conducting mold assessments.
- Document findings with a visual checklist and photographic evidence to support observations and create a detailed action plan for remediation.
- Outline a comprehensive remediation strategy that includes safety protocols, necessary resources, and a timeline for addressing identified mold issues.
Understanding the Risks of Mold Growth After a Storm
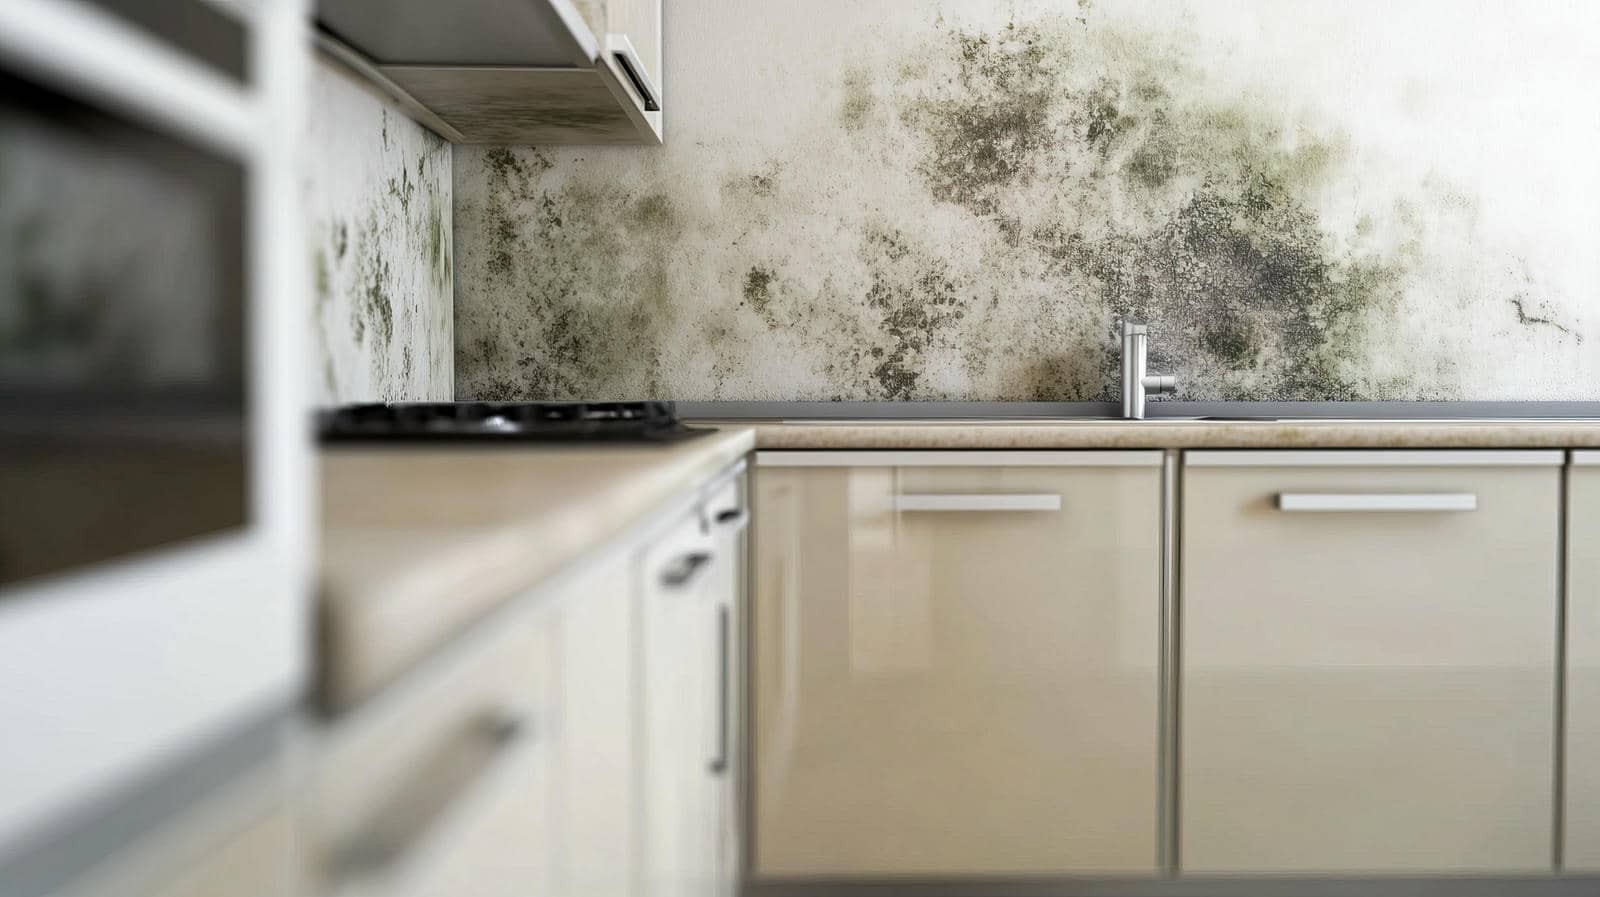
When storms strike, the risk of mold growth escalates greatly due to the excess moisture they introduce into the environment. Elevated moisture levels create an ideal breeding ground for mold spores, which can become airborne and settle on various surfaces.
Within just 24 to 48 hours after water exposure, mold can begin to proliferate, making timely action essential.
You need to understand that even small amounts of moisture can lead to significant mold issues. Areas with poor ventilation or existing water damage are particularly vulnerable.
The type of materials in your home, such as wood or drywall, can also influence mold growth, as some absorb moisture more readily than others.
Being aware of these risks allows you to take preventive measures. Regular monitoring of humidity levels and prompt attention to water intrusion can help maintain a healthy indoor environment and minimize the potential for mold-related health concerns.
Initial Assessment: Identifying Affected Areas
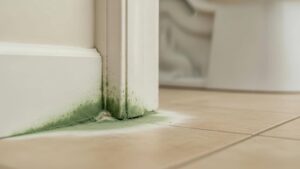
How can you effectively identify areas affected by mold after a storm? Start by examining your property for mold hotspots, which are typically areas with high moisture levels. Look for visible signs of water damage, such as discoloration on walls, ceilings, and floors.
Pay close attention to corners, behind appliances, and inside cabinets, as these spots often retain moisture.
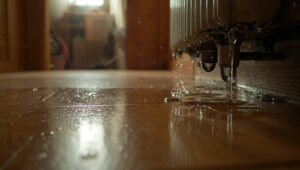
Next, investigate potential moisture sources, like leaking roofs, broken windows, and flooded basements. Use a moisture meter to assess levels in suspect areas, as elevated readings indicate hidden mold risks.
Don’t forget to check HVAC systems, as they can circulate mold spores throughout the home.
Safety Precautions Before Starting the Assessment
Before you begin the mold assessment, make certain you’re adequately equipped to protect yourself from potential hazards.
Start by donning personal protective equipment (PPE) such as N95 respirators, gloves, and goggles. These items shield you from inhaling mold spores and coming into direct contact with contaminated materials.
Ensure your clothing is appropriate; long sleeves and pants will minimize skin exposure.
It’s essential to have a well-thought-out emergency preparedness plan in place, especially in post-storm conditions where structural integrity may be compromised. Familiarize yourself with evacuation routes and emergency contacts.
Additionally, be aware of the signs of water damage and mold growth before you enter any affected area.
This awareness is key to preventing health risks and ensuring a safe assessment process.
Prioritize your safety to foster a productive environment for mold assessment, as your well-being is paramount in these challenging situations.
Tools and Equipment for Mold Detection
Safety precautions lay the groundwork for an effective mold assessment, but having the right tools and equipment is equally important.
To accurately detect mold, you’ll need the following essential mold detection tools:
Moisture Meters: These devices measure moisture levels in walls, ceilings, and floors, helping you identify areas at risk for mold growth.
Infrared Cameras: These can detect temperature variations associated with moisture intrusion, allowing you to pinpoint hidden issues.
Air Sampling Kits: These collect air samples to analyze mold spores in the environment, providing insight into the extent of contamination.
Equipping yourself with these tools enhances your ability to conduct a thorough assessment.
Accurate readings from moisture meters help you make informed decisions, ensuring you address potential mold problems before they escalate.
Conducting a Thorough Visual Inspection
While evaluating for mold, conducting a thorough visual inspection is essential to identify visible signs of moisture and mold growth. Start by examining areas prone to dampness, like basements, attics, and around windows.
Look for discoloration, warping, or staining on walls and ceilings, as these can indicate mold growth. Utilize effective inspection techniques, such as using a flashlight to illuminate dark corners and examining behind furniture and appliances.
Pay close attention to plumbing fixtures, as leaks can foster mold. Don’t forget to inspect HVAC systems, where moisture accumulation can promote mold proliferation.
Document any findings with photographs and notes to track your observations over time. This methodical approach ensures you cover all potential problem areas and fosters a sense of community safety and awareness among those affected by the storm.
Your diligence in this inspection lays the groundwork for effective mold management.
Sampling and Testing for Mold Presence
As you move beyond visual inspections, sampling and testing for mold presence becomes essential to accurately assess the extent of contamination.
Implementing effective mold sampling techniques and rigorous testing procedures will aid in identifying hidden mold sources and determining remediation needs.
Here are three key steps to follow:
Choose Sampling Methods: Consider air sampling, surface sampling, or bulk material sampling, depending on the suspected mold location and type.
Collect Samples: Use clean, sterile equipment to avoid contamination. Verify you follow proper protocols to maintain sample integrity.
Analyze Results: Send samples to a certified laboratory for analysis. Review the report carefully to understand the mold types and spore counts.
Documenting Findings and Creating an Action Plan
To effectively address mold issues post-storm, you need a systematic approach for documenting findings.
Start with a visual inspection checklist to identify problem areas, and collect photographic evidence to support your observations.
Finally, develop a detailed action plan that outlines remediation steps based on your findings.
Visual Inspection Checklist
A thorough visual inspection checklist is essential for effectively documenting findings and creating a targeted action plan post-storm.
By employing proper inspection techniques, you can identify various mold types and their potential sources. Here’s a concise checklist to guide your inspection:
Identify Water Damage: Look for visible signs of water intrusion, such as stains on walls, ceilings, or floors.
Check Humidity Levels: Use a hygrometer to measure humidity; levels above 60% can encourage mold growth.
Inspect Hidden Areas: Don’t overlook basements, attics, and behind appliances where mold might thrive out of sight.
Photographic Evidence Collection
After completing your visual inspection, capturing photographic evidence is essential for documenting findings and formulating an extensive action plan.
Utilize effective photographic techniques, such as close-ups and wide-angle shots, to capture mold growth and affected areas thoroughly. Ensure your images clearly depict the severity and extent of the infestation.
Organize your evidence methodically, labeling each photo with date, location, and specific observations. This systematic evidence organization will enhance your assessment’s credibility and facilitate communication with other stakeholders involved in remediation.
Remember, high-quality visuals can greatly impact the decision-making process, helping you convey the urgency and necessary steps to address the mold problem effectively.
Prioritize clarity and detail to support your future action plan.
Action Plan Development
While developing an action plan, it’s essential to document your findings meticulously to ensure all aspects of the mold issue are addressed.
This documentation forms the backbone of your response strategy and helps facilitate effective emergency response.
Follow these steps to create a robust action plan:
Identify the Mold Source: Clearly outline where the mold originated and its extent.
Assess Affected Areas: Document all areas impacted, noting any potential hazards.
Utilize Action Plan Templates: Employ standardized templates to streamline your process and ensure consistency.
Frequently Asked Questions
How Long Does It Take for Mold to Start Growing After Water Exposure?
Mold can begin growing within 24 to 48 hours after water exposure, depending on conditions. Understanding the mold growth timeline and water damage effects is essential for effective prevention and remediation in affected areas.
Can I Assess Mold Growth Without Professional Help?
You can assess mold growth without professional help, but remember, “a stitch in time saves nine.” Use mold identification techniques and DIY mold testing kits to effectively evaluate your environment and ensure a healthier space.
What Are the Long-Term Health Effects of Mold Exposure?
Long-term exposure to mold can lead to chronic respiratory issues and various mold toxicity symptoms, including fatigue, headaches, and allergic reactions. It’s essential to address mold promptly to mitigate these potential health risks and ensure your well-being.
How Can I Prevent Mold Growth in the Future?
To prevent mold growth, you’ll need to implement preventive measures like maintaining humidity control. Use dehumidifiers, ensure proper ventilation, and fix leaks promptly—creating a dry, welcoming environment where mold can’t thrive.
When Should I Consider Hiring a Mold Remediation Specialist?
You should consider hiring a mold remediation specialist after a significant water intrusion or if you notice persistent mold growth. A professional evaluation ensures thorough mold inspection, identifying hidden issues you might overlook, safeguarding your health and property.
Review
In the aftermath of a storm, it’s essential to act swiftly and decisively. Remember, “an ounce of prevention is worth a pound of cure.” By meticulously evaluating moisture levels, employing the right tools, and adhering to safety protocols, you can effectively mitigate mold risks. Documenting your findings and formulating a clear action plan ensures all team members are aligned, paving the way for successful remediation. Stay vigilant and proactive to protect both your property and health.