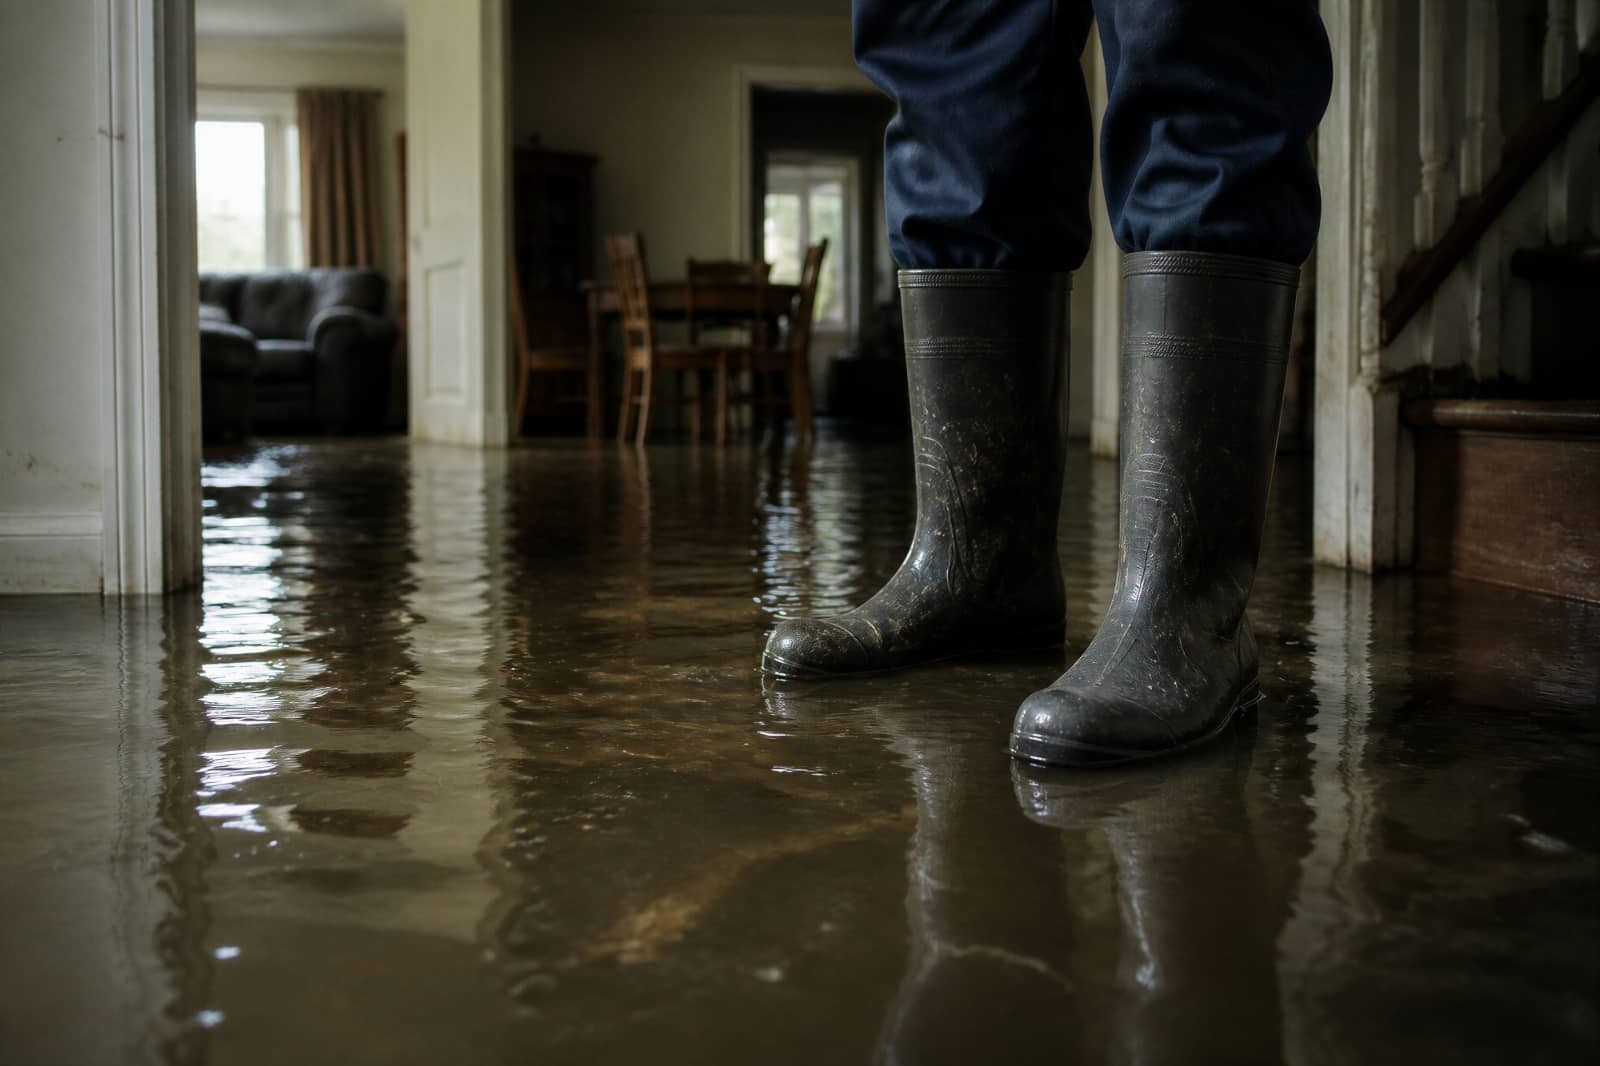
When water leaves a property, it can feel like a clock running under the floorboards. Water-Damaged Properties require a thorough inspection of moisture and damage using meters and thermal imaging, followed by placing air movers to direct airflow and dehumidifiers to pull humidity down. You size equipment to the loss, open wall cavities when needed, and track readings each day so you can stop mold before it starts. What happens next depends on one critical decision.
Key Takeaways
- Professionals first inspect with moisture meters and thermal imaging to locate hidden water and map damage accurately.
- They set air movers to create directed airflow across wet materials, avoiding dead zones and maintaining clear circulation paths.
- Dehumidifiers are properly sized and monitored to reduce humidity, with doors and windows closed for maximum drying efficiency.
- Walls, floors, and cavities are opened or accessed as needed to speed evaporation and remove trapped moisture.
- Technicians track moisture daily, adjust equipment, and watch for mold signs until materials reach safe drying levels.
How Professionals Dry Water-Damaged Properties
Professionals dry water-damaged properties by first locating hidden moisture with meters and thermal tools. Then, they use controlled air movement and dehumidification to pull that moisture out of materials.
You’ll see how professionals dry water-damaged properties by setting up targeted airflow, spacing equipment for uniform coverage, and maintaining stable temperature and humidity targets.
You stay on track when you keep doors positioned to guide circulation and run dehumidifiers long enough to reduce bound moisture in drywall, framing, and flooring.
Technicians monitor progress with repeated readings, adjusting placement and runtime as conditions change. This method limits secondary damage, slows microbial growth, and helps your space return to a safe, usable state.
When you follow this process, you’re working with a crew that knows the standards and treats your property like part of the team.
Inspect Moisture and Damage
You start by inspecting the full extent of moisture and damage with calibrated meters, thermal imaging, and close visual checks so you can map wet materials, hidden dampness, and likely migration paths.
You verify readings at floors, walls, trim, and cavities, then compare affected areas with unaffected reference points. You document swelling, staining, delamination, rust, microbial risk, and structural compromise so your team shares one accurate picture.
You also note material type, thickness, and drying response, because gypsum, wood, insulation, and concrete hold water differently.
Clear field notes, photos, and moisture maps help you prioritize demolition limits, protect salvageable finishes, and avoid over-drying or missed pockets.
When you inspect carefully, you give everyone on site a reliable plan and a safer path forward.
Set Up Air Movement
After mapping the wet areas, position air movers to create steady, directed airflow across the affected surfaces. You’ll dry materials faster when you aim each unit along floors, walls, and cavities without blasting debris into the room.
Keep cords clear, and leave space so the airflow can reach every damp edge. Work as a team and check that the pattern stays consistent as conditions change.
- Angle fans to push air across wet materials.
- Overlap airflow so dead zones don’t form.
- Reposition units when surfaces begin to dry.
- Confirm doors and barriers support the airflow path.
You’re building controlled circulation, not random movement. With clean setup and steady placement, you help the whole property dry in a safer, more organized way.
Use Dehumidifiers to Remove Moisture
With the air movers in place, set dehumidifiers to pull moisture out of the room and lower the humidity that slows drying. You’ll want to size each unit to the space, then route drainage so condensate leaves continuously or gets emptied before it backs up.
Keep doors and windows closed so the equipment can work as a system, and verify that supply and return airflow aren’t blocked. Check humidity and temperature with a hygrometer, then adjust settings so you stay in the target drying range.
If the room feels damp, increase capacity rather than waiting. You’re part of a coordinated drying team when you monitor performance, document readings, and keep the equipment clean. That discipline helps you dry faster, control odor, and reduce secondary damage.
Dry Walls, Floors, and Hidden Spaces
You should dry walls and floors with directed air movement, controlled heat, and dehumidification, while opening baseboards or access points where needed to speed evaporation.
Check hidden spaces behind cabinets, under flooring, and inside wall cavities with a moisture meter to confirm the material’s moisture content is dropping evenly.
Keep measuring until readings match dry-area baselines, because trapped moisture can remain after surfaces feel dry.
Wall Drying Methods
Walls, floors, and hidden cavities dry best when you first verify how far moisture has spread and then target airflow and dehumidification to the wettest materials. You’ll feel more in control when you break the job into clear steps and keep conditions steady. Use them:
- Remove standing water and saturated finishes quickly.
- Open wall cavities where access is safe and needed.
- Place air movers to push air across surfaces, not straight at one spot.
- Run dehumidifiers continuously until materials stabilize.
You should keep temperatures moderate and avoid sealing damp assemblies too soon. Trim baseboards, drill weep holes if appropriate, and expose framing that’s trapped behind drywall.
When you dry methodically, you protect structure, shorten downtime, and join the pros who restore spaces with confidence.
Hidden Moisture Checks
Before you set airflow or dehumidification to full speed, verify where moisture still hides in walls, floors, and adjacent cavities.
You should map each wet zone with a moisture meter, then compare readings across baseboards, studs, subfloors, and trim.
Probe behind insulation, inside toe kicks, under cabinets, and at wall-floor intersections where drying often stalls.
If readings stay elevated, open access points and keep focused air movement on those areas.
You’ll also want to inspect vapor barriers, sill plates, and lower wall cavities for trapped water.
Log every measurement so you can track drying progress with your team.
When hidden readings match the dry standard, you can close surfaces with confidence and keep the property moving toward safe restoration.
Monitor Drying and Prevent Mold
You’ll need to track moisture levels at regular intervals with a meter and compare readings across affected materials.
Keep drying equipment running until measurements return to target ranges, and check for any damp pockets in walls, floors, and hidden cavities.
Inspect daily for mold indicators such as musty odor, discoloration, or surface growth, and correct any remaining moisture immediately.
Moisture Level Tracking
Track moisture levels throughout the drying process to verify that materials are actually drying and to catch hidden dampness before mold can develop. You’ll use meters to compare readings in drywall, framing, and flooring, then record each area at the same time each day. This keeps your team aligned and lets you spot slow-to-dry materials fast.
- Measure at the same points every visit.
- Log baseline, daily, and final readings.
- Compare surface and deep readings.
- Adjust airflow or dehumidification when numbers stall.
Consistent tracking gives you objective proof of progress and helps you stay in control. When readings keep dropping, you know the drying plan’s working. If they don’t, you can respond early and keep the property on track.
Mold Prevention Checks
As drying progresses, you need to check for mold risk at every stage so hidden moisture doesn’t turn into a new problem. Inspect baseboards, drywall edges, insulation, and subfloors for musty odor, discoloration, swelling, or fuzzy growth.
Use your meter to confirm materials are dropping to safe levels, and compare readings from day to day. If surfaces stay damp, increase air movement, adjust dehumidification, and isolate the area.
Keep temperature and humidity in the target range, because stagnant, humid air invites spores to colonize. Remove wet porous materials that won’t dry quickly.
Clean and disinfect affected hard surfaces once they’re dry enough. By checking early and often, you protect the property, support your crew, and keep the job moving toward a clean, reliable finish.
Frequently Asked Questions
How Long Should Occupants Stay Away During Drying?
You should stay away until technicians confirm safe moisture levels and the air is clean. That usually takes 24-72 hours, but severe damage can take longer. Follow their clearance and avoid exposed areas.
When Should Electrical Systems Be Checked Before Drying?
You should check electrical systems immediately after flooding, before you start drying. You’ll need a licensed electrician to verify power is off, inspect outlets, wiring, and panels, and clear hidden hazards before equipment runs.
Can Contaminated Water Damage Be Dried Safely at Home?
No—you shouldn’t dry contaminated water safely at home. You risk spreading pathogens and pollutants. You’ll need protective gear, controlled removal, thorough disinfection, and professional moisture monitoring to protect your space and your people.
What Signs Mean Materials Must Be Removed Instead of Dried?
You’ll remove materials when they’re swollen, delaminated, moldy, structurally weakened, or still wet after controlled drying. You can’t safely dry porous insulation, drywall, carpet pad, or anything sewage-contaminated; these often trap moisture and contaminants.
Does Insurance Typically Cover Professional Water-Damage Drying?
Usually, yes—insurance often covers professional water-damage drying if a covered event caused it; you’ll need quick reporting, photos, and invoices. Check your policy, because exclusions and deductibles can make the payout feel astronomical.
Review
You can dry water-damaged properties safely when you inspect first, set up smart airflow, and size dehumidifiers correctly. You’ll speed surface and subfloor drying by opening wall cavities and targeting hidden spaces. You should monitor moisture daily, check for mold, and adjust equipment as conditions change. By using steady, strategic, and science-based drying, you’ll protect materials, reduce risk, and restore the property efficiently, cleanly, and confidently.